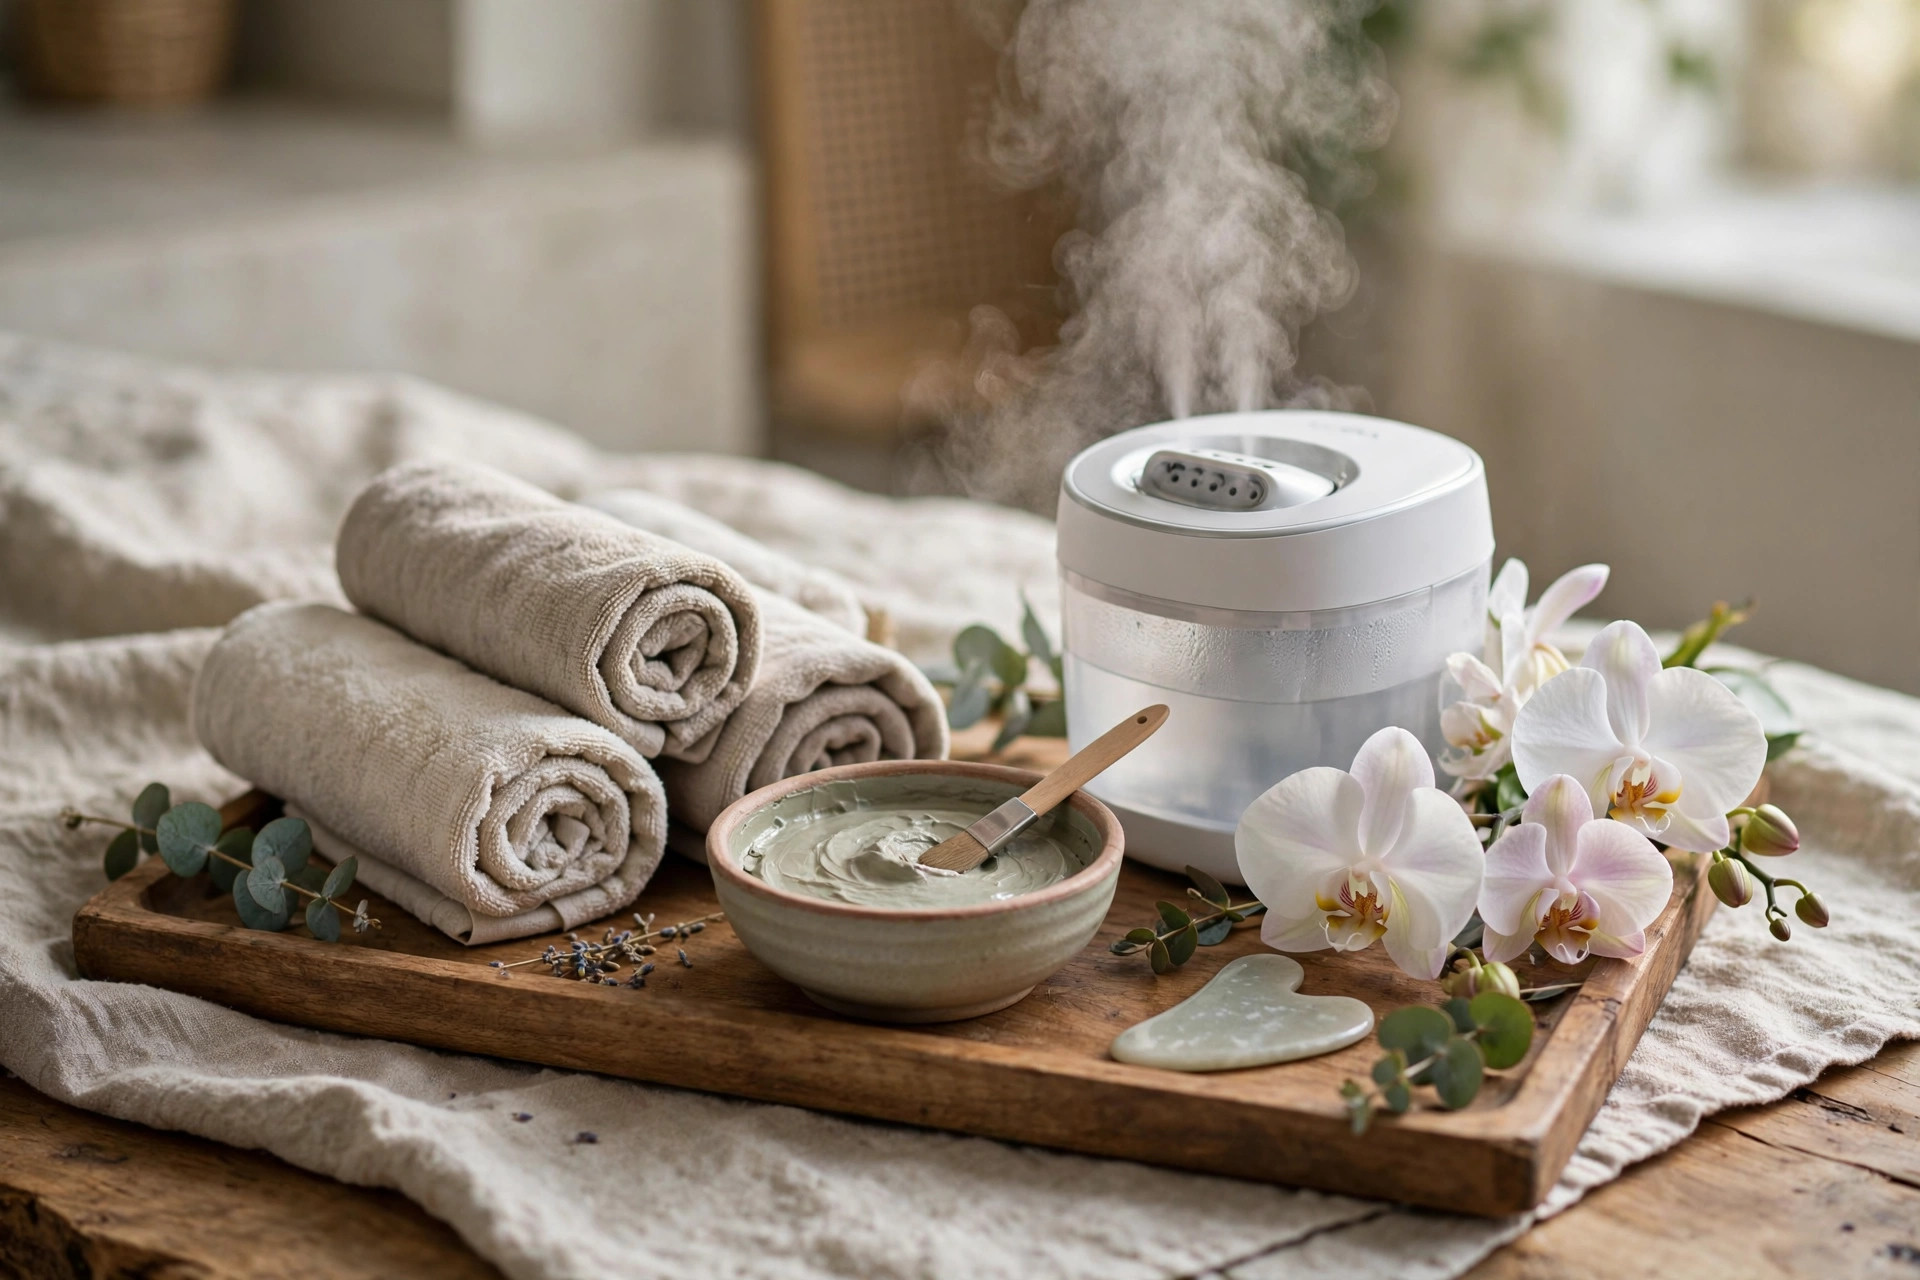
There is something magical about a professional facial — the warm towels, the relaxing massage, the way your skin glows afterwards. But spa appointments are expensive and hard to schedule. The wonderful news is that you can recreate most of that experience at home, with products you probably already own, in about an hour. An at-home facial is one of the most luxurious forms of self-care there is, and it costs almost nothing.
This guide walks you through a complete pampering facial ritual in ten relaxing steps: cleansing, steaming, exfoliating, masking, massaging and moisturising. Each step is simple, gentle and designed to feel like a treat. Many people find that a monthly at-home facial keeps their skin looking fresh and gives them a blissful hour of me-time. Light a candle, put on some calm music, and let’s begin your spa evening.
Set the Scene: Create Your Home Spa

Before you touch your face, take five minutes to set the scene. A facial is as much about relaxation as it is about skincare, and your environment shapes the whole experience. Dim the lights or light a few candles. Put on soft, calming music or nature sounds. Gather everything you will need — cleanser, exfoliant, mask, moisturiser, towels, a headband — so you are not hunting for products mid-facial with a mask on your face.
Tie your hair back completely so your whole face is clear. Wash your hands thoroughly — you will be touching your face a lot, and clean hands are essential. Pour yourself a glass of water or a cup of herbal tea to sip between steps. Many people find that treating the preparation as part of the ritual, rather than a chore, makes the whole evening feel more special. You are creating a sanctuary, and you deserve it.
- Gather all products and tools before you start.
- Light a candle and play calm music for a spa atmosphere.
- Tie hair back and wash your hands thoroughly.
- Keep water or herbal tea nearby to stay hydrated.
Step 1: The Double Cleanse
Every good facial begins with a truly clean face. Start with an oil-based cleanser or cleansing balm to melt away sunscreen, makeup and the day’s grime. Massage it gently over dry skin for a full minute — this first cleanse is already relaxing, so take your time. Rinse with lukewarm water, never hot, which can irritate the skin.
Follow with a second, water-based cleanser suited to your skin type. This double cleanse ensures your skin is completely clean without being stripped. Massage in gentle circles for another minute, then rinse well and pat dry with a clean, soft towel. Your skin should feel fresh and comfortable, never tight or squeaky. This clean canvas is the foundation everything else builds on.
Step 2: Gentle Steam to Open Pores
Facial steaming is the step that makes an at-home facial feel truly professional. The warm steam softens your skin, helps loosen buildup in pores, and feels deeply relaxing. You do not need a fancy steamer: simply fill a large bowl with hot (not boiling) water, add a few drops of a calming essential oil or a chamomile tea bag if you like, and lean over it with a towel draped over your head to trap the steam.
Steam for five to ten minutes, keeping a comfortable distance so the heat never feels intense. Breathe deeply and enjoy the warmth. Many people find this step melts away tension in the jaw and forehead. When you are done, gently pat your face dry. Your skin will feel soft, warm and ready for the next steps. If your skin is very sensitive, keep steaming to five minutes and use plain water.
Step 3: Exfoliate With a Light Touch
Exfoliation removes the dull layer of dead skin cells and reveals the fresher skin underneath — it is what gives facials that instant glow. But gentle is the key word. Choose a mild chemical exfoliant or a very gentle scrub, and use light pressure. Many people find that less is more here: one careful pass is plenty. If your skin is sensitive or irritated, you can skip this step entirely and still have a wonderful facial.
Apply your exfoliant to damp skin and massage very gently for thirty to sixty seconds, avoiding the delicate eye area. Rinse thoroughly with lukewarm water. Your skin should feel smooth, not raw or red. Never exfoliate aggressively or use harsh scrubs — the goal is a glow, not irritation. Once a week is the maximum for most skin types; for this facial ritual, once a month is perfect.
Step 4: Apply a Nourishing Face Mask
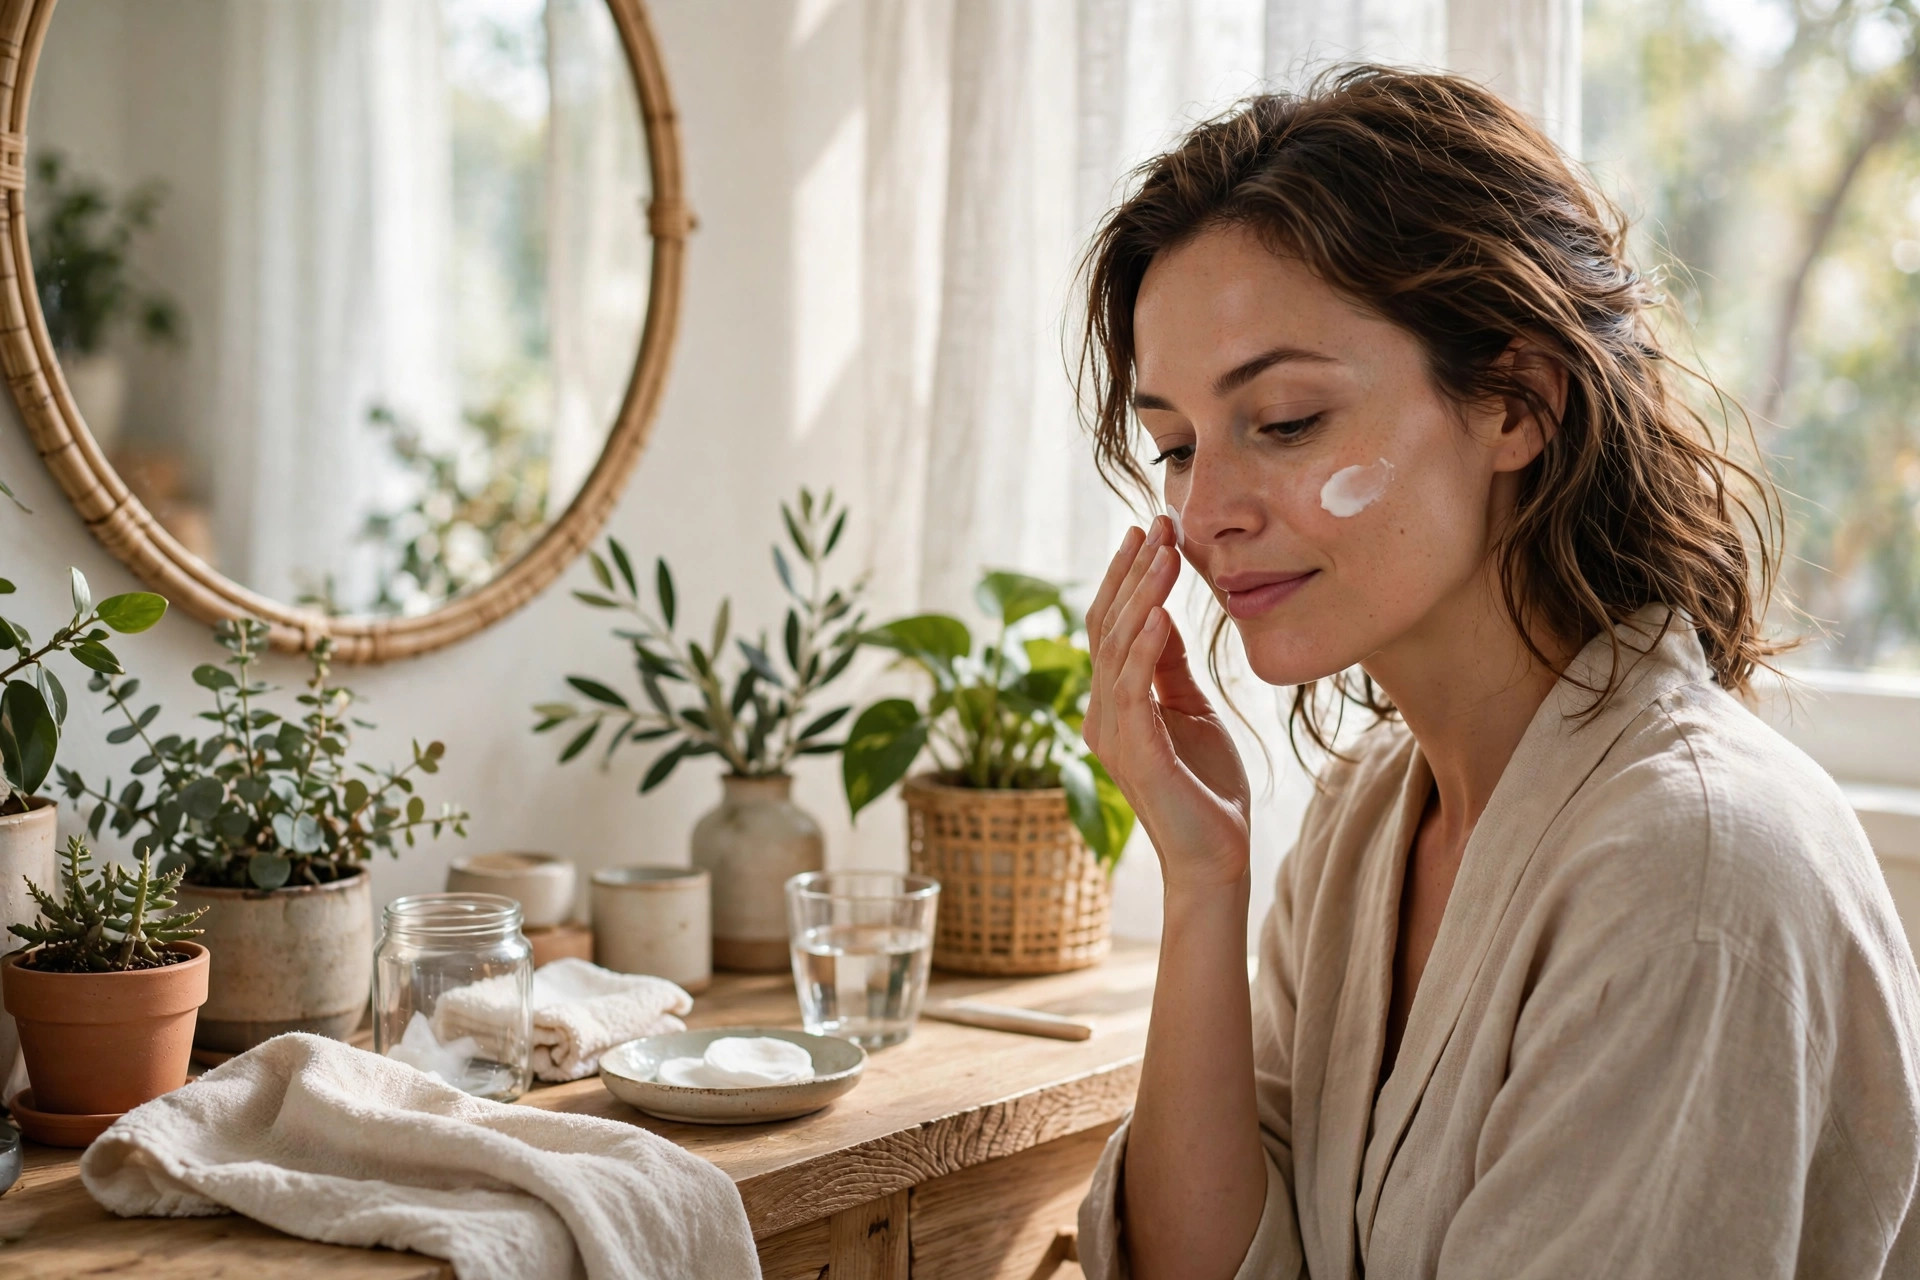
Now for the most indulgent step: the mask. Choose one that suits what your skin needs today. A hydrating sheet mask or cream mask is wonderful for dry or tired skin; a clay mask is lovely if your skin feels congested; a soothing gel mask calms redness. There is no single best mask — the best one is the one your skin is asking for.
Apply an even layer, avoiding the eyes and lips, then relax for ten to fifteen minutes. This is your moment: lie back, listen to your music, sip your tea. Many people find that the forced stillness of masking is deeply calming — you literally cannot rush, so you might as well surrender to it. Remove the mask as directed: rinse off clay and cream masks, or gently pat in the essence of a sheet mask.
- Hydrating masks suit dry, dull or tired skin.
- Clay masks help skin that feels congested or oily.
- Leave the mask on for the full recommended time — relax while you wait.
- Never let a clay mask dry until it cracks; rinse while slightly damp.
Step 5: Tone and Refresh
After masking, a hydrating toner helps rebalance your skin and prepare it to absorb the next steps. Choose an alcohol-free toner with soothing ingredients. Pat it gently into your skin with your palms rather than swiping with a cotton pad — patting is gentler and wastes less product. Many people find this step makes their skin feel instantly calm and plump.
You can layer toner twice if your skin feels very thirsty — this technique, sometimes called the “seven-skin method” in a simplified form, is just about adding hydration in light layers. Let each layer absorb for a few seconds before adding the next. Your skin should feel dewy and comfortable, like it has just had a long drink of water.
Step 6: Treat With a Serum
Serums are concentrated treatments that target specific concerns, and after a facial your skin is perfectly primed to absorb them. Choose one based on what you want: hyaluronic acid for hydration, niacinamide for brightness and pore appearance, or vitamin C for glow (though vitamin C is often better in morning routines). You only need a few drops — serums are potent.
Warm the serum between your palms and press it gently into your face and neck. Avoid layering too many active ingredients at once; one serum is plenty for a facial night. Many people find that keeping this step simple gives the best results. Let the serum absorb for a minute before moving on. Your skin is drinking in all the goodness.
Step 7: The Relaxing Facial Massage
This is the step that turns a skincare routine into a true spa ritual. A facial massage boosts circulation, releases tension in the jaw and forehead, and feels absolutely heavenly. Apply a few drops of facial oil so your fingers glide smoothly, then use gentle upward strokes. There is no need for complicated techniques — simple, slow movements are perfect.
Try this easy sequence: smooth your forehead with upward strokes, circle gently around your eyes with your ring fingers, sweep along your cheekbones toward your ears, and knead your jawline where tension hides. Spend extra time anywhere that feels tight. Many people find that five minutes of facial massage melts away the day’s stress and leaves their skin looking visibly more radiant. Finish by pressing your warm palms over your whole face and breathing deeply.
- Always use a facial oil so fingers glide without dragging the skin.
- Use gentle upward strokes — never pull the skin downward.
- Be extra gentle around the eyes; use your ring fingers.
- Spend five minutes; tension in the jaw deserves special attention.
Step 8: Seal It In With Moisturiser
After all that beautiful treatment, lock it in with a good moisturiser. This step seals the hydration and active ingredients into your skin so they keep working overnight. Choose a moisturiser suited to your skin type — richer creams for dry skin, lighter lotions for oily skin. Apply generously to your face and neck with gentle upward strokes.
If your skin is very dry, you can add a final thin layer of a sleeping mask or a drop of facial oil over your moisturiser. This “sealing” step is especially lovely in colder months. Your skin should feel cushioned, comfortable and deeply nourished — like it has been tucked into bed.
Step 9: Do Not Forget Your Lips and Eyes
The delicate skin around your eyes and on your lips deserves its own moment. Gently pat a small amount of eye cream around the orbital bone with your ring finger — never drag or rub this thin skin. Then apply a nourishing lip balm or lip mask generously. Many people find that waking up with soft, smooth lips is one of the most satisfying results of a facial night.
These small finishing touches take less than a minute but complete the ritual beautifully. Your whole face has now been cared for, from forehead to chin. Take a moment to appreciate how soft and calm your skin feels.
Step 10: Rest and Let It Work
The final step is the simplest: do nothing. Your facial is complete, and now your skin needs rest to absorb everything. Avoid applying makeup for the rest of the evening. Change into comfortable sleepwear, slip into clean bedding (a fresh pillowcase is a lovely touch on facial night), and let your skin work its magic overnight.
Many people find they wake up after a facial night with visibly calmer, more radiant skin — and that glow is partly the products, and partly the deep relaxation. Make this ritual a monthly date with yourself. Put it in your calendar, look forward to it, and protect that time. You deserve an hour of pure pampering, and your skin will thank you for it.
An at-home facial is proof that luxury is not about price — it is about attention. An hour of caring for yourself, gently and unhurried, is one of the kindest gifts you can give.
Leave a Reply