Last updated: October 2026
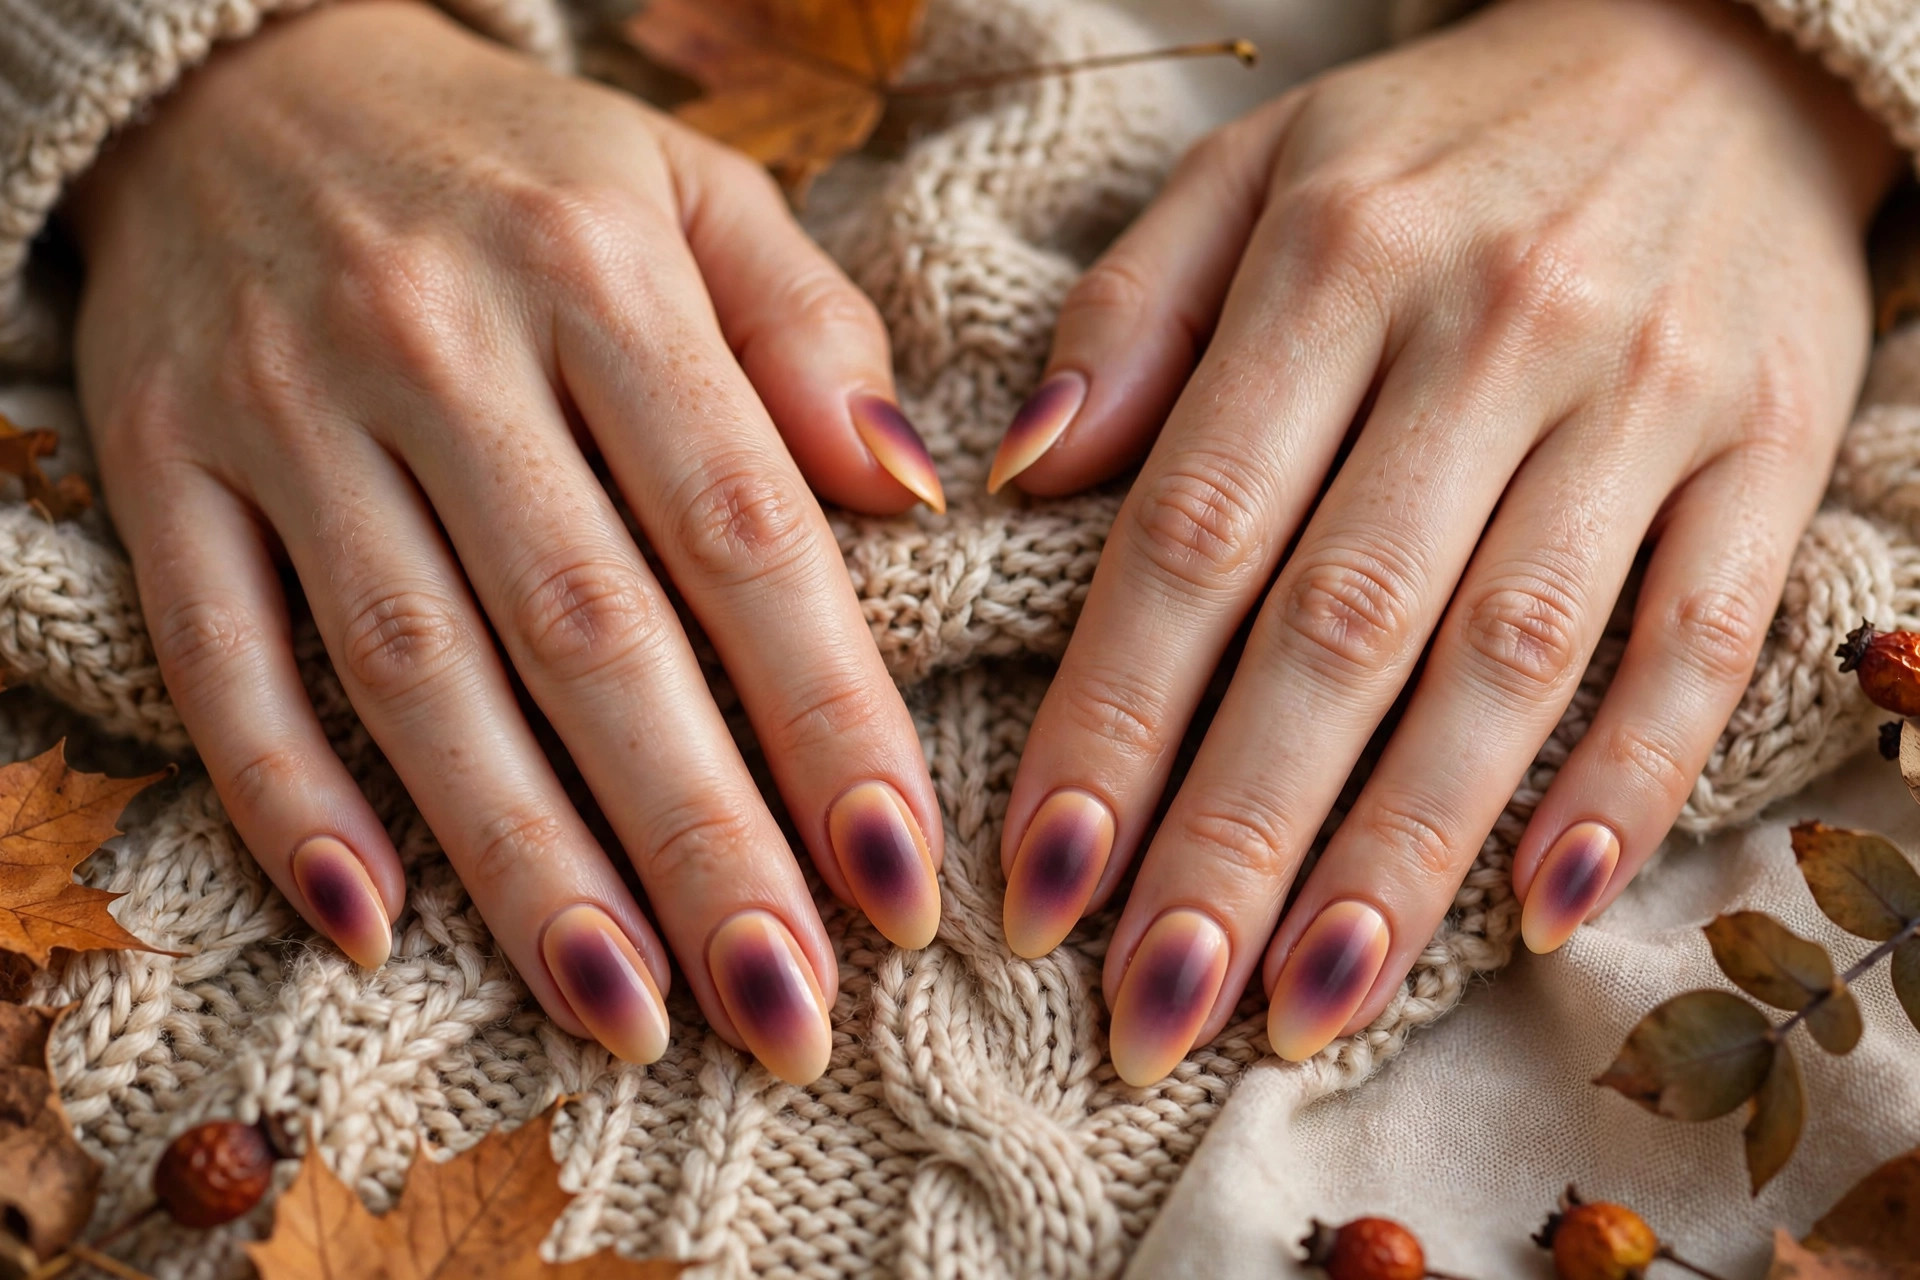
Quick answer: Aura nails are a gradient manicure where one colour blooms softly from the centre of the nail and fades into a second shade at the edges. Created with an airbrush in salons or a sponge at home, the look is dreamy, personal and very wearable for fall.
There is a reason aura nails stop thumbs mid-scroll. Each nail looks like a tiny aura photograph — colour blooming softly from the centre and dissolving into a contrasting shade at the edges, with no harsh lines anywhere. It is dreamy, artistic and quietly mesmerising, and this fall it has become a popular salon request. If you love nail art that feels personal and a little bit magical, aura nails deserve a place on your autumn wish list.
The look borrows its name and concept from aura photography, the colourful portraits said to capture a person’s energy field. Whether or not you believe in auras, the aesthetic translates beautifully to nails: soft gradients in colours that feel like you. In this guide, we explain what aura nails are, how professionals create that seamless airbrushed blend, eleven stunning colour combinations for fall, a surprisingly simple at-home method using a sponge, and how to choose colours and keep your gradient looking fresh.
What Are Aura Nails?
Aura nails are a gradient manicure where colour radiates from the centre of the nail and fades softly toward the edges, with no hard lines. Unlike ombré, which transitions from cuticle to tip, the aura effect blooms outward like a glow, and every colour combination can feel personal.
Aura nails are a gradient manicure in which one colour is concentrated in the centre of the nail and fades outward into a second (sometimes third) colour at the edges. Unlike an ombré manicure, where colour transitions vertically from cuticle to tip, the aura effect radiates from the middle — like a glow, a halo, or indeed an aura. The edges are deliberately soft and diffused; there are no stripes, no hard lines, just colour melting into colour.
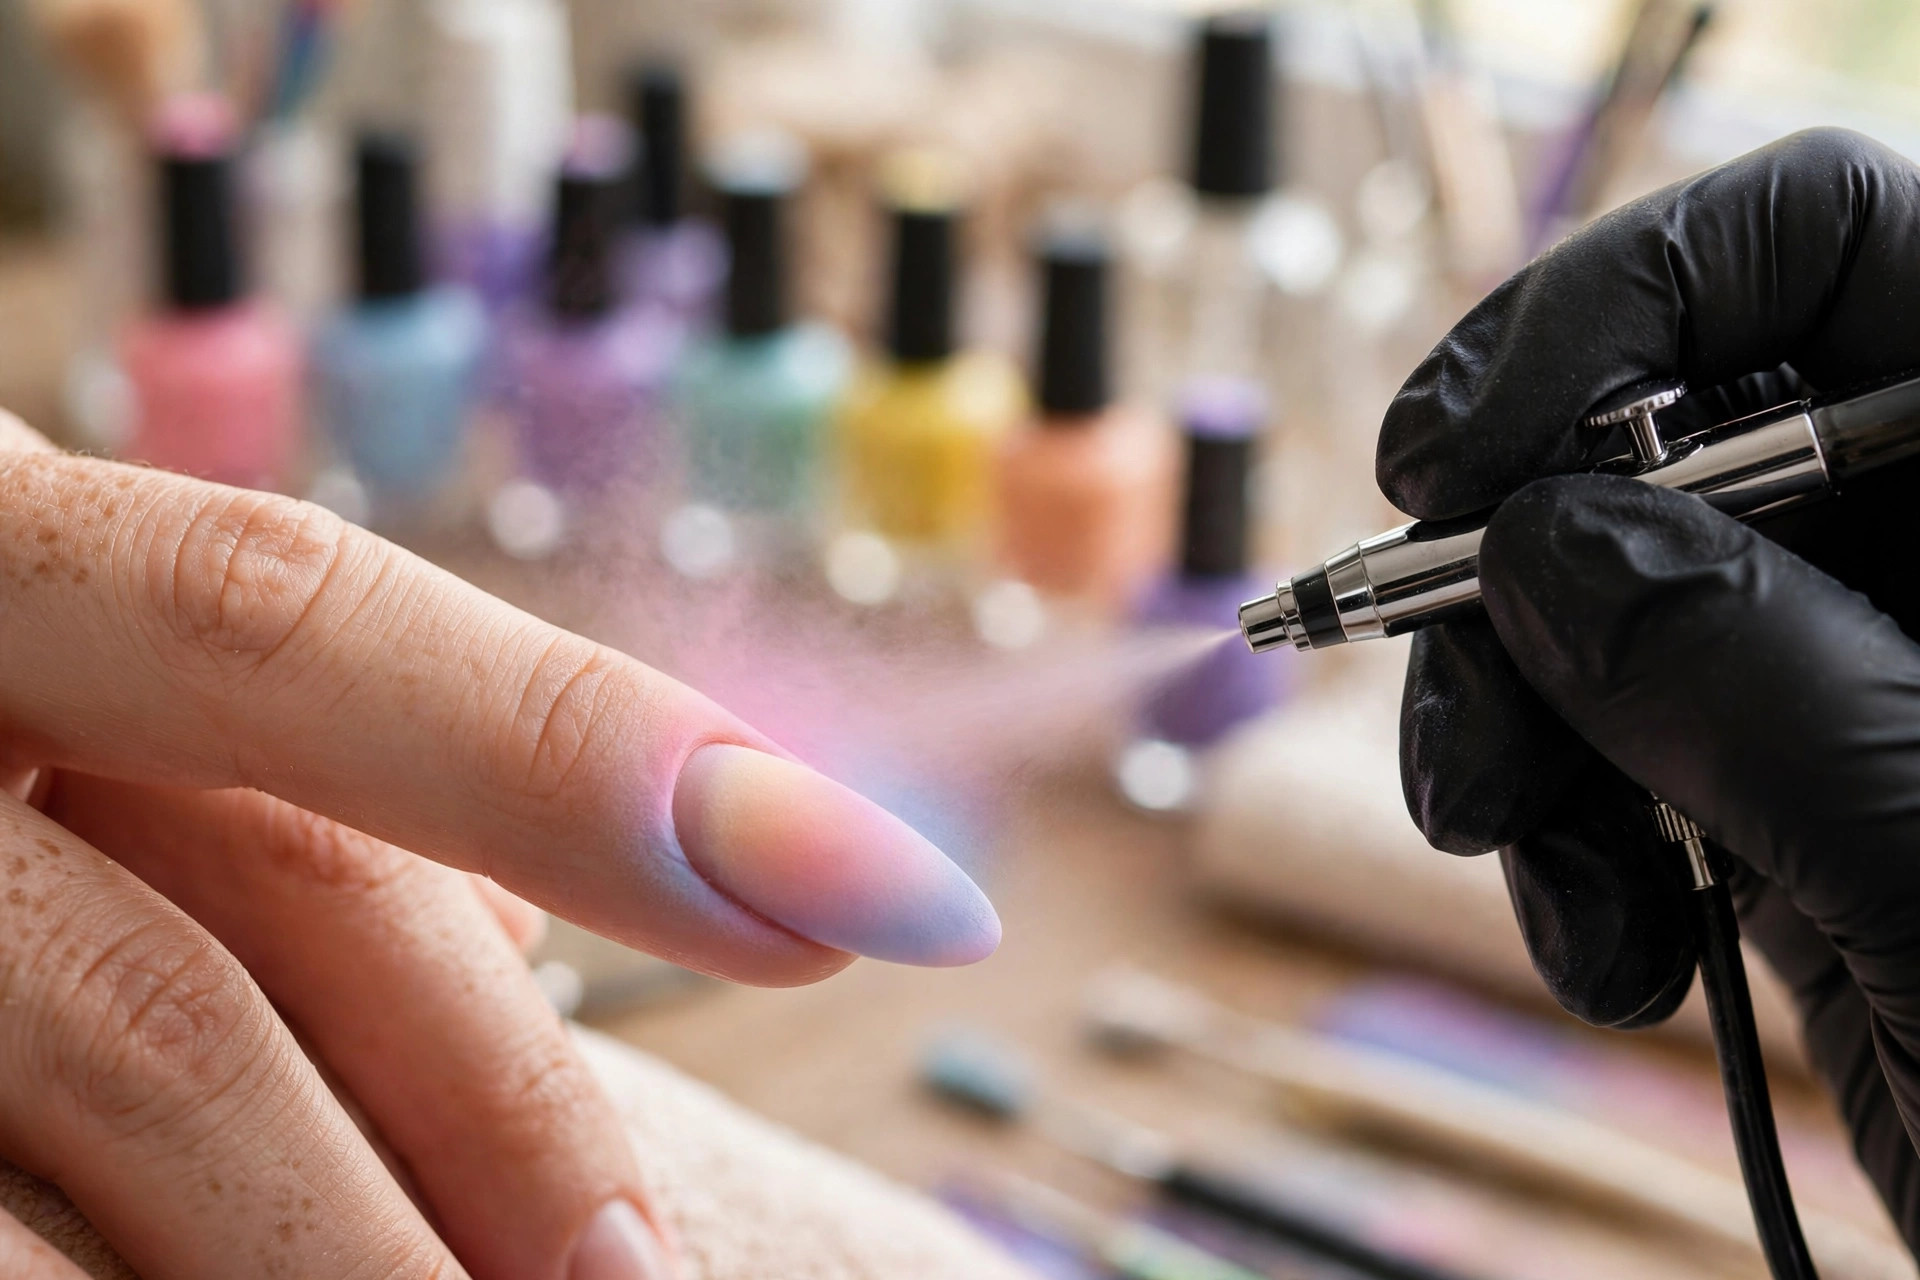
The look is created with an airbrush in professional settings, which sprays ultra-fine pigment for that seamless blend. At home, the same effect can be approximated with a makeup sponge and careful dabbing — more on that technique below. The base is usually a solid gel colour, and the aura “bloom” is layered on top before everything is sealed with a glossy top coat.
What makes aura nails special is their customisability. The colour combination can reflect your mood, your wardrobe, even your birthstone. Warm and cosy? Try chocolate fading into amber. Moody and mysterious? Deep plum blooming into black. Soft and romantic? Blush pink dissolving into cream. Every set is a little portrait — which is exactly why people are so attached to theirs.
How Is the Airbrushed Aura Gradient Created?
A salon aura manicure follows five steps: a cured gel base colour, airbrush setup, light misted passes of pigment blooming from the centre, careful cleanup for evenness, and a glossy top coat seal. The whole process adds roughly twenty to thirty minutes to a standard gel manicure.
Understanding the professional process helps you appreciate the skill involved — and explains why a good aura manicure is worth paying for. Here is how a technician typically builds the effect.
- Base colour application. After normal prep, two coats of the background gel colour are applied and cured. This is usually the lighter or more neutral of the two shades.
- Airbrush setup. The technician loads the airbrush with the second colour — often a gel polish thinned to airbrush consistency, or a dedicated airbrush pigment.
- The bloom. With the nail held steady, the airbrush mists pigment onto the centre of the nail in light passes. The technician builds the colour gradually, keeping the spray concentrated in the middle so it fades naturally toward the edges. This is the step that takes a practised hand — too much pigment and the gradient turns muddy; too little and the aura disappears.
- Refinement. Any overspray on the skin is cleaned up, and the gradient is checked for evenness across all ten nails.
- Seal and cure. A glossy top coat locks in the gradient and is cured. The shine is essential — it gives the aura its luminous, glowing quality.
The whole process adds perhaps twenty to thirty minutes to a standard gel manicure. When choosing a salon, ask specifically whether the technician has airbrush experience and request photos of previous aura sets — the difference between a skilled gradient and an amateur one is immediately visible.
Which Aura Nail Colours Work Best for Fall? 11 Ideas
Fall’s rich palette is a natural playground for aura nails, from cosy chocolate-to-amber to dramatic navy-to-silver. The eleven combinations below range from subtle to striking, so you can pick a soft everyday aura or a bold evening one.
Fall’s rich palette is a natural playground for aura nails. These eleven combinations range from subtle to striking — save your favourites.
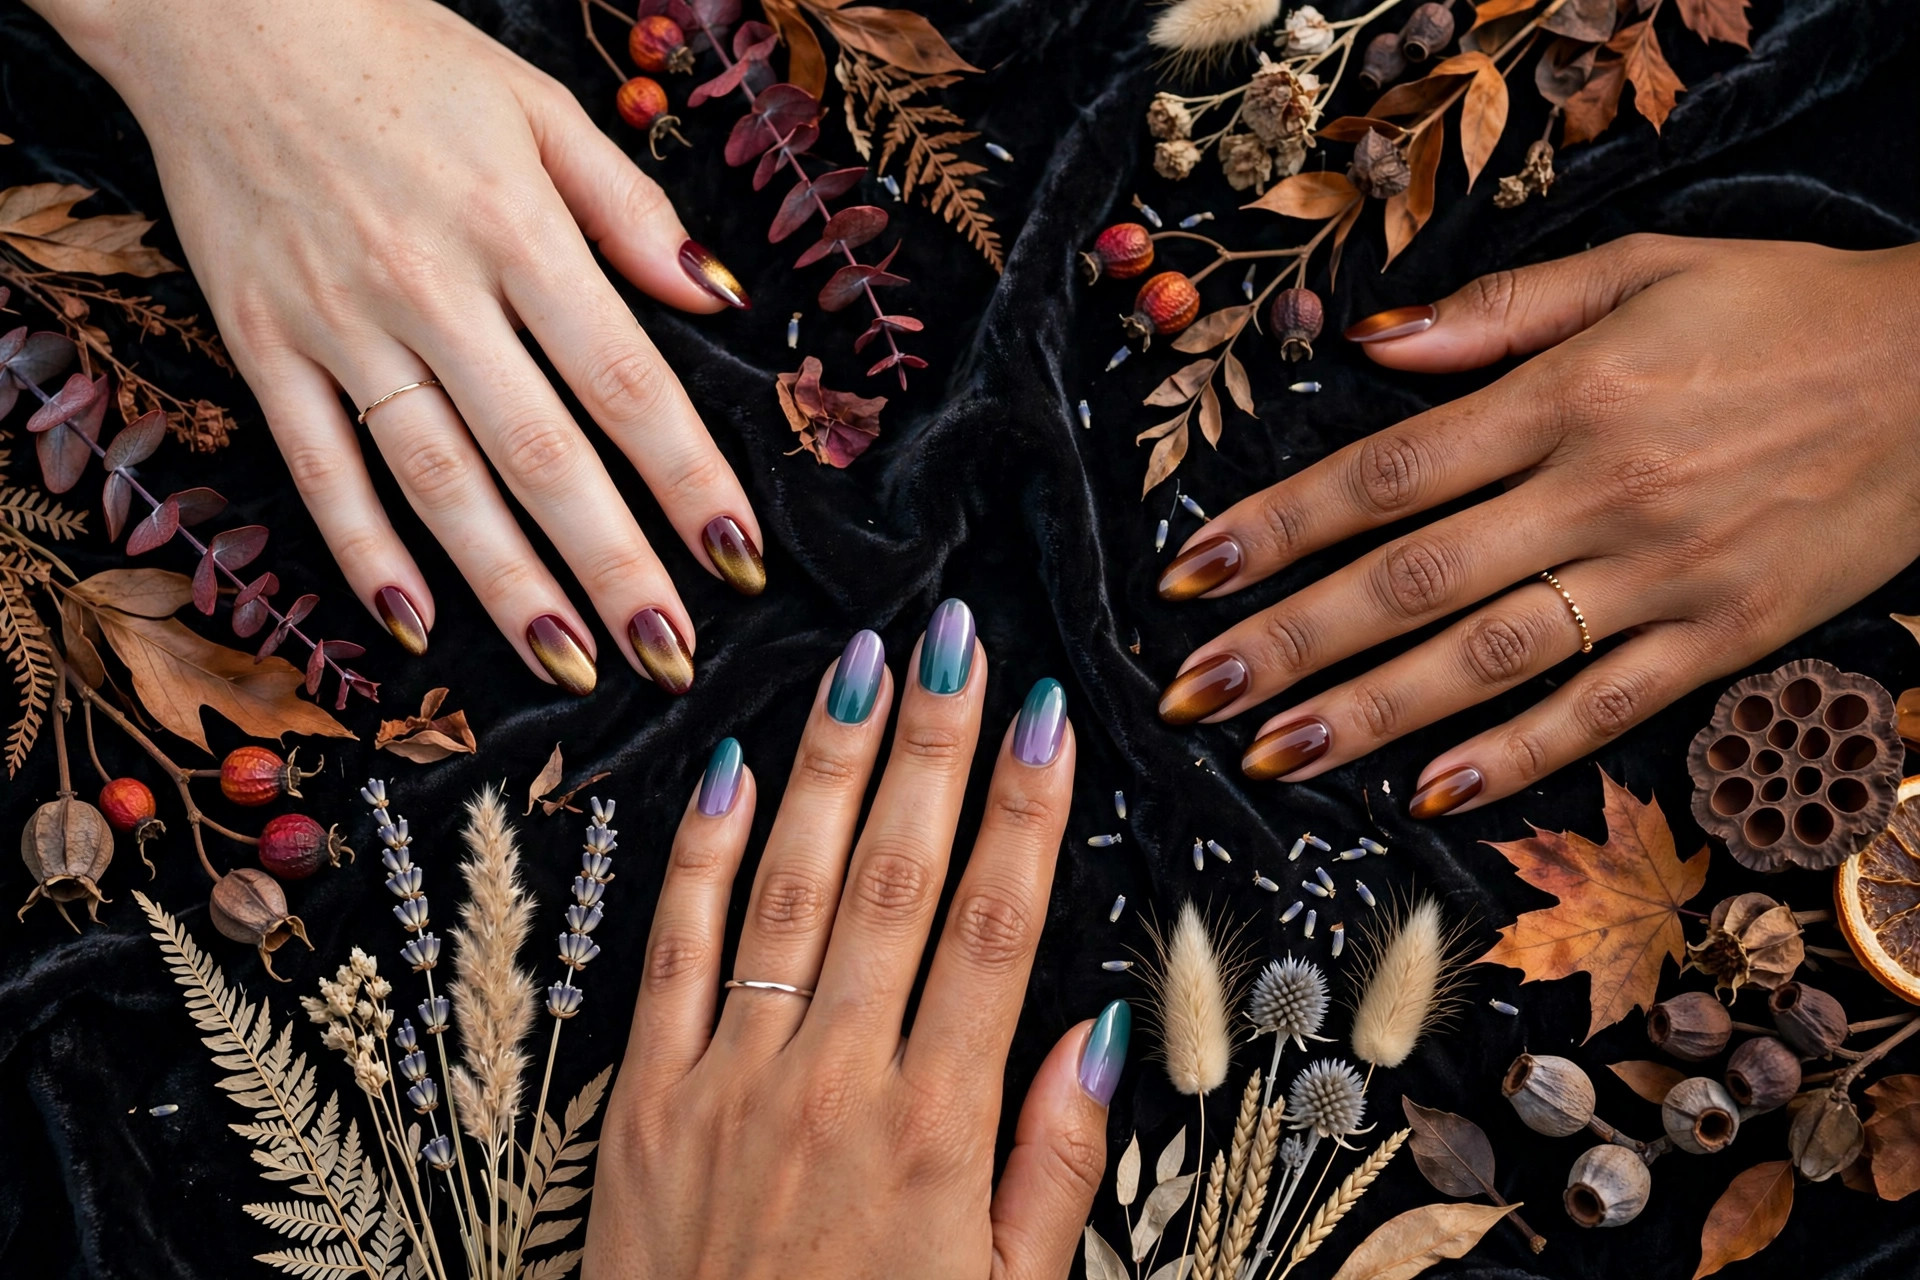
- Burgundy to gold. Deep red-burgundy centre blooming into warm gold edges. The quintessential autumn aura — rich, glowing, festive.
- Chocolate to amber. Dark cocoa centre fading into honey-amber. Cosy, delicious and incredibly flattering on deeper skin tones.
- Plum to lilac. Moody purple heart with soft lavender edges. Dreamy with an edge — beautiful for evenings.
- Espresso to cream. Dark coffee centre dissolving into milky cream. Chic, high-contrast and surprisingly wearable for work.
- Forest to sage. Deep green heart fading into soft sage. An unexpected, fashion-forward combination that feels very fall.
- Black cherry to rose. Near-black centre with a rosy bloom. Romantic, dramatic and gorgeous with dark lipstick.
- Burnt orange to peach. Fiery centre melting into soft peach. Like autumn leaves captured on your fingertips.
- Navy to silver. Midnight blue heart with a cool silver halo. The most striking cool-toned option — incredible under evening light.
- Teal to lavender. Jewel-toned centre with a dreamy purple fade. For those who like their autumn with a twist.
- Caramel to vanilla. Warm toffee centre blooming into creamy vanilla. The softest, most understated aura — perfect if you are gradient-curious but cautious.
- Oxblood to copper. Deep red-brown heart with metallic copper edges. Luxurious, seasonal and full of depth.
How Do You Create Aura Nails at Home With a Sponge?
The sponge method recreates the aura bloom without an airbrush: apply your base colour, dab a lightly loaded makeup sponge onto the centre of each nail in sheer layers, clean up the edges, and seal with a thick glossy top coat. Less polish and more layers is the whole secret.
No airbrush? No problem. The makeup-sponge method produces a genuinely lovely aura effect with products you may already own. It takes practice, but the technique is forgiving.
You will need: your base gel colour (or regular polish), a second polish for the aura bloom, a small makeup sponge (wedge sponges work well — cut one into a small piece), tweezers, a UV/LED lamp if using gel, and top coat.
- Apply and cure (or dry) your base colour as normal — two coats for full opacity.
- Paint a generous blob of your aura colour onto the sponge. Dab most of it off on paper — you want the sponge loaded but not dripping.
- Using tweezers to hold the small sponge piece, gently bounce-dab it onto the centre of the nail. Use light, repeated pats rather than pressing hard; build the colour in three to four sheer layers rather than one heavy one.
- For gel: cure between layers to prevent smudging. For regular polish: let each layer get tacky before adding the next.
- Clean up the edges and cuticles with a small brush dipped in remover (or acetone for gel, before curing).
- Seal with a thick, glossy top coat. This step visually smooths the gradient — do not skip it.
Your first attempt may look more “ombré blob” than “ethereal aura,” and that is completely fine. The most common beginner mistake is using too much polish on the sponge, which creates harsh edges. Less product, more layers, lighter hand — that is the entire secret. Practice on a nail wheel or a press-on nail before committing to your real nails.
One safety note worth keeping in mind: the NHS notes that cosmetics are among the substances that can trigger allergic contact dermatitis, so if a new polish or remover leaves the skin around your nails itchy or irritated, stop using it and let the skin settle.
How Do You Choose the Right Aura Colour Combination?
The right aura pairing comes down to contrast, undertone and wardrobe: high contrast reads bold, tonal pairings read soft, warm undertones glow with amber and gold, and a darker centre with lighter edges creates the classic glowing aura structure.
The difference between a stunning aura set and a forgettable one often comes down to colour pairing. A few principles help.
| Approach | What it looks like | Try it when |
|---|---|---|
| High contrast | Bold and graphic (espresso to cream, navy to silver) | You want a statement set |
| Tonal harmony | Soft and dreamy (caramel to vanilla, plum to lilac) | You want something understated |
| Dark centre, light edges | The classic glowing aura | You want the safest, most flattering structure |
| Light centre, dark edges | Striking and avant-garde | You want something more adventurous |
Consider your skin’s undertone. Warm undertones glow with amber, copper, peach and gold auras; cool undertones shine with silver, lilac, icy blue and rose. If you are unsure of your undertone, look at the veins on your wrist — greenish suggests warm, bluish suggests cool.
Think about your wardrobe. Your nails spend all day next to your clothes. An aura in burgundy and gold will harmonise with autumn’s camel coats and rust knits; a teal-to-lavender aura might clash with them. There is no rule against contrast, but cohesion usually looks more intentional.
When in doubt, go darker in the centre. The classic aura structure — deeper colour in the middle, lighter at the edges — creates the illusion of a glow. Reversing it (light centre, dark edges) can look striking too, but it reads as more avant-garde and is harder to pull off.
How Do You Make Your Aura Gradient Last?
Aura nails last like any gel manicure when you protect the top-coat seal, oil your cuticles daily, wear gloves for cleaning, and remove polish by soaking rather than peeling. With sensible care, a professional set looks dreamy for two to three weeks.
Aura nails use the same gel foundations as any gel manicure, so the standard longevity rules apply — with a couple of gradient-specific notes.
- Protect the seal. The top coat is doing extra work here, smoothing and protecting the gradient layers. Wear gloves for cleaning, and avoid picking at the edges.
- Moisturise cuticles daily. Cuticle oil keeps the skin around the gradient healthy and prevents lifting, which is more visible on gradient designs.
- Refresh the shine. If the top coat starts to dull after ten days or so, a thin layer of regular clear polish (air-dry kind) can revive the gloss temporarily.
- Mind the grow-out. Choose a base colour close to your natural nail if you want the regrowth line to be less obvious between appointments.
- Remove safely. File gently through the top layers and soak off with acetone — never peel. Peeling is especially damaging with multi-layer designs like auras.
Good everyday nail habits help too: the American Academy of Dermatology advises keeping nails clean and dry and never biting nails or removing the cuticle, since both actions damage the nail and increase the risk of infection.
With sensible care, a professional aura manicure lasts two to three weeks, and the gradient often looks just as dreamy on day fourteen as on day one — soft colour transitions are very forgiving of minor wear.
Aura nails are proof that the most captivating beauty trends are often the softest ones. No harsh lines, no loud statements — just colour, light and a little bit of magic on your fingertips. Choose the combination that feels like you, wear it with your favourite autumn knit, and enjoy the quiet compliments. They will come.
Leave a Reply