
Last updated: November 2026
Quick answer: Making your own Christmas gift tags is easier than it looks. With kraft paper, ribbon, stamps and a few pens, you can create pretty, personal tags in a single evening. This guide walks you through simple styles, step by step, so every present feels thoughtful.
A handwritten tag can turn even the simplest present into something special. If you love the idea of diy christmas gift tags easy ideas, you will be glad to know that you do not need fancy tools or years of craft experience. A few sheets of paper, some ribbon, and a quiet evening are truly enough. In our experience, handmade tags are the details people remember, because they show care before the present is even opened. This guide shares simple styles, from kraft paper to dried orange slices, with clear steps for each one.
What Supplies Do I Need for DIY Christmas Gift Tags Easy Ideas?
You need very little to start making gift tags. A few sheets of card, scissors, ribbon, and a pen will cover most styles. Gather everything before you begin, so the evening stays relaxed and fun.
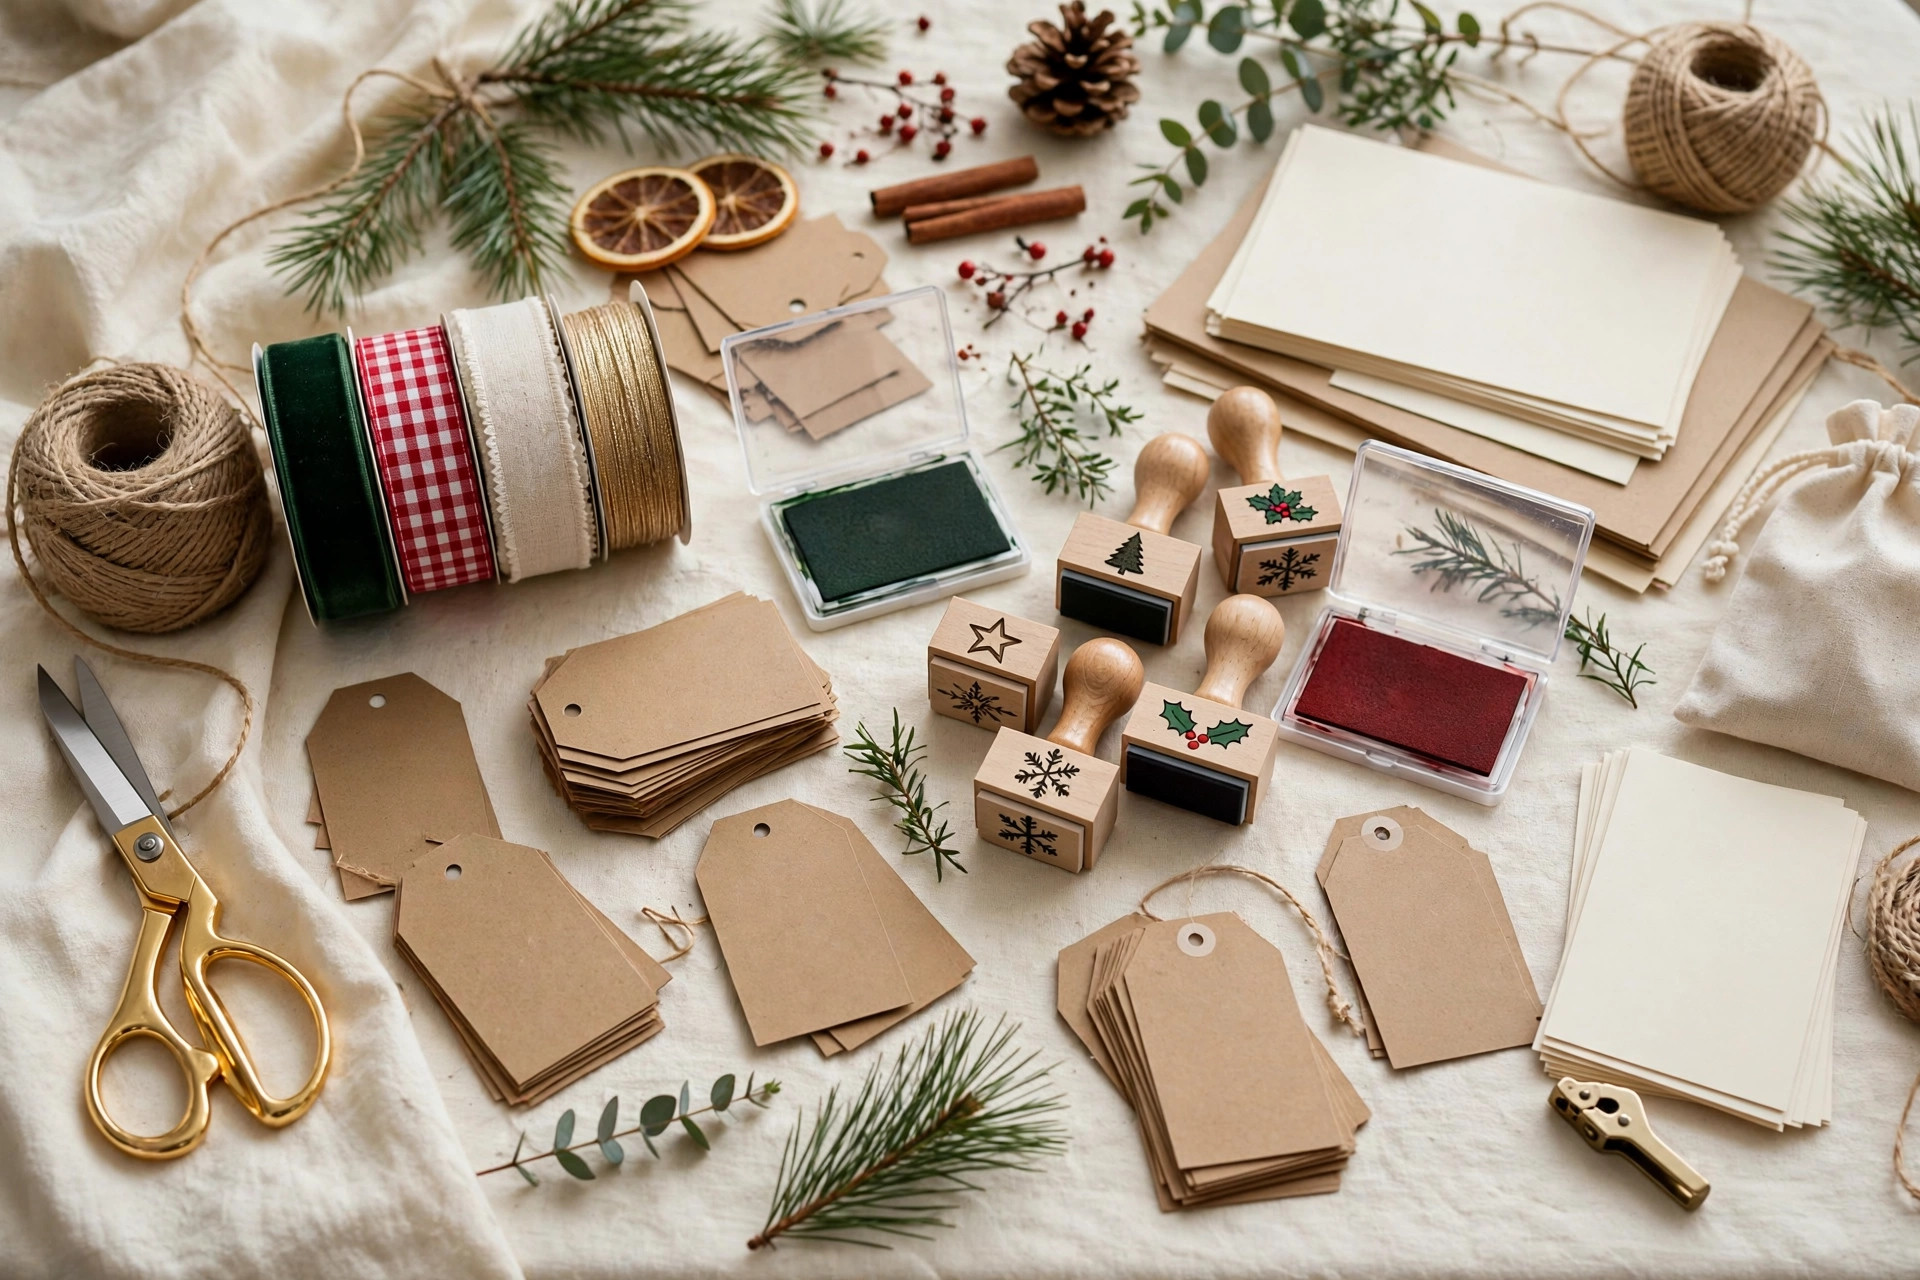
Most gift tags start with the same small kit, and you may already have much of it at home. Medium-weight card is the base for nearly every style, so choose kraft card, plain white card, or watercolour paper. Add sharp scissors, a hole punch, ribbon or twine, and a pen that writes smoothly. A ruler and pencil help you cut straight lines, while stamps, ink pads, and a few sprigs of greenery add lovely detail. In our experience, a tidy craft table makes the whole evening feel calmer and more enjoyable.
Your basic tag-making kit:
- Medium-weight card in kraft, white, or cream.
- Sharp scissors and a hole punch.
- Ribbon, twine, or string.
- Pens, stamps, and an ink pad.
- A ruler and a soft pencil.
How Do I Make Simple Kraft Paper Tags?
Kraft paper tags are the easiest place to start. The warm brown paper looks beautiful with ribbon and a handwritten message, and the style suits almost every present. One sheet of card makes a whole pile of tags.
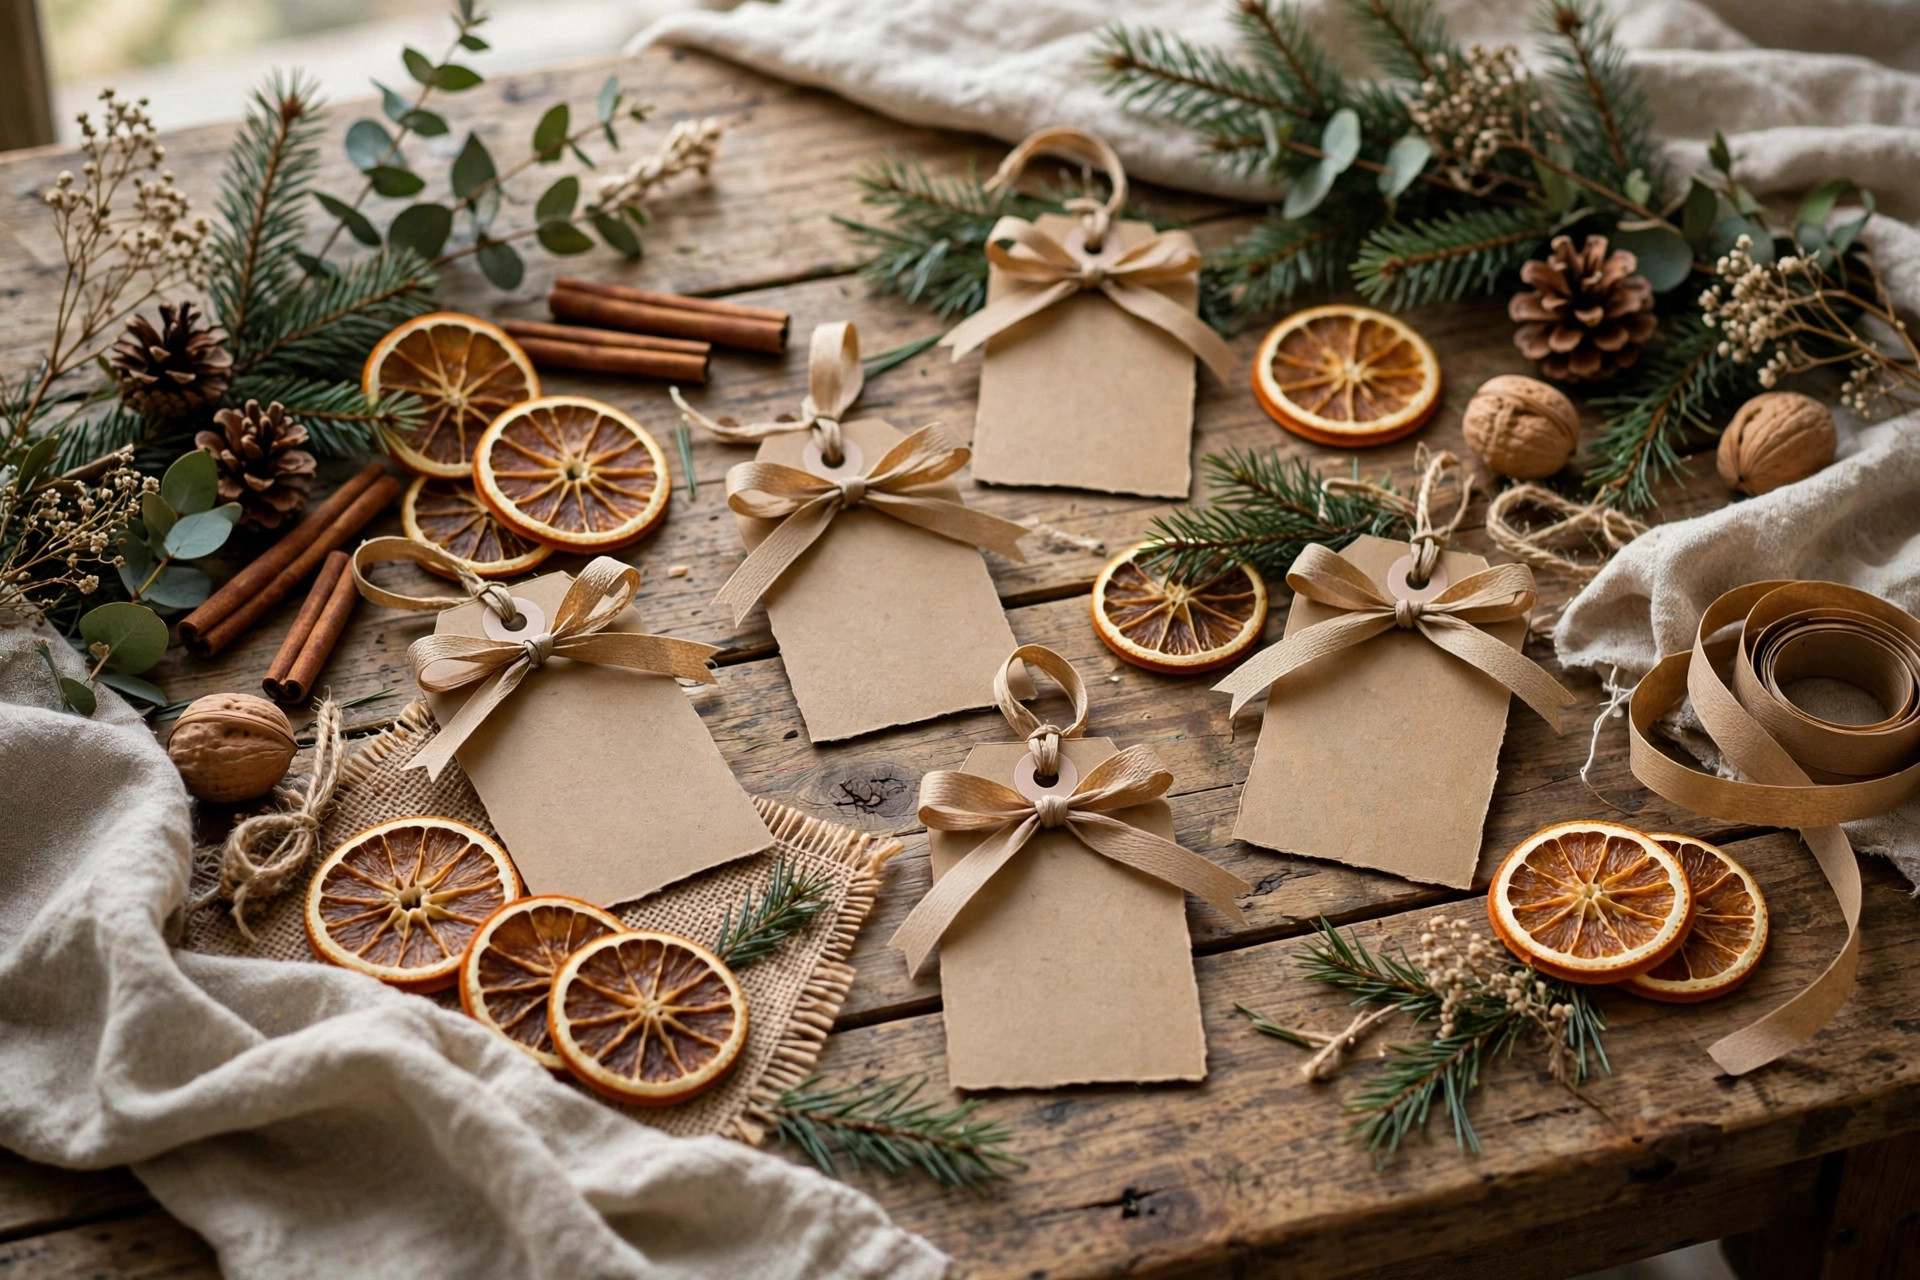
Kraft tags are wonderfully forgiving, which makes them perfect for a first attempt. Cut your card into rectangles about the size of a playing card, then snip the top corners to make a gentle point. Punch a hole near the point, and thread a short length of ribbon or twine through it. Write the name in your best handwriting, and add a tiny sprig of rosemary or a dried orange slice for a festive touch. The warm brown paper suits every wrapping paper, from plain brown to deep red, so these tags never clash.
- Cut the kraft card into tag shapes.
- Punch a hole near the pointed end.
- Thread ribbon or twine through the hole.
- Write the name and a short message.
- Add a sprig of greenery or a dried orange slice.
What Is a Watercolour Wash Tag, and How Do I Make One?
A watercolour wash tag is a plain tag painted with a soft sweep of colour. It looks artistic but takes only minutes, and no two tags ever look the same. Even a first attempt looks lovely once it dries.
A watercolour wash sounds fancy, but it is one of the simplest styles of all. Cut your tags from watercolour paper or thick white card, then wet the surface lightly with clean water and a wide brush. Touch a little paint to the wet paper and watch it bloom into soft, dreamy colour. Deep green, dusty pink, and warm gold all look beautiful at Christmas. Let the tags dry completely flat before you write on them, because wet paper tears easily and ink will smudge. Once dry, add the name in a dark pen and thread ribbon through the hole. In our experience, the wonky washes often look the most charming, so do not worry about perfection.
Tips for a lovely wash:
- Use plenty of water and very little paint.
- Let colours blend on the paper, not in the pot.
- Dry the tags flat, away from radiators.
- Write only when the paper feels completely dry.
How Do I Make Stamped and Photo Gift Tags?
Stamps and photographs turn plain tags into keepsakes. A single stamped star or sprig looks elegant, while a small photo makes the gift feel deeply personal. Both styles are quick, simple, and lovely to make together.
Stamped tags are a joy to make, because one good stamp can decorate a whole pile in minutes. Press the stamp firmly onto an ink pad, then press it onto the tag with even pressure and lift it straight up. A star, a sprig of holly, or a simple snowflake all look beautiful on plain card. Photo tags take a little more care, but they are worth it. Print small photos at home or use spare prints, then glue one to the front of each tag and trim the edges neatly. Handwritten greetings have a long history. The V&A Museum tells us that the first Christmas card was sent in 1843, when Henry Cole asked artist John Callcott Horsley to design a card he could send to friends. Your handmade tag carries on that same thoughtful tradition.
Two keepsake styles, side by side:
- Stamped tags: one stamp, one ink pad, plain card.
- Photo tags: a small print glued to a plain tag.
- Both suit a simple ribbon and a handwritten name.
What Should I Write on a Christmas Gift Tag?
The message matters more than perfect handwriting. A warm sentence, a small joke, or a simple wish is all you need. Write slowly, leave space around the words, and let the message feel personal.

The loveliest tag messages are short and sincere. Start with the name, then add a line that suits the person, such as a warm wish, a tiny joke, or a memory you share. You do not need fancy words, and you do not need to fill the tag. A little white space makes the handwriting look calmer and more elegant. If your handwriting wobbles, write slowly and press lightly, or practise on scrap paper first. In our experience, the tags people keep are the ones with a personal line, not the ones with perfect lettering. Sign your name, add a small drawn heart or star, and the tag is done.
Message ideas to borrow:
- With love, and a little sparkle, for you.
- Made with love, just for you.
- Hope this makes you smile.
- For my favourite person this Christmas.
How Do I Tie and Attach a Gift Tag So It Looks Lovely?
Tying the tag is the finishing touch. A simple loop of ribbon or twine, tied in a small bow, holds the tag neatly on any present. Take a moment to check it sits straight before you set the gift down.

Thread the ribbon through the hole in the tag, then loop it around the present or tuck it under the bow. Tie a small, neat bow and trim the ends at a slant so they look tidy. If the present is already wrapped, slip the ribbon under the wrapping ribbon before you tie it, so the tag sits flat. Twine suits rustic wrapping, while velvet ribbon suits a more elegant parcel. When the celebrations end, remember that plain paper tags can usually go in the paper recycling, but tags covered in glitter or foil cannot. Recycle Now explains which Christmas paper can be recycled, so check their guide before you bin anything.
Attaching tips:
- Keep the bow small so the tag stays visible.
- Trim ribbon ends at a slant for a tidy finish.
- Make sure the name faces outwards.
How Do I Make a Whole Batch of DIY Christmas Gift Tags Easy Ideas in One Evening?
A batch evening is the cosy way to make all your tags at once. Set up a little craft station, put on gentle music, and work through the styles one by one. An hour or two is enough for the whole pile.
Start by counting how many tags you need, then add a few spares for surprise presents. Cut all your tag shapes first, then work in stages: paint the watercolour washes and leave them to dry, stamp the plain tags while you wait, and write the messages last when everything is dry. Working this way keeps the evening relaxed, because you are never waiting around with wet paint. In our experience, a tag-making evening is half craft and half cosy catch-up, which is exactly why it feels so special.
| Tag style | Time per tag | Best for |
|---|---|---|
| Kraft paper | About five minutes | Every present |
| Watercolour wash | About ten minutes | Special gifts |
| Stamped | About three minutes | Big batches |
| Photo tag | About ten minutes | Close family |
Your Questions About DIY Christmas Gift Tags
These are the questions we hear most about making gift tags at home. The answers are short and practical, so you can get crafting with confidence. Read on, then gather your supplies and begin.
What paper works best for handmade gift tags?
Medium-weight card works best, because it holds its shape and takes ink well. Kraft card, watercolour paper, and plain white card are all lovely choices. Avoid very thin paper, as it tears easily and flops over when tied.
Can children help make Christmas gift tags?
Yes, children love this craft. Give them safe scissors, stickers, and chunky stamps, and let them decorate freely. Their tags often become the most treasured ones, so save a few to use on family presents.
How do I stop the ink from smudging?
Let each layer dry fully before you add the next, and use a pen that suits your paper. Fine-tip pens work well on smooth card, while a soft pencil is kind on watercolour paper. Test on a scrap piece first.
How far ahead can I make my gift tags?
You can make them weeks ahead, as long as you store them flat in a dry place. Keep them in an envelope or a box, away from damp and sunlight, and they will stay crisp until you are ready to wrap.
Handmade gift tags are a small thing, but they carry a big message, that you cared enough to make something by hand. So gather your paper and ribbon, put the kettle on, and enjoy a quiet crafting evening. Your presents will look all the lovelier for it, and the people you love will notice. Happy making, and a very merry Christmas from all of us here.
Leave a Reply