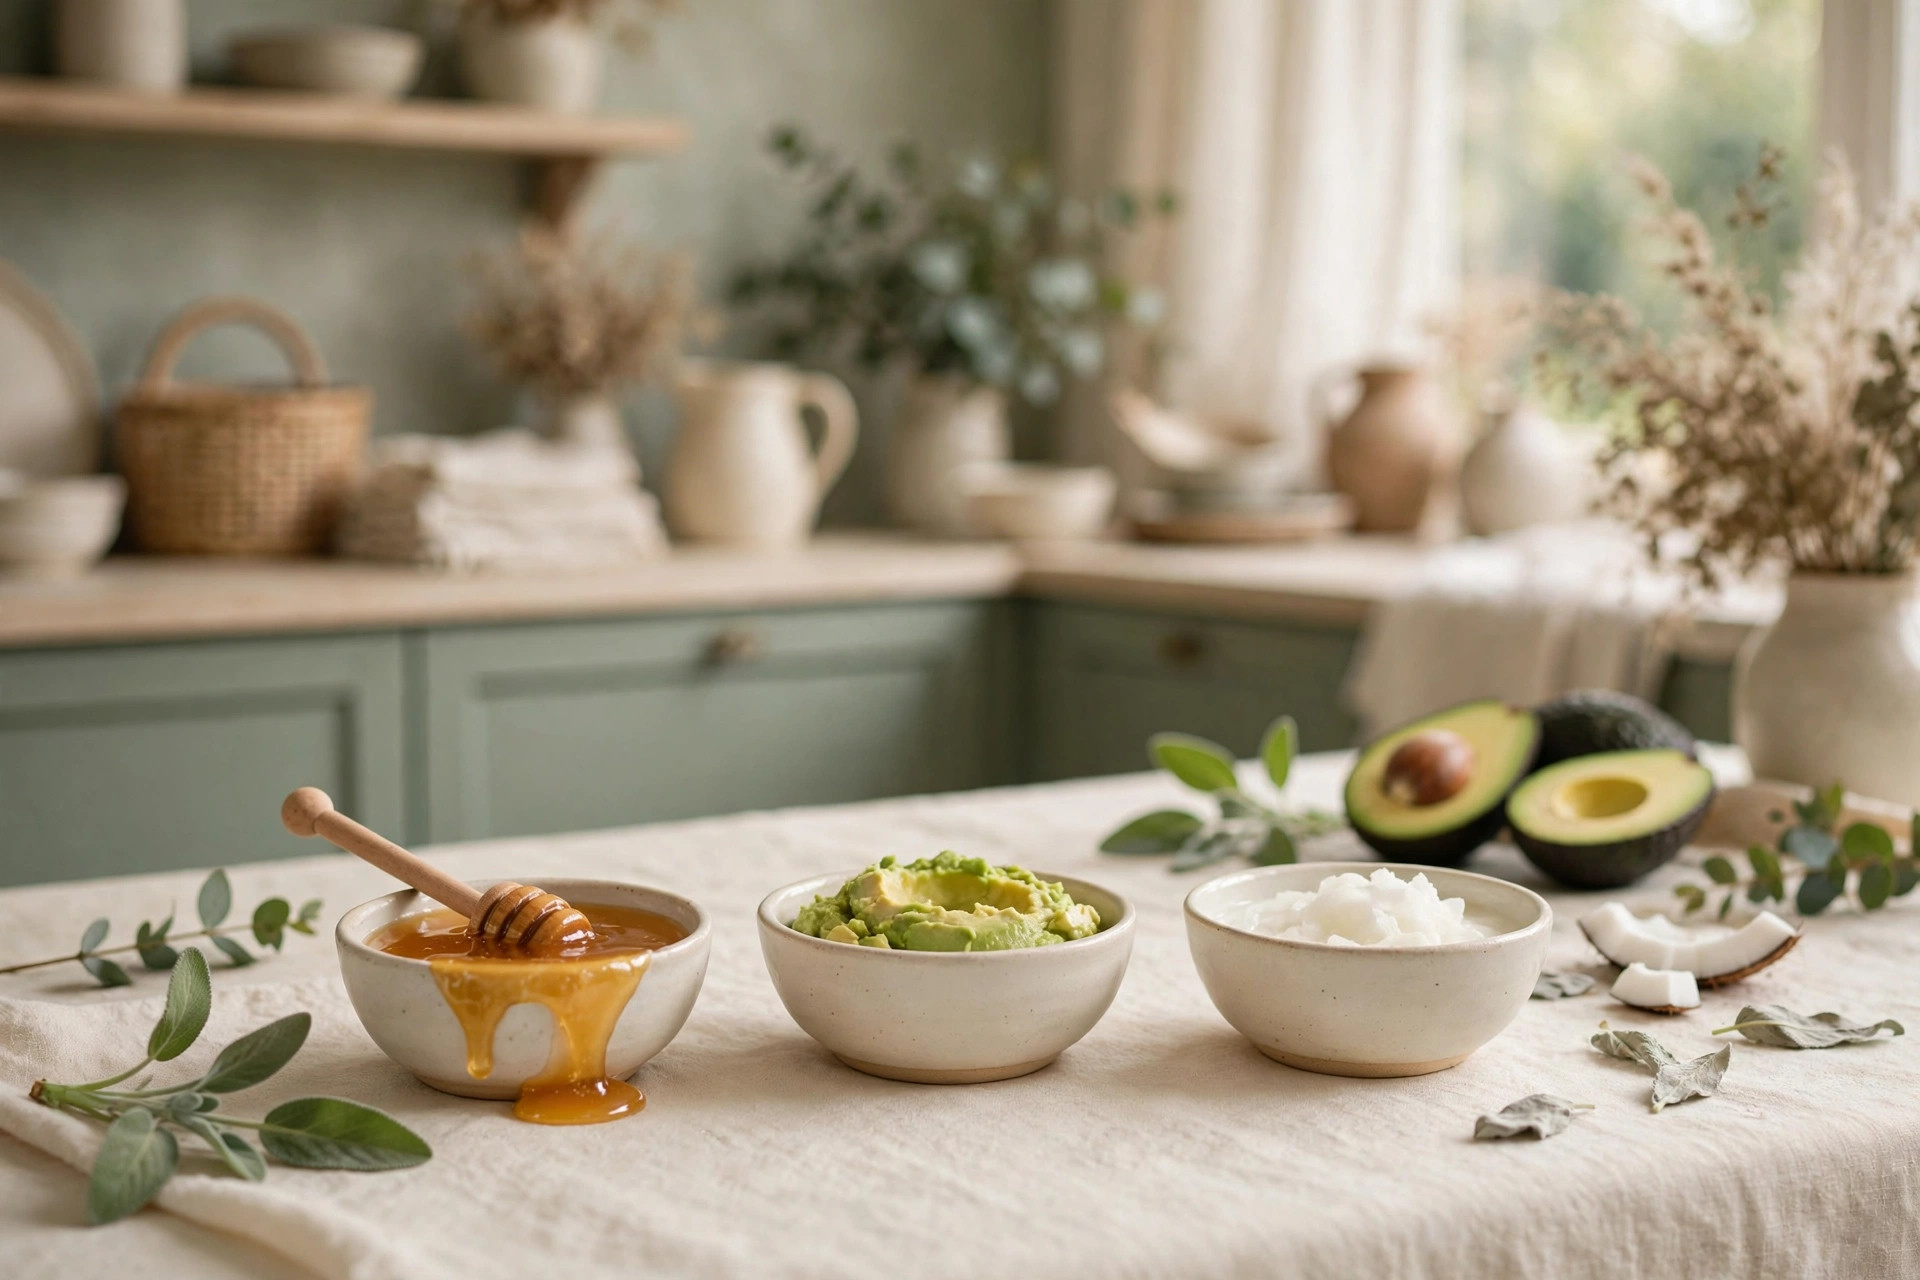
Some of the best hair treatments aren’t in the beauty aisle — they’re in your kitchen. Long before hair masks came in sleek jars with French names, people were putting honey, oils, and avocado on their hair, and their hair looked fantastic. Kitchen ingredients are simple, cheap, free of mystery chemicals, and surprisingly effective.
That said, DIY doesn’t mean throwing random food on your head and hoping. Different ingredients do different things, and the wrong mask for your hair type can leave you greasy or weighed down. Here are five recipes that actually work, matched to what your hair needs.
Before You Mix: Know What Your Hair Needs
- Dry, thirsty hair needs moisture and sealing oils — honey, avocado, coconut oil.
- Dull, lifeless hair needs smoothing and shine — yogurt, banana, apple cider vinegar rinse.
- Damaged, brittle hair needs protein and repair — egg, yogurt, olive oil.
- Oily scalp with dry ends needs a targeted approach — mask the lengths only, never the scalp.
One safety note: patch test any new ingredient on your inner arm first, especially if you have food allergies or sensitive skin. Natural doesn’t mean hypoallergenic — plenty of people react to natural ingredients.
1. The Deep Moisture Mask (Dry Hair)
You need: 1 ripe avocado, 2 tablespoons honey, 2 tablespoons olive oil.
Mash the avocado until completely smooth — lumps are the enemy here; they get stuck in hair and won’t rinse out. A fork works, a blender works better. Stir in the honey and olive oil until you have a creamy, uniform paste.
Why it works: avocado is rich in fatty acids and vitamins that soften hair; honey is a humectant that draws in moisture; olive oil seals it all in. This is the heavy-duty rescue for hair that’s dry from heat styling, coloring, or winter air.
2. The Shine Booster (Dull Hair)
You need: 1/2 cup plain full-fat yogurt, 1 tablespoon honey, 1 teaspoon apple cider vinegar.
Whisk everything together until smooth. The yogurt’s lactic acid gently smooths the hair’s surface, which is what creates shine — dull hair is usually just rough-surfaced hair scattering light instead of reflecting it.
Why it works: this mask smooths the cuticle without weighing hair down, so it’s excellent for fine hair that gets greasy from heavier masks. The vinegar smell rinses out completely, I promise.
3. The Strength Repair (Damaged, Brittle Hair)
You need: 1 egg, 2 tablespoons coconut oil (melted and cooled), 1 tablespoon honey.
Whisk the egg first, then stir in the cooled coconut oil and honey. Important: the oil must be cooled, not warm — hot oil plus egg equals breakfast in your hair, and that’s a different problem entirely. Also rinse this mask out with lukewarm water, never hot, for the same reason.
Why it works: egg provides protein that temporarily patches damaged spots in the hair shaft, while coconut oil penetrates the hair better than most oils. Use this one monthly — too much protein makes hair stiff and brittle, which is the opposite of the goal.
4. The Scalp Refresh (Oily Scalp, Product Buildup)
You need: 2 tablespoons aloe vera gel (pure, not the green after-sun kind), 1 tablespoon honey, 5 drops tea tree oil (optional).
Mix into a gel and massage into the scalp — not the lengths — for two minutes before your shower. Leave it for ten minutes while you do something else.
Why it works: aloe soothes and lightly clarifies, honey keeps it from being drying, and tea tree has natural antimicrobial properties. This is a scalp treatment, not a hair mask — keep it off your ends, which don’t need clarifying.
5. The Banana Softness Mask (Frizzy, Rough Hair)
You need: 1 very ripe banana, 2 tablespoons coconut milk, 1 tablespoon honey.
Blend until absolutely silky — this is the one recipe where a blender is mandatory, not optional. Banana chunks do not rinse out of hair; they just relocate. Strain through a fine sieve if you’re nervous.
Why it works: ripe banana is full of potassium and natural oils that soften coarse or frizzy hair, and coconut milk adds lightweight moisture. Hair feels noticeably silkier after one use.
How to Apply Any Hair Mask
The application matters as much as the recipe:
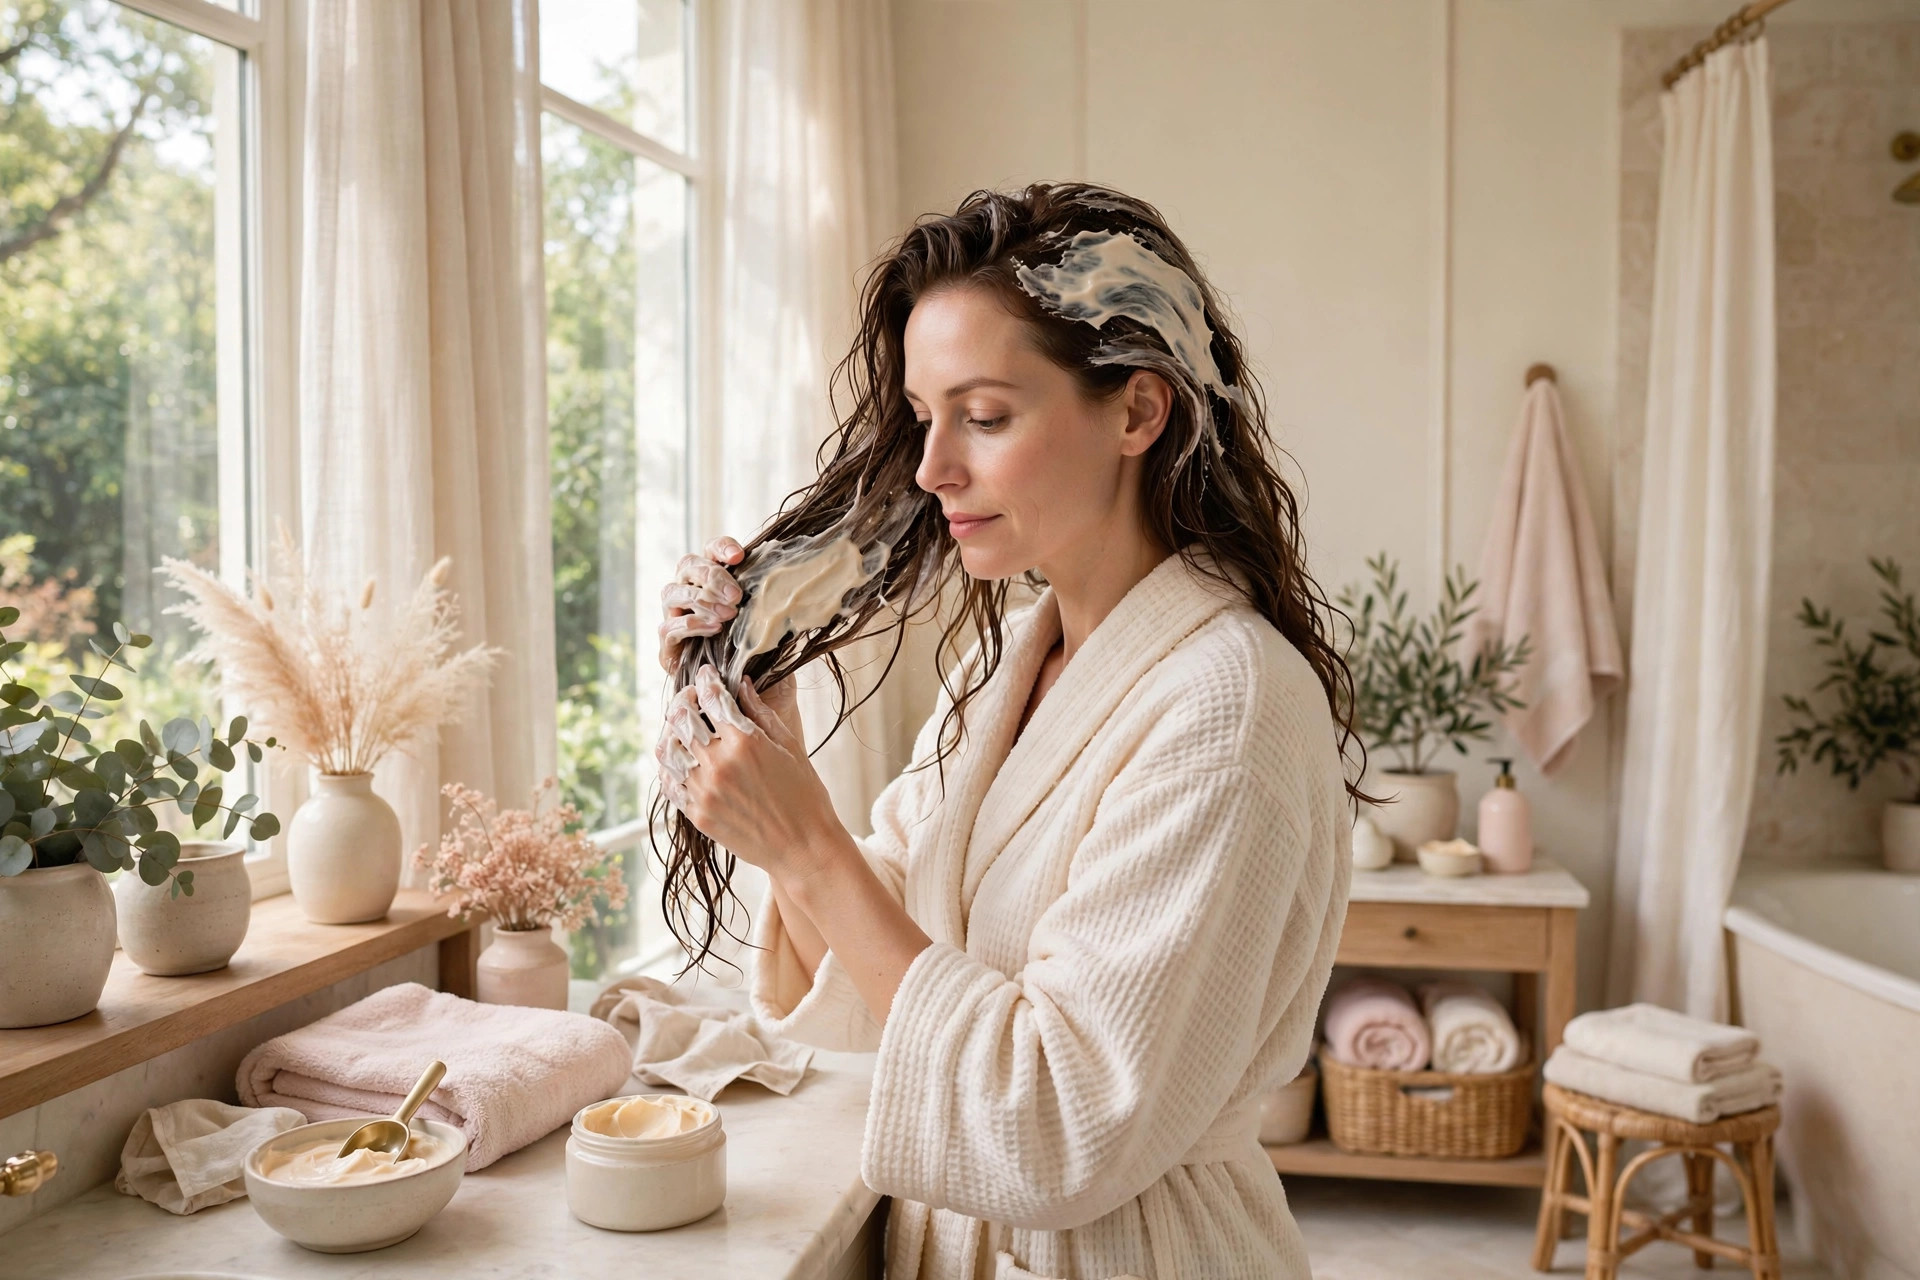
1. Start with damp, towel-dried hair — not dripping wet, not dry. Damp hair absorbs treatments better.
2. Apply from mid-length to ends first, where hair is oldest and driest. Only apply to roots if the recipe is specifically a scalp treatment.
3. Work it through with your fingers or a wide-tooth comb so every strand is coated.
4. Pile your hair up and cover with a shower cap or warm towel. The gentle heat helps the ingredients penetrate — ten minutes under a warm towel meaningfully improves results.
5. Leave on for 20 to 30 minutes. Longer isn’t better; after about half an hour, most masks have done all they’re going to do.
6. Rinse thoroughly with lukewarm water, then shampoo as normal — you may need two shampoos for oil-heavy masks. Condition lightly on the ends if they still feel dry.
How Often and What to Expect
Once a week is the sweet spot for most hair; very dry or damaged hair can handle twice a week. You’ll notice softness immediately after the first use, but real transformation — stronger, shinier, healthier-feeling hair — builds over a month of consistent use.
Be realistic about what kitchen masks can and can’t do. They moisturize, soften, add shine, and temporarily strengthen. They can’t repair split ends (only a trim does that), change your hair’s texture, or replace professional treatments for severely damaged hair. They’re maintenance and nourishment, not miracles — and as maintenance, they’re excellent.
Store any leftover mask in the fridge and use within two days, or better yet, mix only what you need. Fresh ingredients without preservatives don’t keep.
The Pantry Staples Worth Keeping
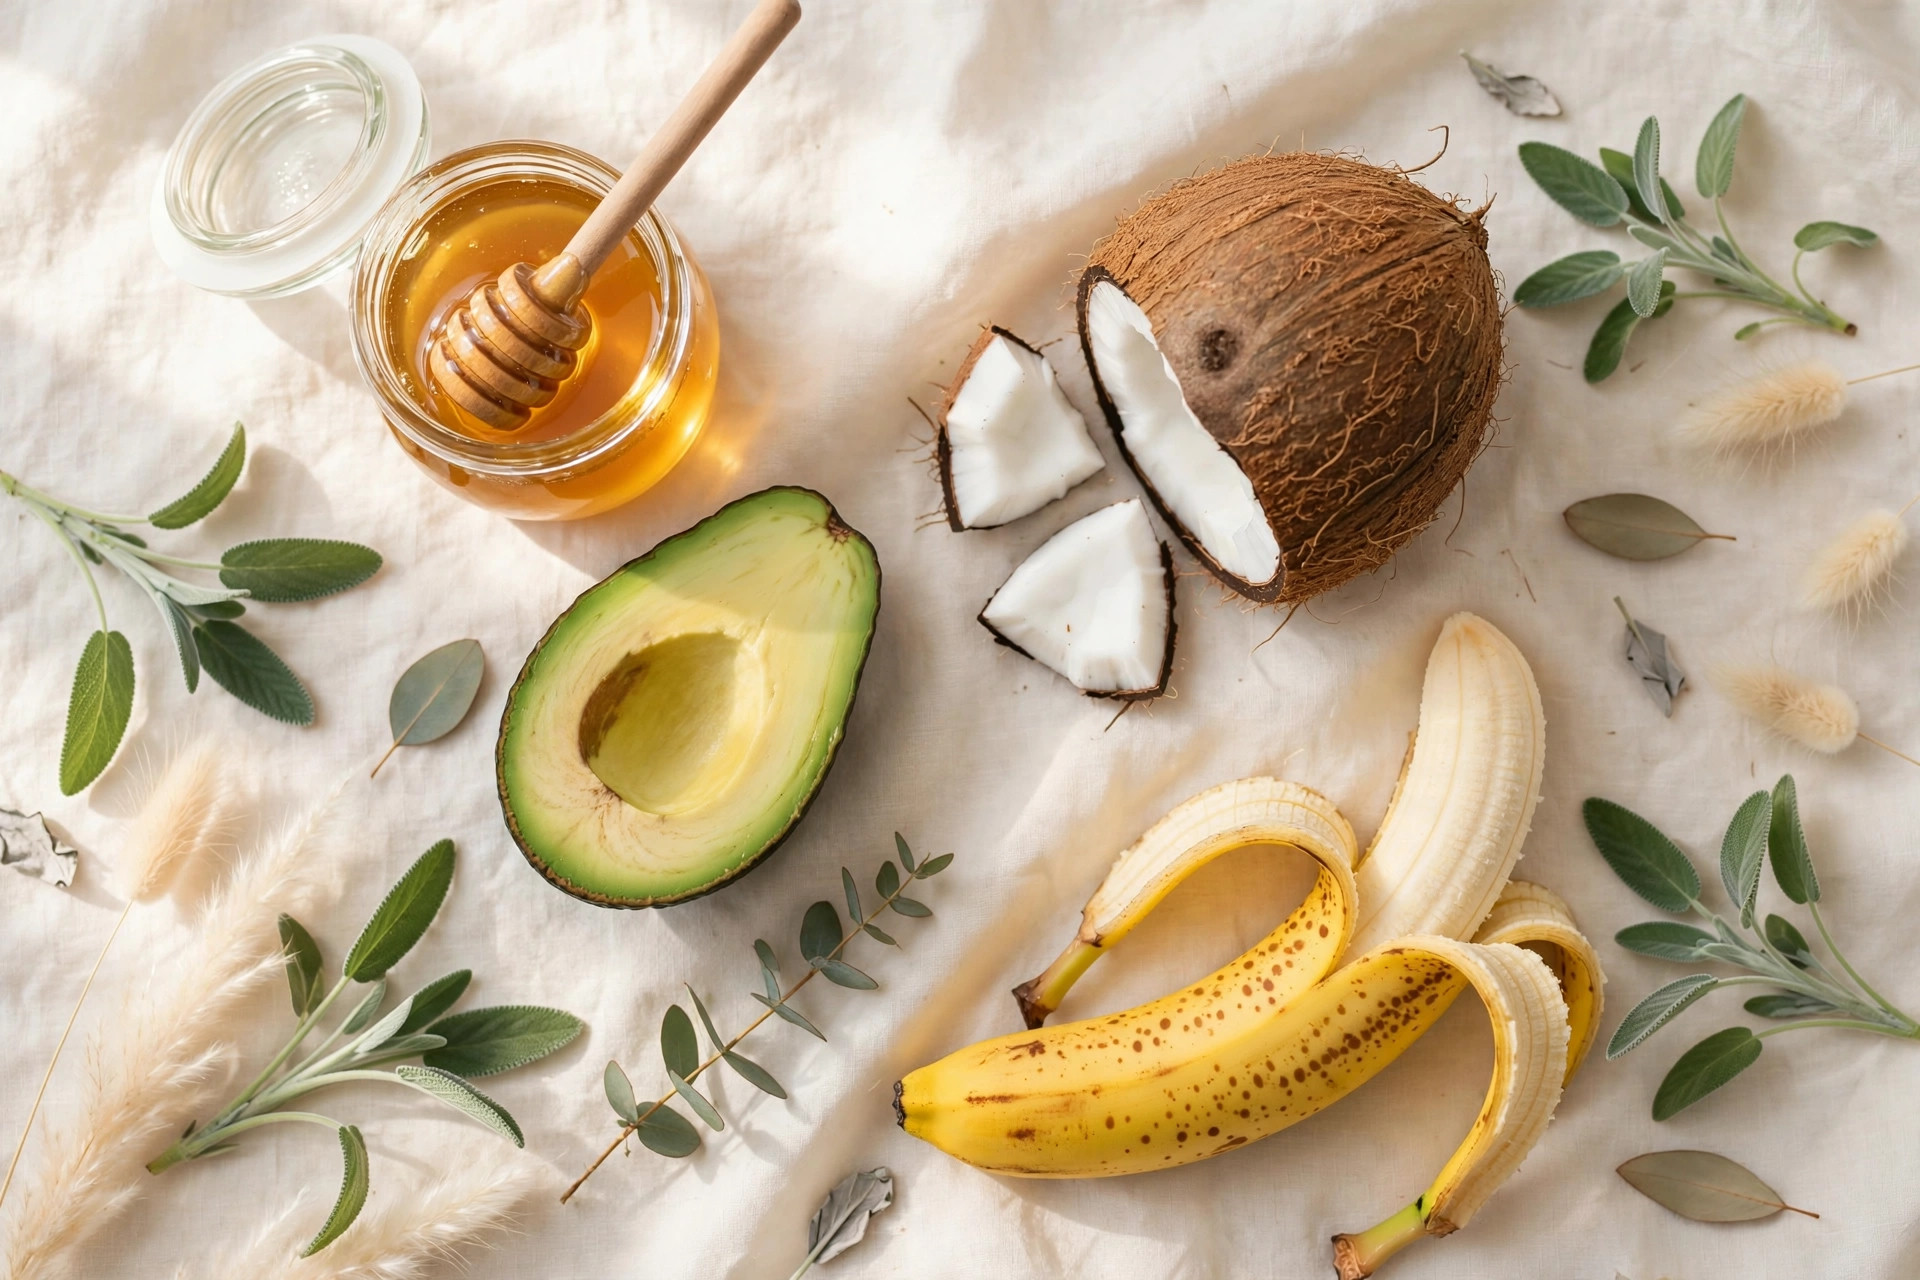
If you enjoy DIY hair care, these five ingredients cover almost every recipe: raw honey, coconut oil, olive oil, plain yogurt, and apple cider vinegar. All of them pull double duty in cooking, so nothing goes to waste.
Your hair doesn’t need expensive to be healthy — it needs consistent, and your kitchen makes consistent easy. Pair your mask day with an evening routine that keeps the rest of you glowing, like this evening skincare routine, and wake up to a fresh face with this simple morning skincare routine.
Mix, mask, rinse, glow. Your kitchen was a beauty lab all along.
Leave a Reply