
Last updated: November 2026
Quick answer: The French twist is a smooth vertical roll pinned up the back of the head, and you can learn it at home with pins, a brush and a little practice. Gather hair to one side, roll it upward, pin the seam firmly, then smooth and set it.
Some hairstyles never really leave. They dip in and out of fashion, appear on red carpets and in films, and get rediscovered by each new generation — and the French twist is the queen of them all. This sleek, sculptural updo carries an unmistakable air of polish: the kind of hairstyle that makes a simple dress look intentional and an ordinary day feel a little more special.
Here is the secret the French twist keeps well: it looks far more difficult than it is. The finished result — that smooth, vertical roll of hair running up the back of the head — suggests serious hairstyling skill. In reality, the entire style is built on one simple motion: gathering the hair to one side and rolling it. Once your hands learn that motion, which takes most people two or three practice sessions, you can create a French twist in under five minutes.
Why Has the French Twist Stayed Timeless for So Long?
The French twist has lasted because it is formal enough for elegant occasions yet simple enough for everyday wear, suits almost every face shape, and works with your hair’s natural texture instead of fighting it.
The twist — le chignon français, if you want its proper name — has been worn in various forms for over a century. Its longevity comes from a rare combination: it is formal enough for the most elegant occasions yet simple enough for everyday wear, it suits virtually every face shape, and it works with the hair’s natural behaviour instead of fighting it. Unlike styles that demand poker-straight or perfectly curled hair, the twist embraces texture and looks better with a little lived-in softness.
It is also one of the most practical elegant hairstyles. Because the hair is rolled and pinned close to the head, the twist survives wind, humidity, long days, and dancing far better than looser updos. It keeps hair off the neck, shows off earrings and necklines beautifully, and transitions seamlessly from day to evening — the same twist that looked professional at work looks occasion-ready with the addition of a statement earring.
Perhaps most importantly for the at-home stylist, the French twist is forgiving. Slight imperfections read as softness rather than mistakes. A few loose face-framing pieces look romantic, not messy. And unlike a precise chignon or a complicated braid, there is no pattern to memorise — just the roll, the tuck, and the pins. It is elegance without anxiety. The word chignon itself comes from the French phrase for the nape of the neck, and the style has been traced back to ancient Greece, where it was worn with handcrafted hairpins — a long history for a style you can learn in an afternoon, as Real Simple’s history of the chignon explains.
How Should You Prep Your Hair for a French Twist?
Start with slightly textured, detangled hair, choose your parting, and gather more pins than you think you need, because grip and preparation make the rolling itself far easier and prevent slipping.

Preparation makes the French twist dramatically easier, and the ideal starting point surprises most beginners: slightly dirty hair. Freshly washed, silky hair is slippery and resists gripping, which makes rolling frustrating. Day-old or even two-day-old hair has natural texture and grip that holds the twist together almost effortlessly. If your hair is freshly washed, work a texturising spray or a little dry shampoo through it first to create that same grip.
- Length: the classic twist works best on hair that reaches at least the shoulders; very long hair simply makes a longer, more dramatic roll.
- Layers: shorter layers may poke out of the roll, but generous pinning and a light mist of hairspray tame most escapees.
- Easiest hair: blunt, one-length hair rolls into the smoothest twist of all.
- Parting: a deep side part feels glamorous and vintage, a centre part looks modern and symmetrical, and no part at all is the sleekest option.
- Pins: long bobby pins or U-shaped French twist pins work best, and ten to fifteen is a safe stash.
Before you start, brush your hair thoroughly to remove all tangles. Smooth the top with a boar-bristle brush or a light smoothing serum for polish — though a little volume at the crown is flattering, so do not press everything completely flat. In our experience, taking two unhurried minutes on prep saves ten minutes of re-rolling later.
How Do You Create the Classic French Twist in Six Steps?
Gather all your hair to one side, roll it upward into a vertical shape, pin the seam from bottom to top, secure both ends, then smooth the surface and set it with hairspray.
Here is the core technique. Read through all six steps first so you understand the whole motion, then try it with your hands. The first attempt takes most people about fifteen minutes; by the third, you will do it in five.
- Gather to one side. Sweep all your hair to one side of your head — traditionally the left — as if making a low side ponytail, but do not tie it. Hold the gathered hair firmly in one hand at the nape of your neck.
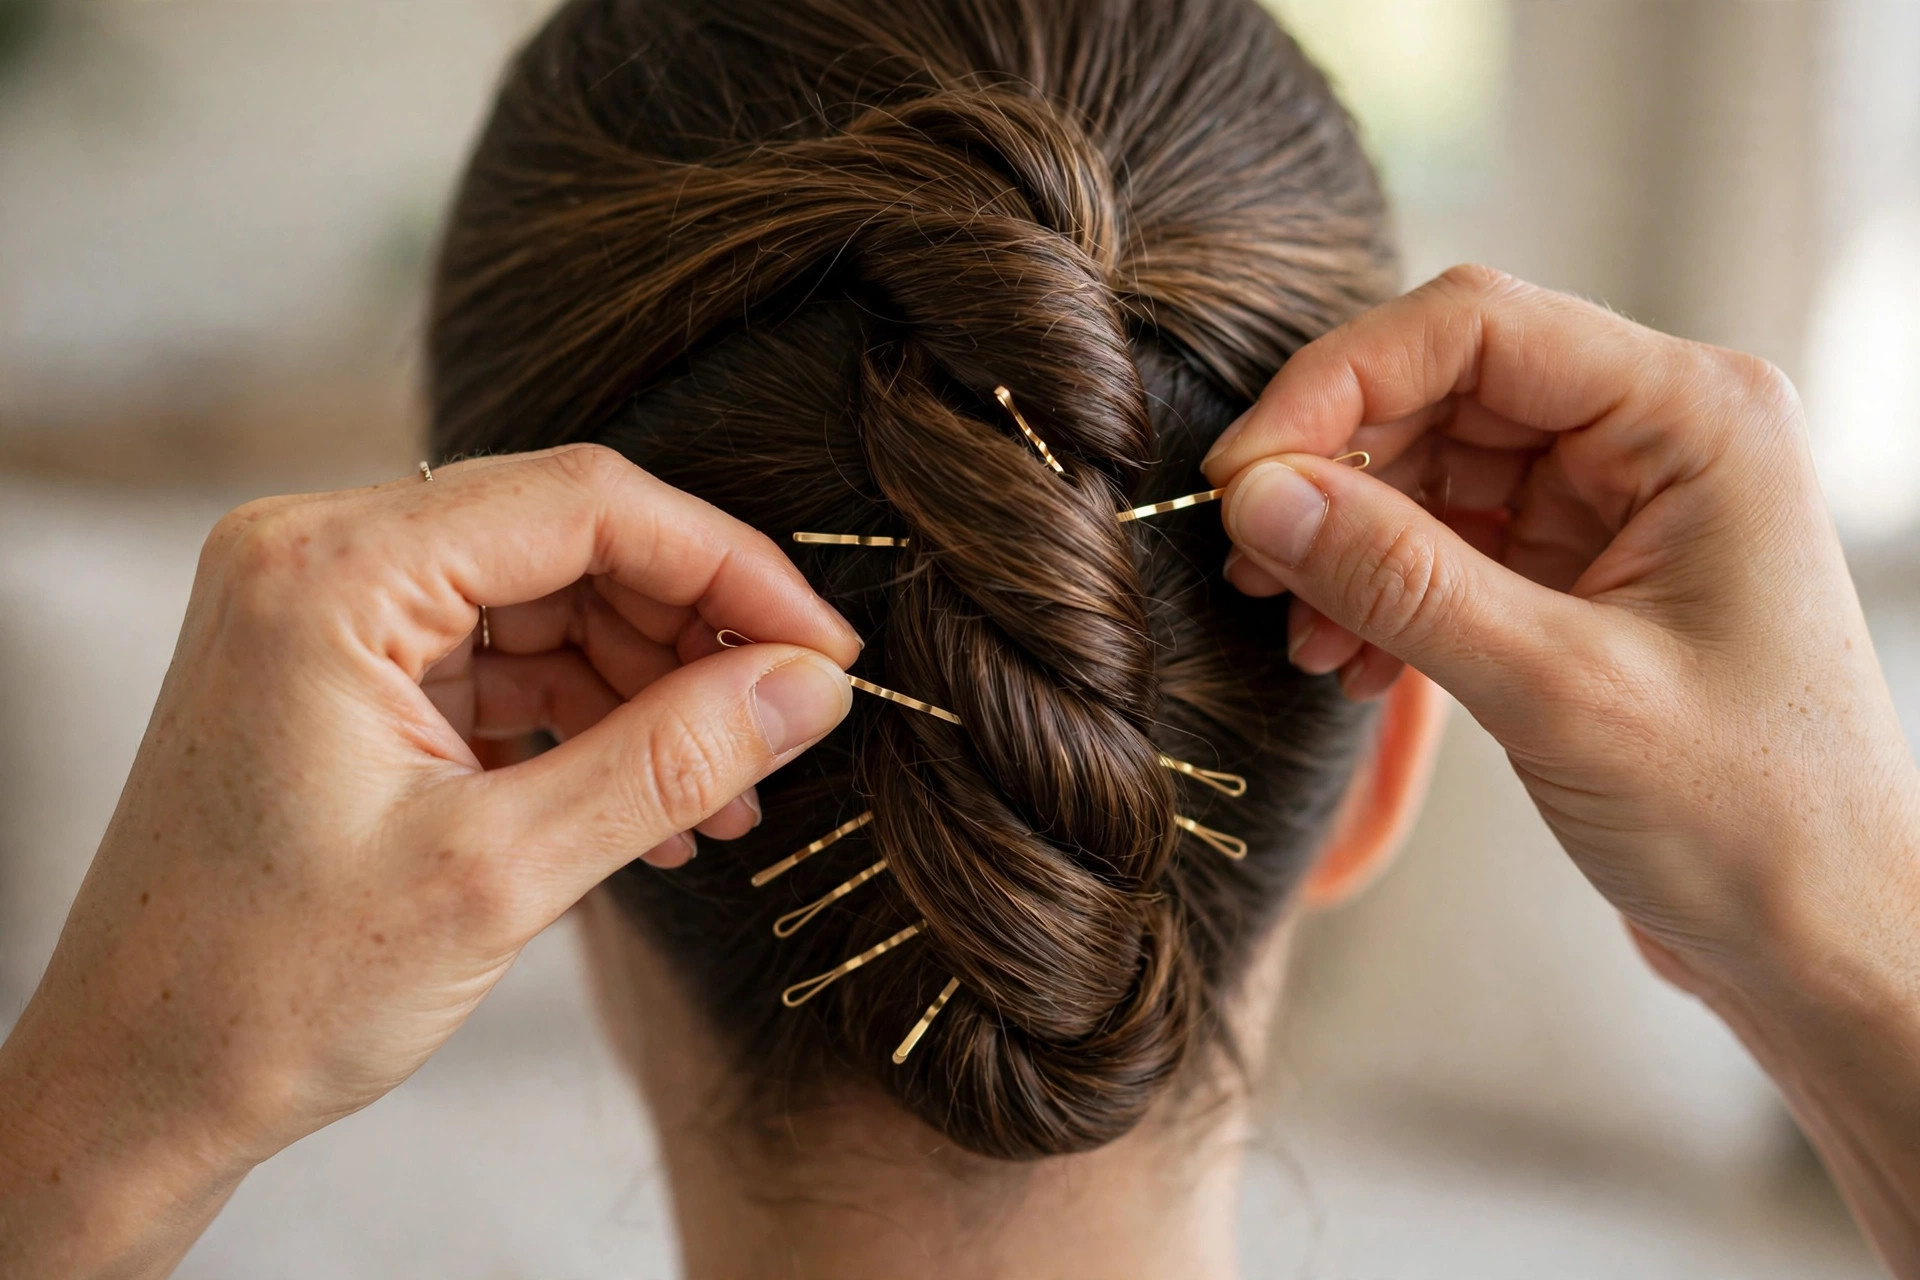
- Start the roll. With your free hand, begin rolling the gathered hair upward and inward toward the centre of the back of your head. Think of rolling a poster: the hair wraps around itself, forming a vertical roll. Tuck the ends in as you go so they disappear into the roll.
- Shape the twist. As you roll upward, use your fingers to smooth the outside of the roll and keep it tight against your head. The twist should sit vertically along the centre back of your head, from nape to crown. Tuck any stray ends into the top or bottom of the roll.
- Pin the roll in place. This is the structural step. Slide long bobby pins or U-shaped hair pins vertically into the seam where the roll meets the head, catching both the roll and the hair underneath. Work from bottom to top, placing pins every couple of centimetres. Criss-cross two pins in an X wherever you want extra hold.
- Secure the top and bottom. The ends of the twist — the very top near the crown and the very bottom at the nape — are where unraveling starts. Anchor both firmly with extra pins, tucking any remaining ends invisibly into the roll.
- Finish and set. Gently smooth the surface with your palms, pull out a few soft face-framing pieces if you like a romantic look (or keep it sleek for maximum polish), and mist with a flexible-hold hairspray. Check the back with a hand mirror.
The most common beginner error is rolling too loosely — a loose roll sags and pulls pins out. Do not be afraid to roll firmly; the twist should feel snug against your head. Snug is secure, and secure is what keeps it elegant all day. Dermatologists at the American Academy of Dermatology advise gentle handling, washing based on how oily your hair gets, and protecting hair from excess heat — good general habits that keep hair in better shape for any updo. This is general information only, not medical advice.
How Does the French Twist Adapt to Different Hair Types?
Fine hair needs grip and volume first, thick hair needs extra pins and structure, curly hair can stay sleek or soft, and shorter hair works as a smaller or faux twist.
Once you have the classic down, the French twist adapts beautifully. Use this quick guide to adjust the prep to your hair:
| Hair type | What helps most |
|---|---|
| Fine hair | Tease the crown lightly, use texturising powder at the roots, and consider a small hair padding insert inside the roll for substance. |
| Thick, heavy hair | Use more pins than you think necessary (twenty is not excessive), choose the longest, strongest pins, and anchor the roll with small clear elastics hidden inside. |
| Curly and textured hair | Stretch or lightly smooth the hair first for a sleek result, or embrace the texture for a softer, romantic twist with visible curl definition. |
| Shorter hair (chin to shoulder) | Create a smaller, lower twist, smooth shorter layers in with a fine-tooth comb, or try a faux twist with a rolled section pinned at the back. |
For curly and textured hair, the key is working with cleanly detangled, moisturised hair so the roll forms smoothly. For shorter styles, the silhouette reads the same from the front and side, which is where most people will see it.
How Do You Fix the Mistakes Every Beginner Makes?
Most French twist problems come down to pinning, tension, or grip: pin into the seam, keep even pressure while rolling, tuck ends deeply, and add texture when the style collapses.
Every French twist learner hits the same handful of frustrations, and each has a simple fix:
- Twist sliding to one side: you are probably not pinning into the seam. Pins must catch both the roll and the anchored hair beneath it, not just the roll itself. Reposition pins so they bridge the two.
- Lumpy or uneven roll: the cause is usually uneven tension while rolling. Unroll and start again, keeping steady, even pressure with both hands as you roll upward. It is faster to restart cleanly than to fix a lumpy roll with extra pins.
- Ends poking out: tuck them deeper into the roll before pinning, and secure each tucked end with its own pin. A tiny amount of smoothing serum on the ends before rolling helps them stay tucked.
- Flyaways at the hairline: a clean mascara wand or toothbrush misted with hairspray smooths them down precisely without disturbing the twist.
- Style collapsing within an hour: you likely need more pins, stronger pins, or grippier hair. Add a texturising product, use the criss-cross pin technique at stress points, and mist flexible-hold hairspray from about 20 centimetres away — too close, and the spray wets the hair and loosens the set.
How Can You Style a French Twist for Any Occasion?
Keep the twist sleek and simple for daytime, add a deep part and decorative pins for evenings, or loosen it with soft face-framing pieces for a relaxed, modern feel that still looks polished.
The French twist’s greatest strength is its range. For the office or daytime, keep it sleek and simple: smooth finish, no part or a neat side part, minimal pins visible, paired with understated jewellery. It reads as competent, polished, and quietly confident — the hairstyle equivalent of a well-tailored blazer.
For evenings and events, dress it up. A deep side part, a decorative hair comb or a few crystal pins along the seam, softly curled face-framing pieces, and statement earrings transform the same twist into occasion hair. Brides love the French twist because it is timeless in photographs, stays put through an entire wedding day, and shows off veils, necklines, and earrings beautifully.
For a modern, relaxed take, try the undone twist: roll slightly looser, pull out more face-framing pieces, let a few wisps escape at the nape, and skip the heavy hairspray. Paired with minimal makeup and simple clothes, it is effortlessly chic rather than formal — proof that the twist works just as well with jeans as with evening gowns. Accessories change the mood instantly: a velvet bow at the base feels festive, a gold cuff feels editorial, fresh flowers feel romantic.
How Do You Keep Your Twist Secure All Day?
Check the twist in a hand mirror in the morning, carry spare pins, protect it from humidity and wind, over-pin for active events, and remove pins gently at night for soft waves.
A well-pinned French twist should comfortably last eight to twelve hours, but a few habits extend its life. In the morning, do a final check in a hand mirror and reinforce any section that feels less than rock-solid — it is much easier to add one pin now than to repair a sagging twist at noon. Carry three or four spare pins in your bag; they weigh nothing and rescue everything.
Weather-proofing helps on challenging days. In humidity, a light anti-frizz serum smoothed over the finished twist prevents halo frizz. In wind, a silk scarf over the style for the commute protects it far better than extra hairspray. And if you will be dancing or very active, add a hidden row of pins along the entire seam before you leave — over-pinning for events is always smarter than under-pinning.
At the end of the day, remove pins gently — slide each one out in the opposite direction from how it went in, rather than pulling. Your hair will fall into soft, beautiful waves from being rolled all day, which makes a lovely second-day style on its own. A little dry shampoo at the roots and those natural twist-waves are ready for day two.
The French twist endures because it asks so little and gives so much: five minutes, a handful of pins, and one simple rolling motion, in exchange for the most elegant updo in the book. Practice it twice in front of a mirror this week, and you will own a hairstyle that serves you for decades — through job interviews, weddings, holidays, and every ordinary Tuesday that deserves a little polish.
Leave a Reply