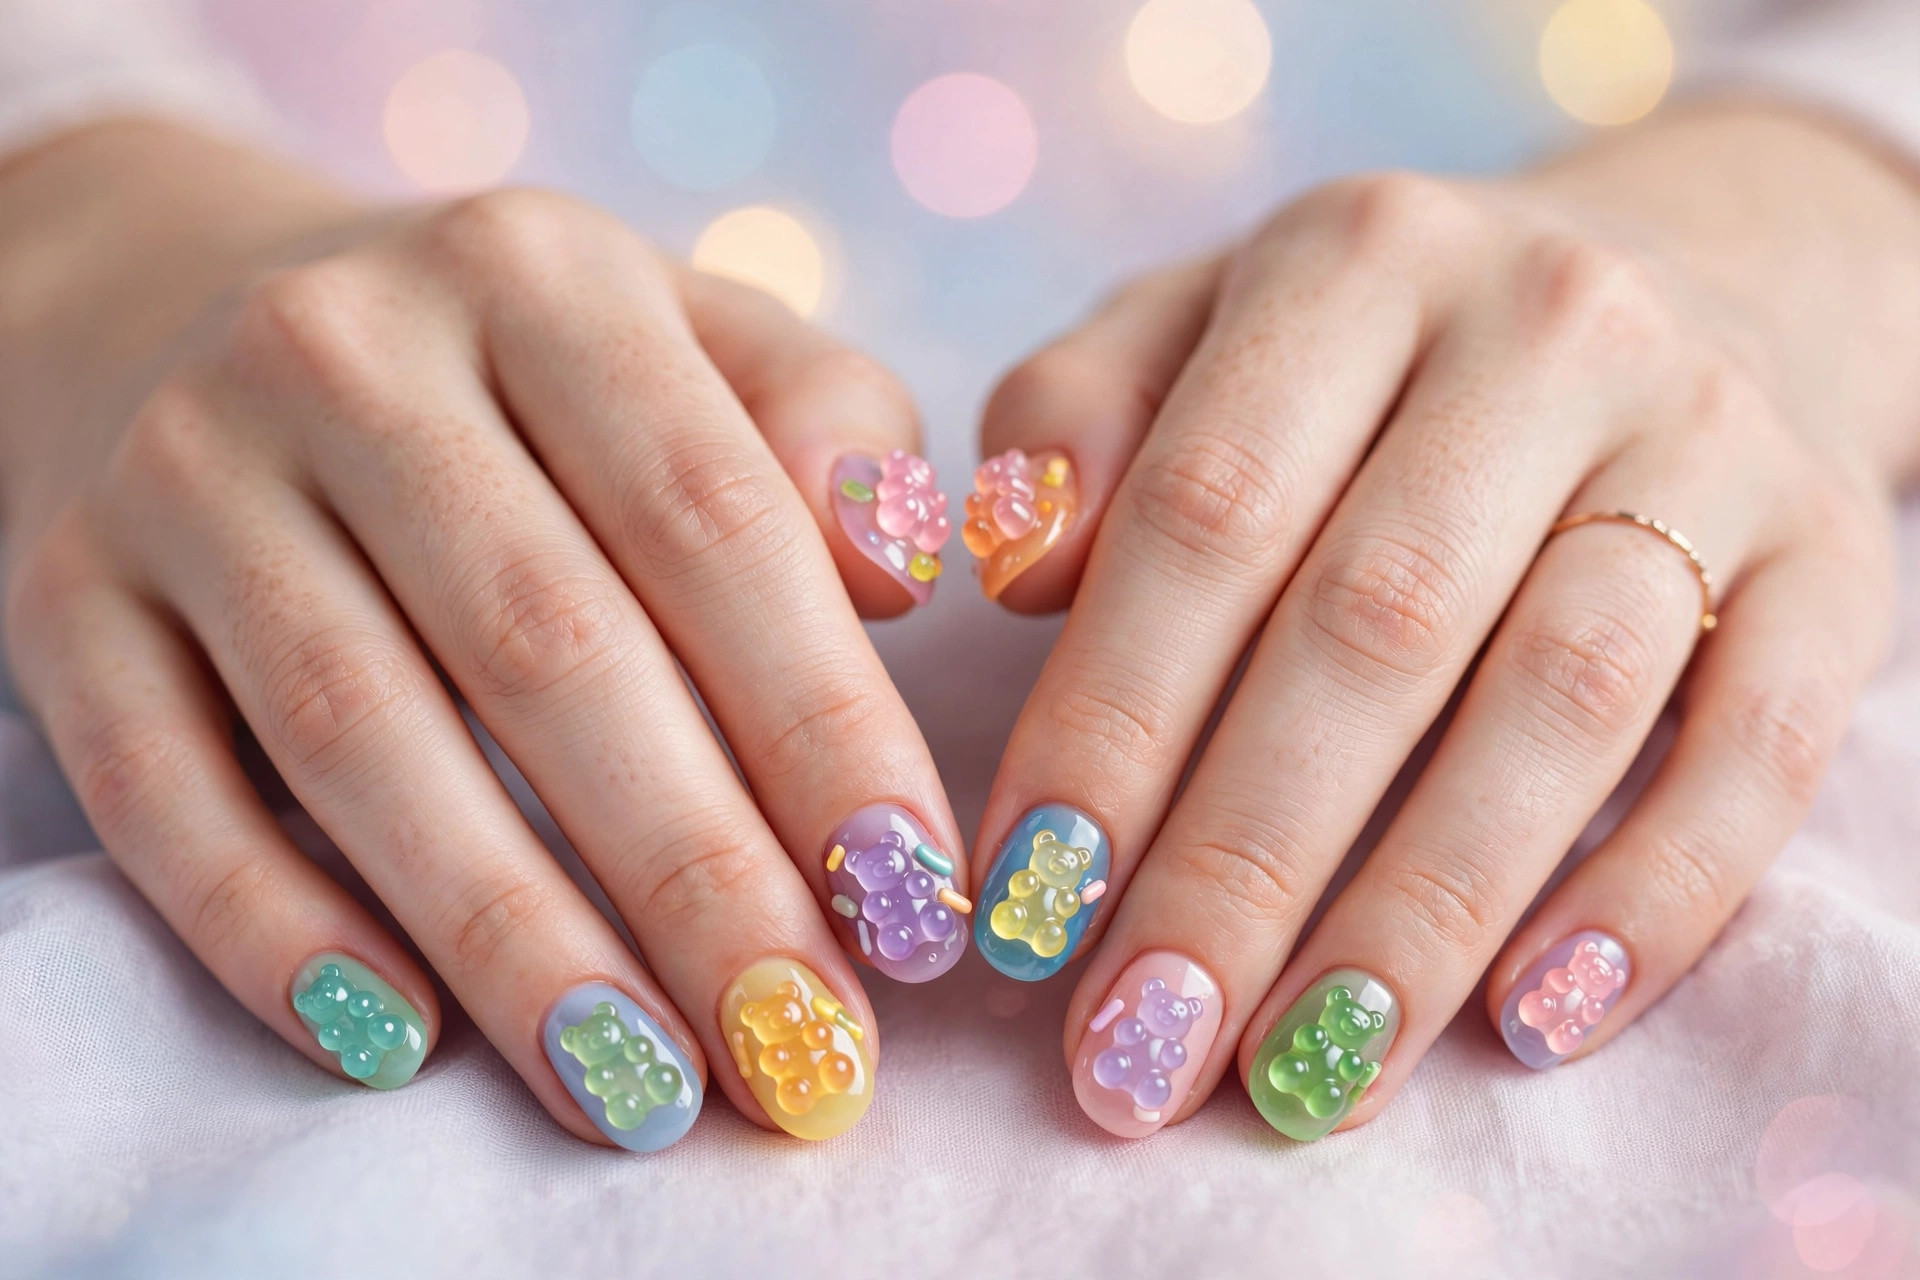
Every so often, a nail trend arrives that is pure joy in manicure form — and gummy nails are exactly that. Picture plump, translucent jelly nails dotted with tiny squishy-looking 3D charms: miniature gummy bears, candy beads, little fruit slices that look almost real enough to taste. It is playful, it is nostalgic, and this fall it has officially crossed over from niche nail-art circles into the mainstream. If your social feeds have been full of glossy, candy-coated fingertips lately, you are not imagining it.
Before you dismiss gummy nails as something only teenagers can pull off, hear this out: the trend is far more versatile than it first appears. The 3D elements can be as bold or as subtle as you like, and the jelly base underneath is genuinely flattering on every hand. In this guide, we will break down exactly what gummy nails are, the tools and products behind them, how they are created step by step, ten ideas tailored for fall 2026, and — importantly — how to enjoy the trend while keeping your natural nails healthy underneath.
What Are Gummy Nails, Exactly?

Gummy nails are a style of 3D nail art built on a translucent, jelly-like base. The “gummy” name comes from two things: the squishy, candy-like appearance of the raised decorations, and the glossy, almost wet finish that makes the whole manicure look like a handful of sweets. Unlike flat nail art, which is painted on, gummy nail designs are sculpted — tiny charms and shapes are built up with builder gel, encapsulated in clear gel, or attached as pre-made 3D pieces.
The look has roots in several earlier trends. It borrows the jelly-nail translucency that has cycled in and out of fashion for years, the maximalist 3D nail art popular in East Asian nail culture, and a dash of the Y2K nostalgia that keeps resurfacing in beauty. What is new for fall 2026 is the refinement: where earlier versions were often chaotic and ultra-long, the current wave leans toward shorter, rounder shapes with carefully placed accents. The result reads as cute and intentional rather than costume-like — think artisanal candy shop, not Halloween party.
It helps to know the two main approaches. Sculpted gummy nails are created entirely from gel products: the technician builds little domes, bears or fruit shapes from builder gel and colours them with jelly tints. These are seamless and durable but require real skill. Charm-based gummy nails use pre-made 3D decorations — tiny resin bears, pearls, candy beads — set into wet gel or glued onto a jelly base. This version is far more beginner-friendly and is what most at-home kits offer. Both can look wonderful; the choice depends on your budget, patience and how long you want them to last.
The Tools and Products Behind the Trend
If you are tempted to try gummy nails at home, it helps to know what goes into them before you buy anything. The foundation is a jelly or translucent gel polish — these sheer, buildable colours give the candy-glass effect. Popular shades for fall include amber, caramel, cherry red and smoky plum. You will also need a UV or LED lamp to cure gel products, a builder gel or 3D sculpting gel for creating raised shapes, and a no-wipe top coat for that signature wet shine.
For the 3D elements, you have options. Pre-made nail charms (tiny bears, bows, fruit, pearls) are the easiest route and come in themed sets. Dotting tools and small silicone brushes help sculpt simple shapes like domes and drops from builder gel. Nail glue or a dab of builder gel secures charms in place before they are encapsulated. And do not skip the basics: a good base coat, cuticle oil and acetone for removal are just as important here as with any manicure.
A word of practical advice: buy charms in the size labelled for nails, not for crafts. Craft-store charms are often too large and too heavy, which means they catch on everything and pop off within days. Nail-specific charms are flatter on the back and proportioned for fingertips — the difference in wear time is enormous.
How Gummy Nails Are Made: Step by Step
Watching a skilled technician create gummy nails is genuinely mesmerising. Here is the typical process, simplified, so you know what to expect in the salon chair — or what you are signing up for at home.
- Prep as usual. Nails are shaped (short and rounded works beautifully for this trend), cuticles tidied, and the surface lightly buffed for adhesion.
- Base and jelly colour. A base coat goes on and is cured, followed by two to three thin layers of jelly polish, curing between each. The translucency builds gradually — this is what gives the candy-glass depth.
- Building the 3D elements. For sculpted designs, small amounts of builder gel are placed and shaped with a dotting tool, then cured. For charm designs, a dot of builder gel or nail glue anchors each charm in place.
- Encapsulation. A layer of clear builder gel or top coat is floated over the decorations to lock them in and create a smooth, domed surface. This step is what makes everything look “squishy” rather than stuck-on.
- Final seal and shine. A generous layer of glossy top coat is applied and cured. The high-shine finish is non-negotiable for gummy nails — matte would completely miss the point.
The whole process takes longer than a standard manicure — expect ninety minutes to two hours in a salon for a full sculpted set. Charm-based sets are quicker. Either way, do not rush the curing steps: under-cured gel is the number one reason 3D elements fall off prematurely.
10 Gummy Nail Ideas for Fall 2026
The current wave of gummy nails has a distinctly autumnal flavour — warm jelly tones, cosy motifs and just enough sparkle. Here are ten ideas to inspire your next set.
- Caramel apple. Amber jelly base with tiny sculpted apple slices and a drizzle-effect swirl. Sweet, seasonal and surprisingly chic.
- Gummy bear picnic. The classic: clear or pink jelly with miniature gummy bears in mixed colours. Keep nails short and rounded for maximum cuteness.
- Autumn harvest. Pumpkin-orange jelly with tiny 3D pumpkins, leaves and acorns. Festive without tipping into costume territory.
- Cherry cola. Deep cherry-red jelly with glossy black-cherry domes and tiny pearl accents. Moody, glossy and very fall.
- Hot chocolate. Milky brown jelly with cream-coloured swirls and miniature marshmallow cubes. Cosy in manicure form.
- Candy shop minimal. Sheer nude jelly with a single small charm per nail — one pearl, one tiny bear, one bead. The grown-up entry point to the trend.
- Plum jelly. Smoky plum translucent base with darker 3D grapes or berry clusters. Rich, jewel-toned and evening-ready.
- Honey drop. Golden-yellow jelly with raised honey-drop domes that catch the light beautifully. Simple, striking and easy for beginners.
- Spiced latte art. Caramel and cream marbled jelly with tiny cinnamon-stick and star-anise charms. For the autumn-obsessed.
- Midnight candy. Deep navy or black jelly with iridescent beads and tiny star charms. The after-dark version of the trend — playful but mysterious.
Making Them Wearable (Not Just for Photos)
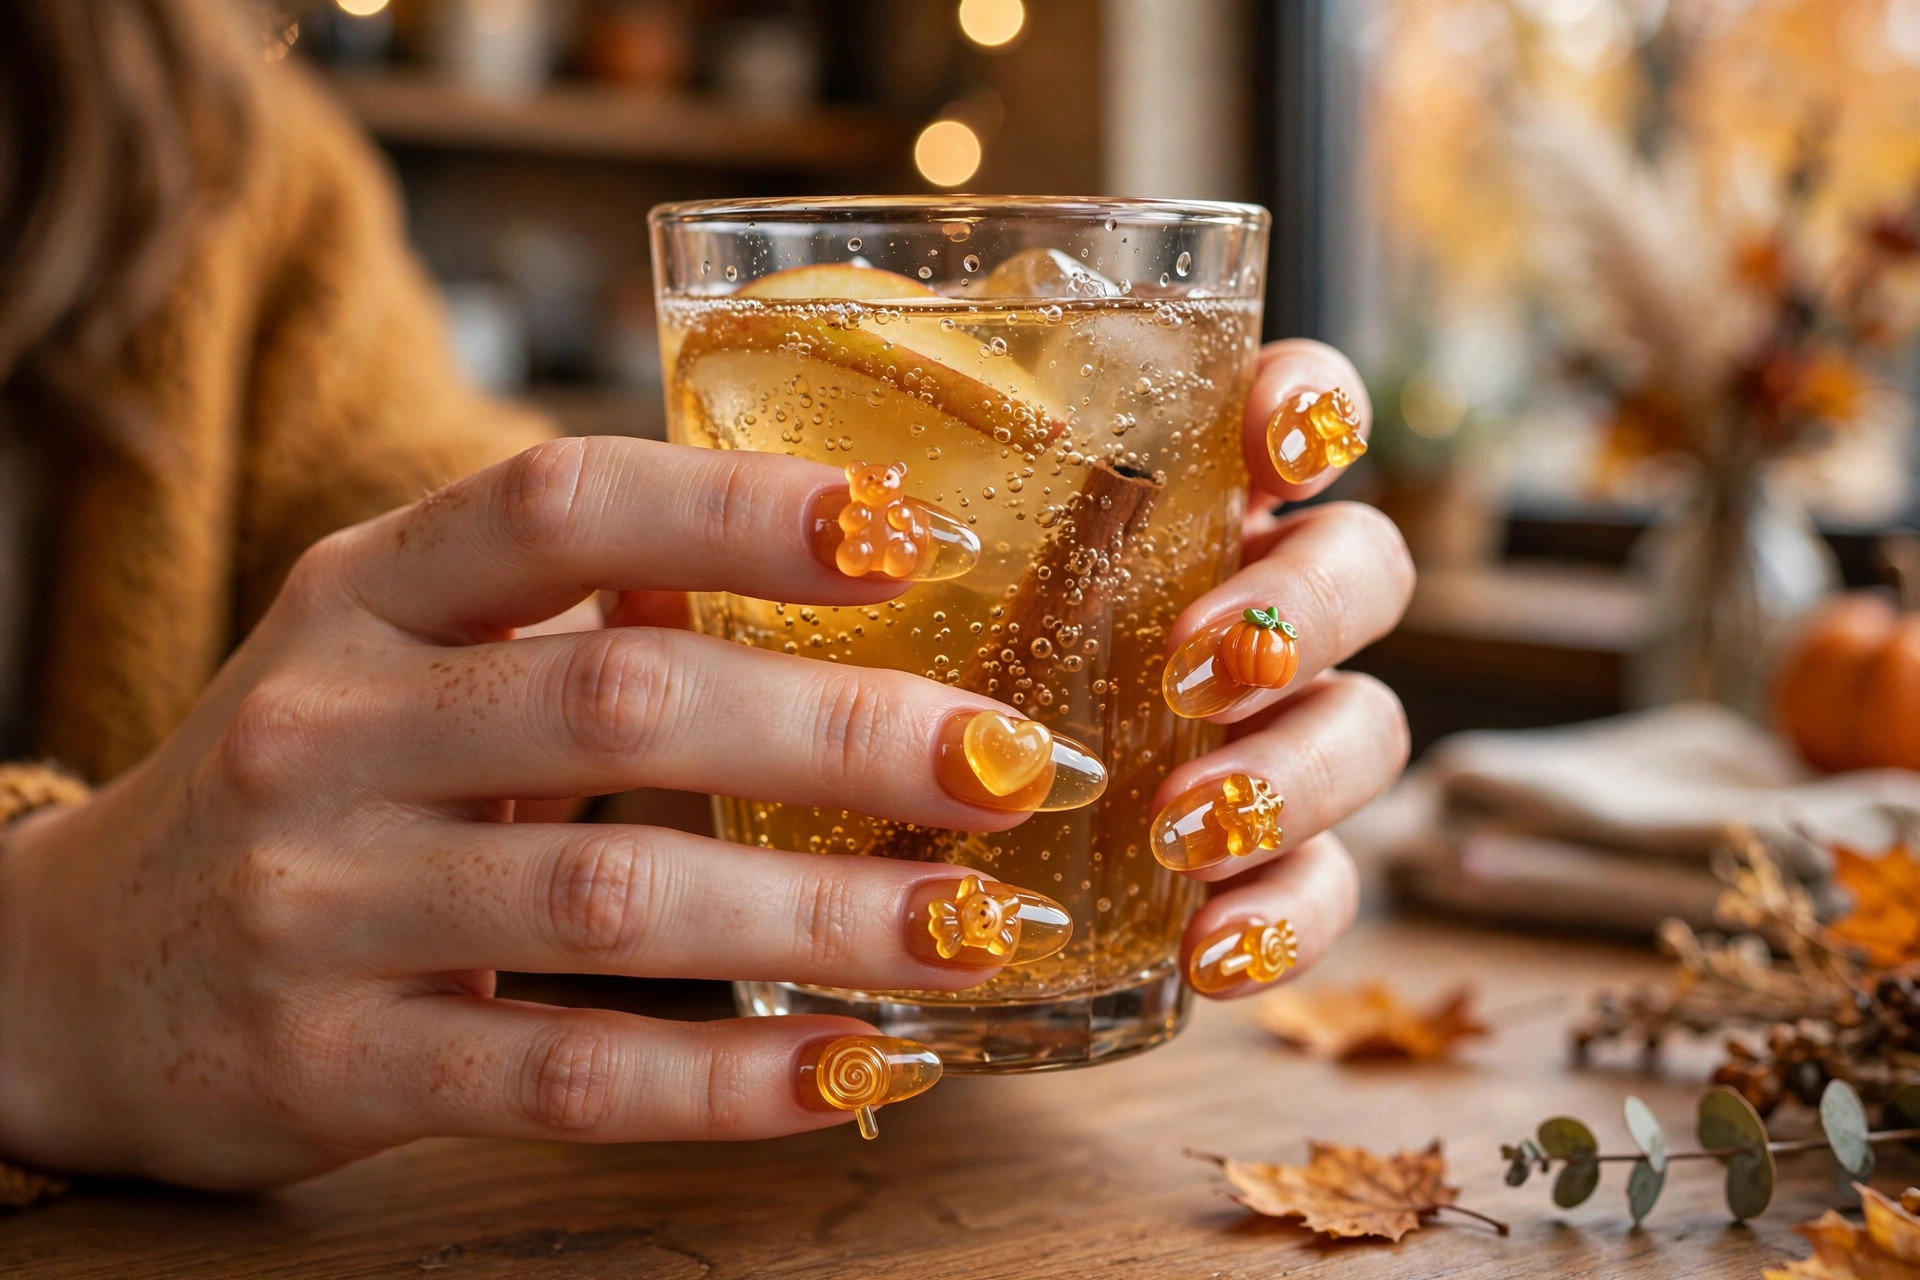
Let us be honest: full 3D nail art can look intimidating in real life. The secret to wearable gummy nails is restraint in three areas — length, number of charms, and colour palette. Short to medium nails with two or three accent nails (and simpler jelly on the rest) read as fun and fashionable rather than overwhelming. A cohesive colour story — all warm ambers, or all deep berries — keeps the look intentional.
Think about your daily life, too. If you type all day, very tall 3D elements will annoy you within hours; flatter charms and encapsulated designs are far more practical. If you work with your hands, keep the art to your non-dominant hand’s accent nails. And consider the occasion: a full gummy-bear set is perfect for a weekend, a party or a holiday, while the “candy shop minimal” approach works for the office year-round.
There is also no rule that says you must commit to all ten nails. Gummy accents on a classic manicure — say, a chic espresso gel set with one tiny 3D cherry on each ring finger — give you the trend without the full commitment. Nail art should serve your life, not complicate it.
Removal and Nail Health: The Serious Bit
As fun as gummy nails are, the 3D elements and multiple gel layers mean removal needs more care than a standard manicure. Never pick, peel or force off 3D decorations — charms that are encapsulated in builder gel will take layers of your natural nail with them if pulled. The safe method is to file down the bulk of the 3D art and gel layers, then soak the remainder off with acetone, exactly as you would a regular gel manicure. If you are unsure, visit a technician; a professional removal costs far less than repairing damaged nails.
Between sets, give your nails breathing room. A week of bare, well-moisturised nails with regular cuticle oil lets them recover their strength and moisture. Keep nails trimmed to a practical length while they recover, and consider a strengthening base coat when you start your next set. If you notice persistent thinning, peeling or soreness, take a longer break and consider chatting with a dermatologist — beautiful nail art should never come at the cost of healthy nails.
Gummy nails are a reminder that beauty can be genuinely playful. In a season that often leans serious — dark colours, structured coats, muted palettes — there is something delightful about fingertips that look like a candy shop. Try the trend at whatever intensity suits you, look after the nails underneath, and enjoy every glossy, squishy, joy-sparking detail.
Leave a Reply