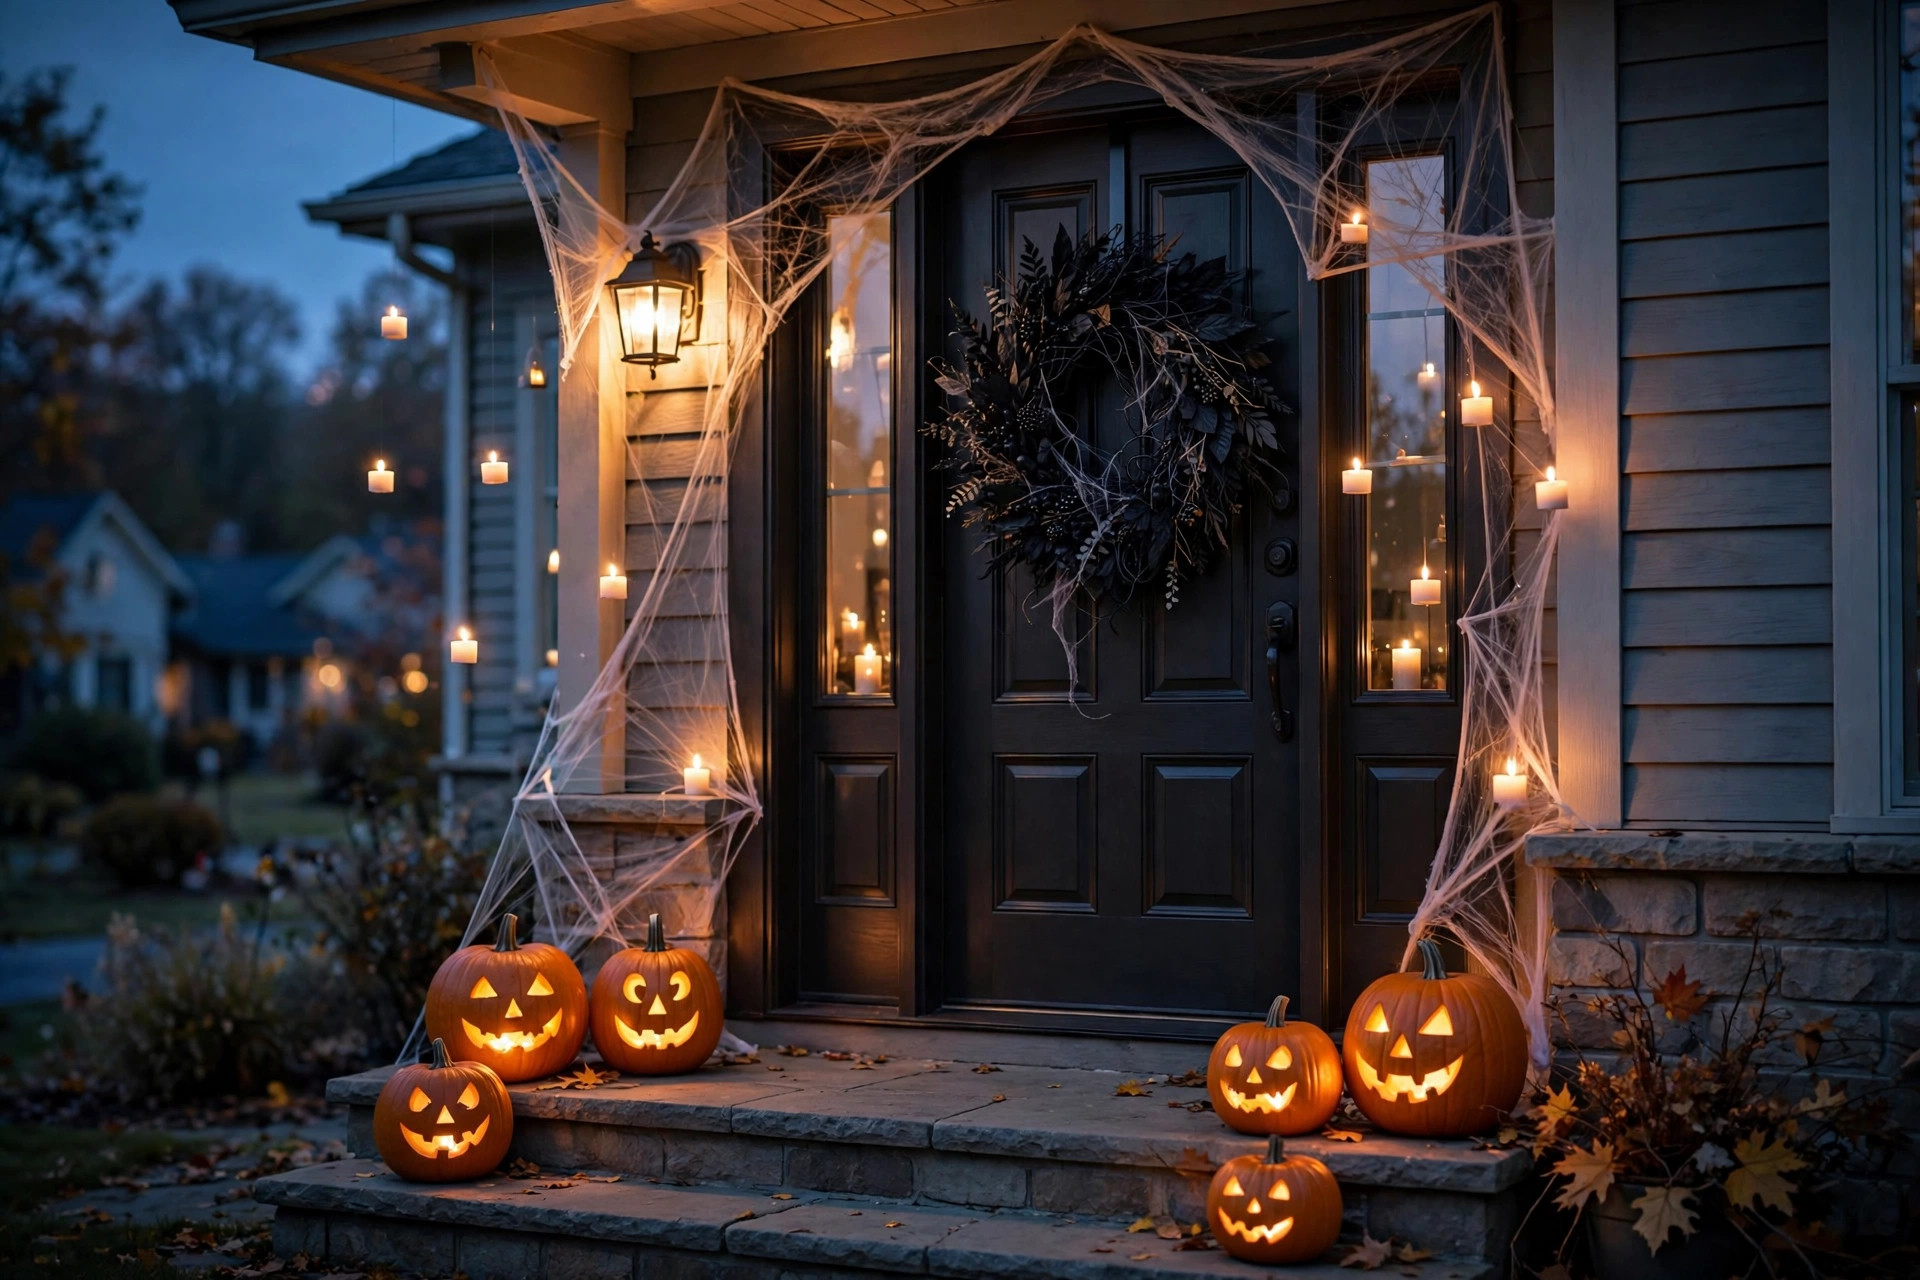
There is a special kind of pressure that comes with a neighbourhood Halloween door decorating contest. It is no longer just decorating for fun — there are judges, there is a prize (usually a gift card or a plastic trophy with enormous sentimental value), and there is the quiet knowledge that everyone on the street will be driving slowly past your house after dark, having opinions. The good news is that winning doors are rarely the most expensive ones. They are the most intentional ones. The houses that take home the trophy plan their front door the way a theatre director plans a stage: one strong idea, executed with commitment, lit beautifully, and finished right down to the last detail.
This guide will take you from blank door to contest-ready display. We will cover the rules most people forget to read, the themes that photograph brilliantly (because judges photograph everything), DIY props that look far more expensive than they are, lighting tricks that make an average display look cinematic, and the small judging-day details that separate winners from runners-up. Whether your style runs spooky-elegant or gloriously over-the-top, there is a winning strategy in here for you.
Read the Rules Before You Buy a Single Pumpkin
Every contest has rules, and every year somebody loses points — or gets disqualified — for ignoring them. Before you spend a penny, find the actual rule sheet. It is usually posted in the neighbourhood group chat, on the community board, or buried three scrolls deep in the estate’s social media page. Read it twice. The most common rules cover judging dates and times (your display must be fully lit and finished during the judging window, which is often a single evening), size limits (some contests restrict how far decorations can extend past your property line), and prohibited items like real open flames, fog machines, or anything that blocks the pavement.
Pay special attention to the judging categories. Many contests split prizes into categories like Spookiest, Funniest, Most Creative, and Best Overall. If you know the categories in advance, you can aim your whole design at one of them instead of trying to be everything at once. A door that is clearly, confidently the funniest on the street will beat a door that is half-spooky and half-funny every single time. Commitment to one idea reads as creativity; hedging reads as indecision.
Also check how winners are chosen. A panel of judges walking the street scores differently from a public vote on social media. Judges with clipboards reward craftsmanship, originality, and cohesion. Public votes reward whatever photographs best and whatever made people laugh. If it is a public vote, your design needs one unforgettable, phone-camera-friendly moment — the thing everyone photographs. If it is a judged panel, consistency and handmade detail matter more.
Choose a Theme That Wins Photographs
The single biggest difference between a nice Halloween door and a winning one is a theme. A random assortment of pumpkins, ghosts, and skeletons is decoration. A witch’s apothecary doorway, a haunted hotel entrance, or a monster’s mouth swallowing the front door is a concept — and concepts win contests. Pick one idea and let every single element serve it. If an item does not fit the story, it does not go on the porch, no matter how cute it looked in the shop.
Here are theme directions that consistently perform well, because they are visually bold, easy to execute with DIY props, and photograph beautifully:
- The Monster Mouth: Turn your entire doorway into a giant open mouth — dark fabric or painted cardboard teeth around the door frame, a red-lit interior, a tongue-like runner up the steps. It is dramatic, funny, and unmistakable from the street.
- Witch’s Apothecary: An elegant, spooky-elegant look with potion bottles, dried herbs, an old broom, a cauldron, and a black wreath. Sophisticated enough to stand out among inflatable ghosts.
- Haunted Hotel: A “check in if you dare” entrance with a vintage-style sign, luggage stacked by the door, cobwebbed bell, and flickering lantern light. Great for porches with railings to drape.
- Spider’s Lair: One enormous DIY spider (beach ball body, pool-noodle legs) descending over the door, with webbing stretched across the whole porch. Maximum impact for minimum spend.
- Day of the Dead Elegance: Marigolds, sugar-skull motifs, candles, and rich colour. Beautiful, meaningful, and strikingly different from typical orange-and-black.
- Ghostly Graveyard Gate: Foam tombstones, a crooked fence, mist, and a ghostly figure by the door. Classic for a reason — and endlessly customisable.
Whatever theme you choose, write it down in one sentence and pin it where you will see it while you work. Every time you are tempted to add something, check it against the sentence. Ruthless editing is what makes themed displays look professional instead of cluttered.
Build Your Door Like a Stage Set
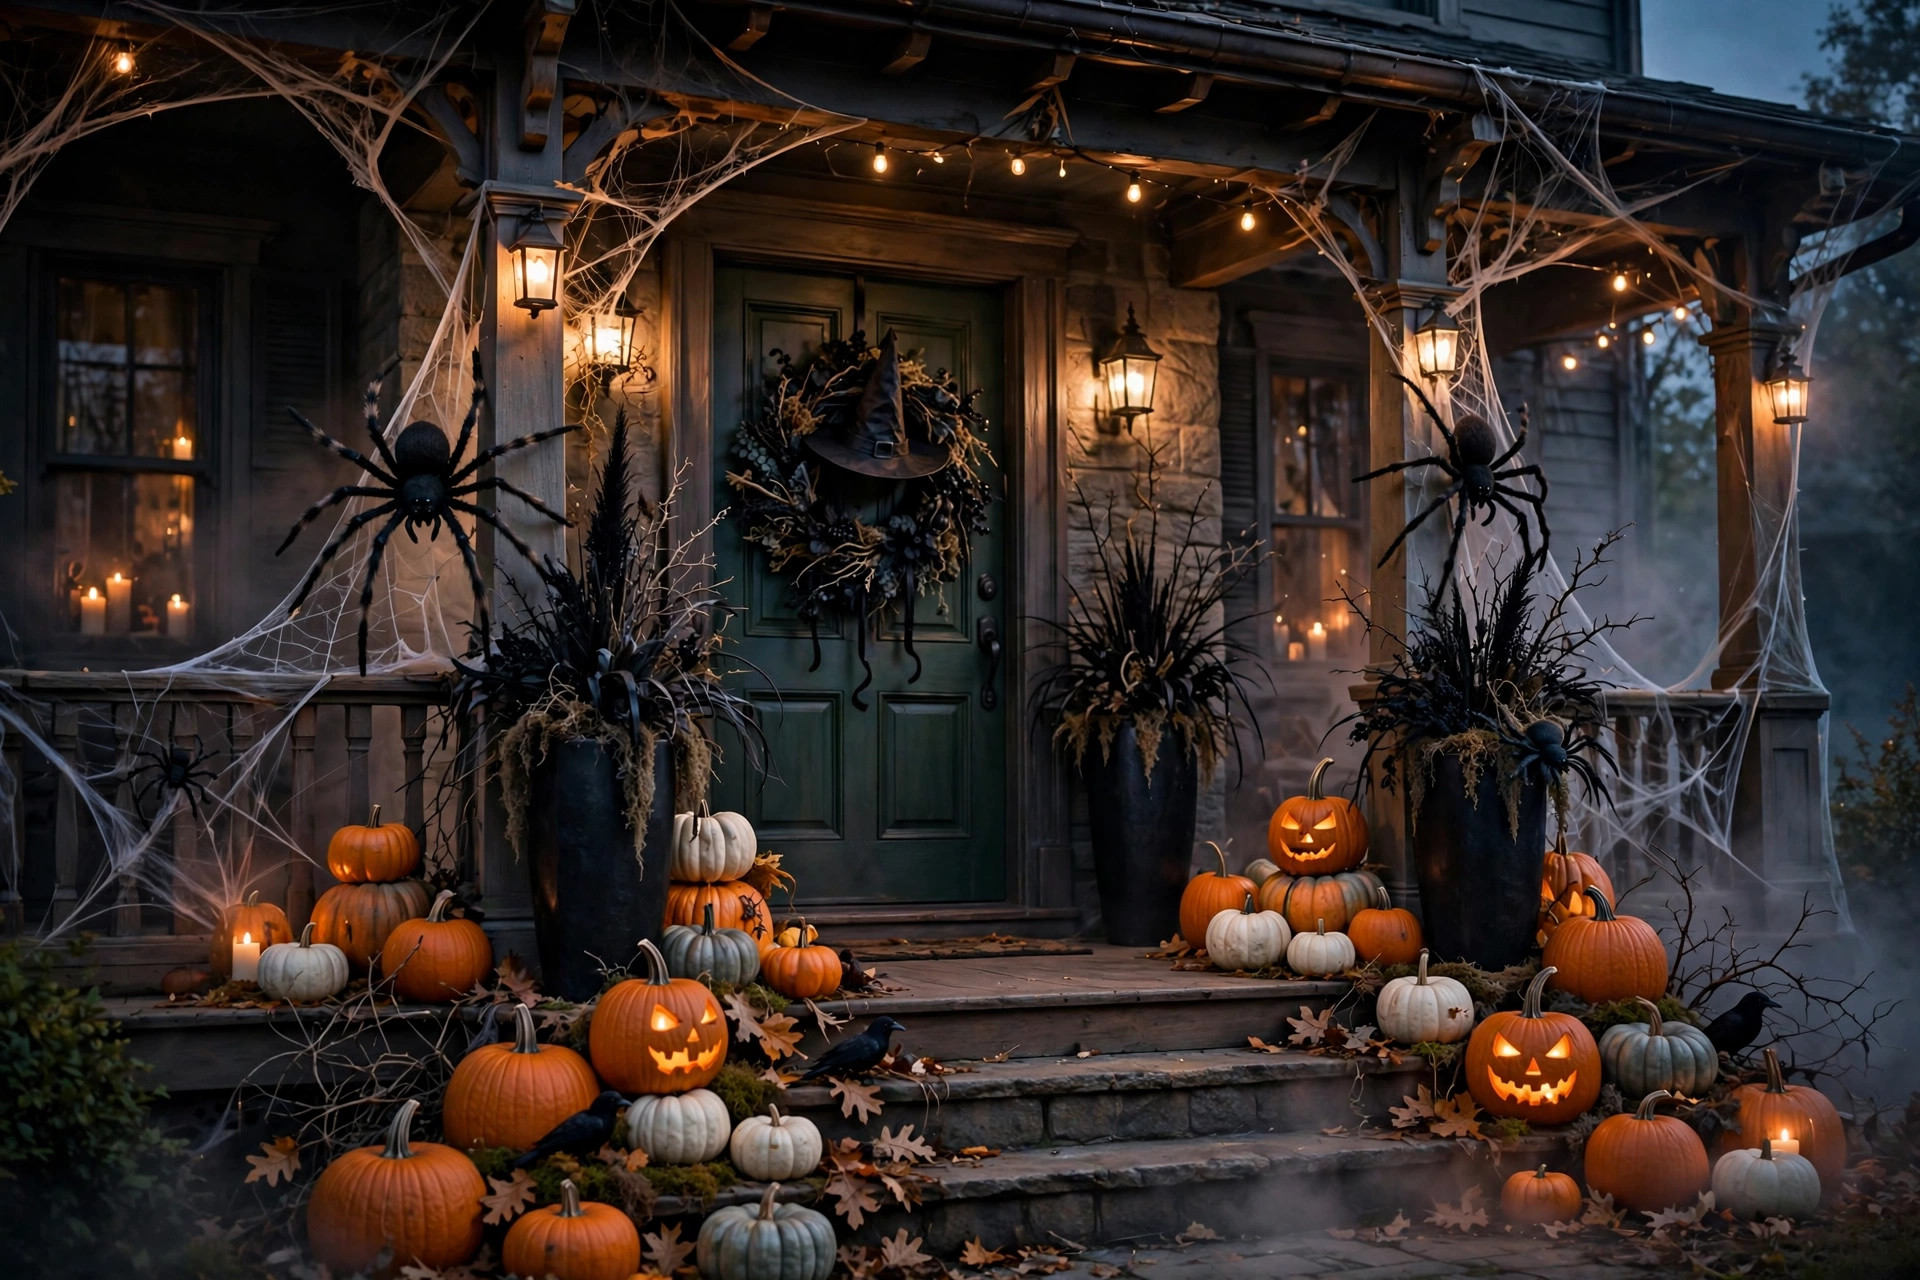
Professional set designers think in three layers — foreground, middle ground, and background — and your porch should work the same way. The background is your door itself: wreath, door cover, or painted backdrop. The middle ground is the porch floor and railings: pumpkins, planters, figures, props. The foreground is the edge of your property: the path, the steps, the lawn border. Most amateur displays only decorate the door and ignore the other two layers, which is why they look flat. A winning display guides the eye from the street all the way to the door in one continuous composition.
Start at the door and work outward. Dress the door first with your biggest statement piece — an oversized wreath, a door-sized scene, or a dramatic frame treatment. Then fill the porch floor symmetrically or deliberately asymmetrically (symmetry reads grand and elegant; asymmetry reads wild and spooky — pick the one that suits your theme). Flank the door with your tallest elements: topiary-style black planters, stacked pumpkins, tall lantern posts, or standing figures. Height at the edges frames the door and makes the whole entrance feel grander.
Then extend the scene toward the street. Line the path or steps with smaller repeated elements — glowing pumpkins, lanterns, or luminaries — to pull visitors and judges toward the door. Repetition is powerful: twelve small glowing pumpkins marching up the steps look far more impressive than one big pumpkin and a scattering of unrelated items. Think of the path as the red carpet leading to your main event.
Finally, check the composition from the street, not just from your porch. Walk to the kerb and look back. This is the view the judges get, and it is the view that matters. Adjust anything that disappears at distance, and make sure your focal point — the door — is the brightest, boldest part of the scene. The eye should land there first, every time.
DIY Props That Look Far More Expensive Than They Are
Judges love handmade details, and handmade does not have to mean shabby. With a few cheap materials and an afternoon, you can build props that look genuinely impressive. The trick is committing to a finish: a coat of spray paint in matte black or stone grey unifies cardboard, foam, and plastic into something that looks intentional and expensive.
- Foam tombstones: Cut tombstone shapes from insulation foam boards, carve names and dates with a craft knife, and dry-brush with grey and black paint. Weather them with a little brown wash. A row of five looks like a real miniature graveyard.
- Giant spider: A large beach ball or exercise ball painted black, eight legs from black pool noodles bent into shape, and red craft-foam eyes. Hang it over the door with fishing line so it appears to descend.
- Potion bottles: Save interesting glass bottles and jars, fill with coloured water (food colouring plus a drop of dish soap for a murky effect), add handwritten-style labels, and cluster them on a crate or small table.
- Floating candles: White LED tea lights inside cardboard tubes painted white, hung at different heights with fishing line from the porch ceiling. From the street they genuinely appear to float.
- Creepy portraits: Print spooky portraits (or paint over charity-shop art with ghostly faces), pop them in cheap frames, and lean them against the house or hang them on the porch wall.
- Monster teeth: White foam triangles glued around the inside of the door frame for the monster-mouth theme. Simple, cheap, unforgettable.
The golden rule of DIY contest props is finish and repetition. One well-painted foam tombstone looks crafty. Five identical, well-painted foam tombstones look like a set piece. Batch your builds: make everything in multiples, paint everything the same way, and the whole display will look cohesive and professional.
Lighting: The Secret Weapon of Every Winner
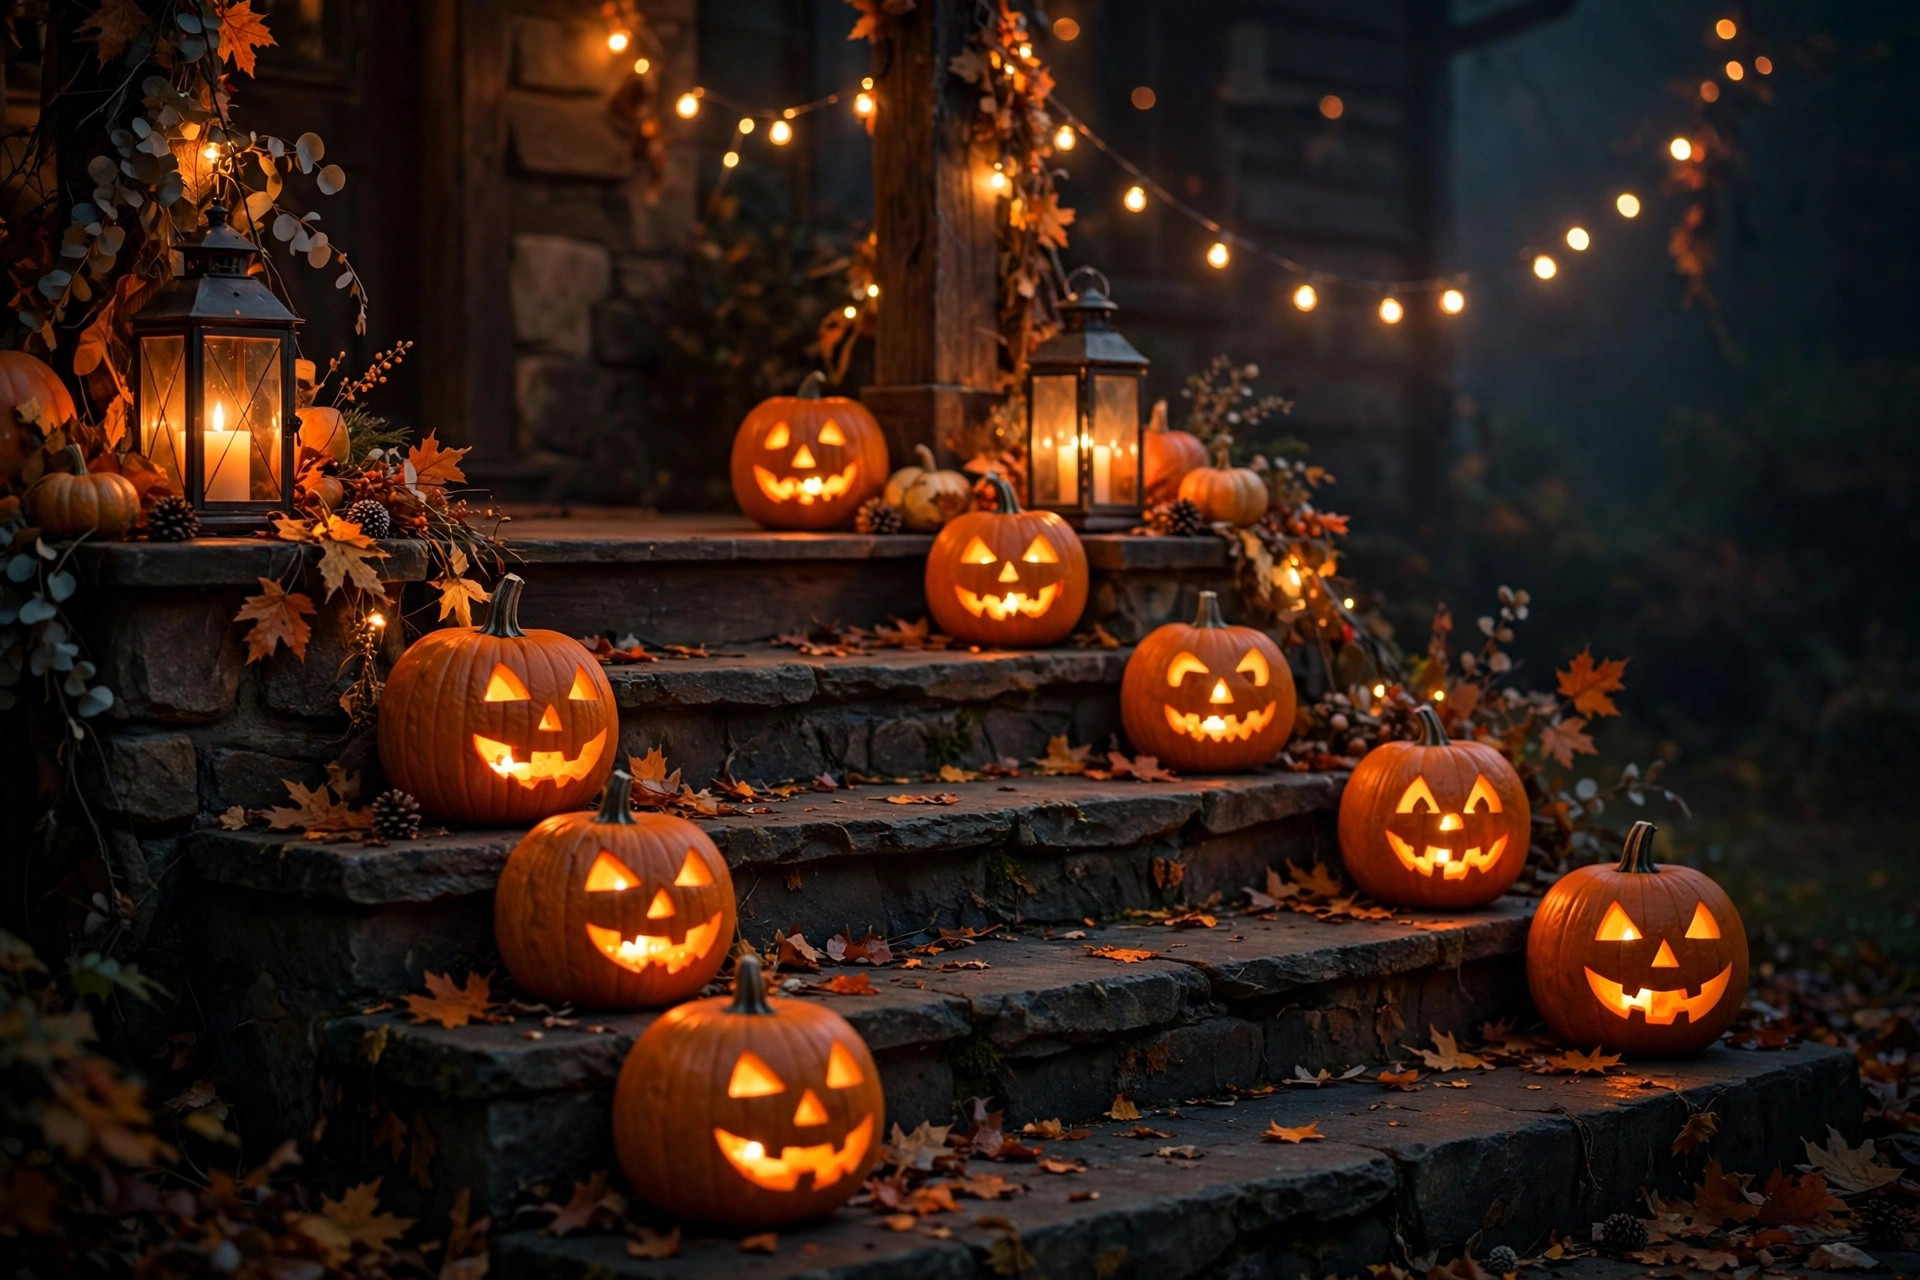
Here is the truth that separates winners from everyone else: contests are judged in the dark, and lighting is everything. A modest display with brilliant lighting will beat an elaborate display with poor lighting every single time. Judges cannot score what they cannot see, and cameras cannot capture what is not lit. Plan your lighting with the same care you plan your props.
Layer your light the way you layered your composition. Start with wash lighting — coloured spotlights or floodlights aimed at the house from the lawn — to set the overall mood. Orange, purple, or green washes transform an ordinary house front into something theatrical. Then add accent lighting on your key props: small spotlights aimed up at the wreath, the spider, or the tombstones. Finally, add the magical layer: string lights, lanterns, glowing pumpkins, and luminaries along the path. Three layers of light create depth, and depth photographs beautifully.
Colour choice matters enormously. Warm orange and amber light feels classic Halloween and flatters pumpkins. Purple and green feel spooky and supernatural. Cool white or blue can look ghostly and elegant. Pick one dominant colour family and stick with it — mixed rainbow lighting looks like a Christmas display and dilutes the spooky mood. If your theme is witchy elegance, go amber and purple. If it is haunted graveyard, go green and cool white.
A note on candles and flame safety, because it matters: real candles and open flames near dry decorations — hay bales, corn stalks, fabric cobwebs, paper props — are a genuine fire risk, and many contests ban them outright. Battery-operated LED candles and fairy lights give you the same flickering glow with zero risk, and modern flameless candles look remarkably convincing from a few feet away. If you do use real flames anywhere in your display, keep them in sturdy glass lanterns, well away from anything flammable, and never leave them burning unattended. Check your contest rules — flame bans are common, and breaking one can cost you the prize.
Add Motion and Sound — Carefully
The displays people remember longest are the ones that moved or made a sound. A gently swaying ghost, a rocking chair that rocks by itself, a cauldron with bubbling dry ice — these are the details that make judges stop and stare. But motion and sound are seasoning, not the main dish. One or two animated elements elevate a display; ten make it chaotic and hard to photograph.
Simple motion beats complicated animatronics. Fabric ghosts hung from the porch ceiling sway beautifully in the breeze with no power needed. A rocking chair with a hidden string pull, a curtain that billows from a small fan, paper bats on fishing line that twirl — all cheap, all effective. If you use a fog machine, run it on a timer with short bursts rather than continuously; a porch full of constant fog obscures your props instead of enhancing them, and fog fluid near electrics needs care.
Sound should be subtle and atmospheric: distant thunder, creaking doors, soft eerie music, or whispering wind. A small Bluetooth speaker hidden in a prop works perfectly. Keep the volume low enough that it feels like the house itself is making the sounds. Loud, jump-scare audio annoys neighbours and can genuinely frighten small children — and irritated judges do not award prizes. Check your contest’s noise rules too; some neighbourhoods have strict limits after a certain hour.
The Details Judges Actually Score
Talk to anyone who has judged one of these contests and they will tell you the same thing: the winner is decided in the details. Big props get attention, but craftsmanship, cohesion, and finishing touches get points. In the final days before judging, walk your display with a judge’s eye and check these things:
- No visible mechanics: Hide extension cords under rugs or behind props, tape down wires, conceal speaker and timer boxes inside decorations. Visible duct tape and tangled cords scream amateur.
- Consistent colour story: Every element should belong to your palette. One random bright-red item in a black-purple-and-orange display will pull the eye for the wrong reason.
- Finished edges: Paint the backs and sides of foam props, not just the fronts. Judges walk past at angles, and unpainted foam edges are visible.
- A clear focal point: Stand at the kerb and ask yourself where your eye lands first. If the answer is not your door, rebalance your lighting and scale.
- Daytime dignity: Some contests include a daytime drive-by or social media photos taken in daylight. Make sure your display looks intentional — not sad — in daylight too.
- Safety and access: Keep the path clear and well lit, secure anything that could blow over, and make sure trick-or-treaters can reach the door safely. Judges notice thoughtfulness.
Photograph your display at night before judging night and study the photos critically. The camera reveals uneven lighting, gaps in the composition, and clutter that your eyes gloss over in person. Fix what the photos show you, then photograph again. This single habit improves displays more than any new purchase.
Your Contest-Week Timeline
Winning displays are rarely built in a single frantic weekend. Spread the work across the week before judging and everything stays fun instead of stressful. A week out, finalise your theme and make your shopping list — buy or order everything now, because Halloween stock sells out fast in the final days. Five to six days out, build your DIY props in batches; foam work and painting need drying time, and rushing paint jobs always shows.
Three to four days out, do a daylight test-fit on the porch. Arrange everything without fixing it permanently, step back to the kerb, and adjust the composition. This is the moment to discover that your spider is too small or your tombstones face the wrong way. Two days out, install lighting and test it after dark — this is the most important rehearsal of the whole process. Adjust angles, swap bulbs, and add or remove lights until the night-time photo looks right.
On judging day itself, do a final walkthrough in daylight: secure anything loose, replace any wilted real pumpkins, hide any cords that migrated, and wipe down anything dusty. Then, an hour before the judging window, light everything, start the fog and sound, and do one last kerb-side check. Then step back, enjoy your work, and let the door do the talking. Whatever the result, you will have the best-looking house on the street — and next year, the neighbours will be coming for you.
The doors that win are not the ones with the most decorations. They are the ones with the clearest idea, the best lighting, and the most love in the details.
So pick your theme, plan your light, build your props, and give the judges something worth photographing. A Halloween door contest is really a storytelling contest, and your front door is the first page. Make it impossible to walk past without stopping — and may the spookiest, funniest, most creative door win. With this plan behind you, there is every chance that door will be yours.
Leave a Reply