
Last updated: November 2026
Quick answer: To apply false lashes for a Christmas party, choose a light, flexible strip lash, trim it to fit your eye, wait thirty seconds for the glue to go tacky, then press it along your lash line from the centre outwards. Finish with mascara and a thin line of eyeliner to blend everything together.
False lashes can feel like the hardest part of a party look, especially if you have never worn them before. The good news is that learning how to apply false lashes beginners christmas party style is much simpler than it looks. You do not need steady surgeon hands or years of practice.
This guide walks you through every step, from picking your first pair to taking them off safely when the party is over.
How to Apply False Lashes Beginners Christmas Party: What Do I Need?
You only need five things: a pair of strip lashes, lash glue, small scissors, tweezers or a lash applicator, and a mirror you can tilt. Keep a cotton bud and a little micellar water nearby too, so you can tidy any small glue smudges without starting again.
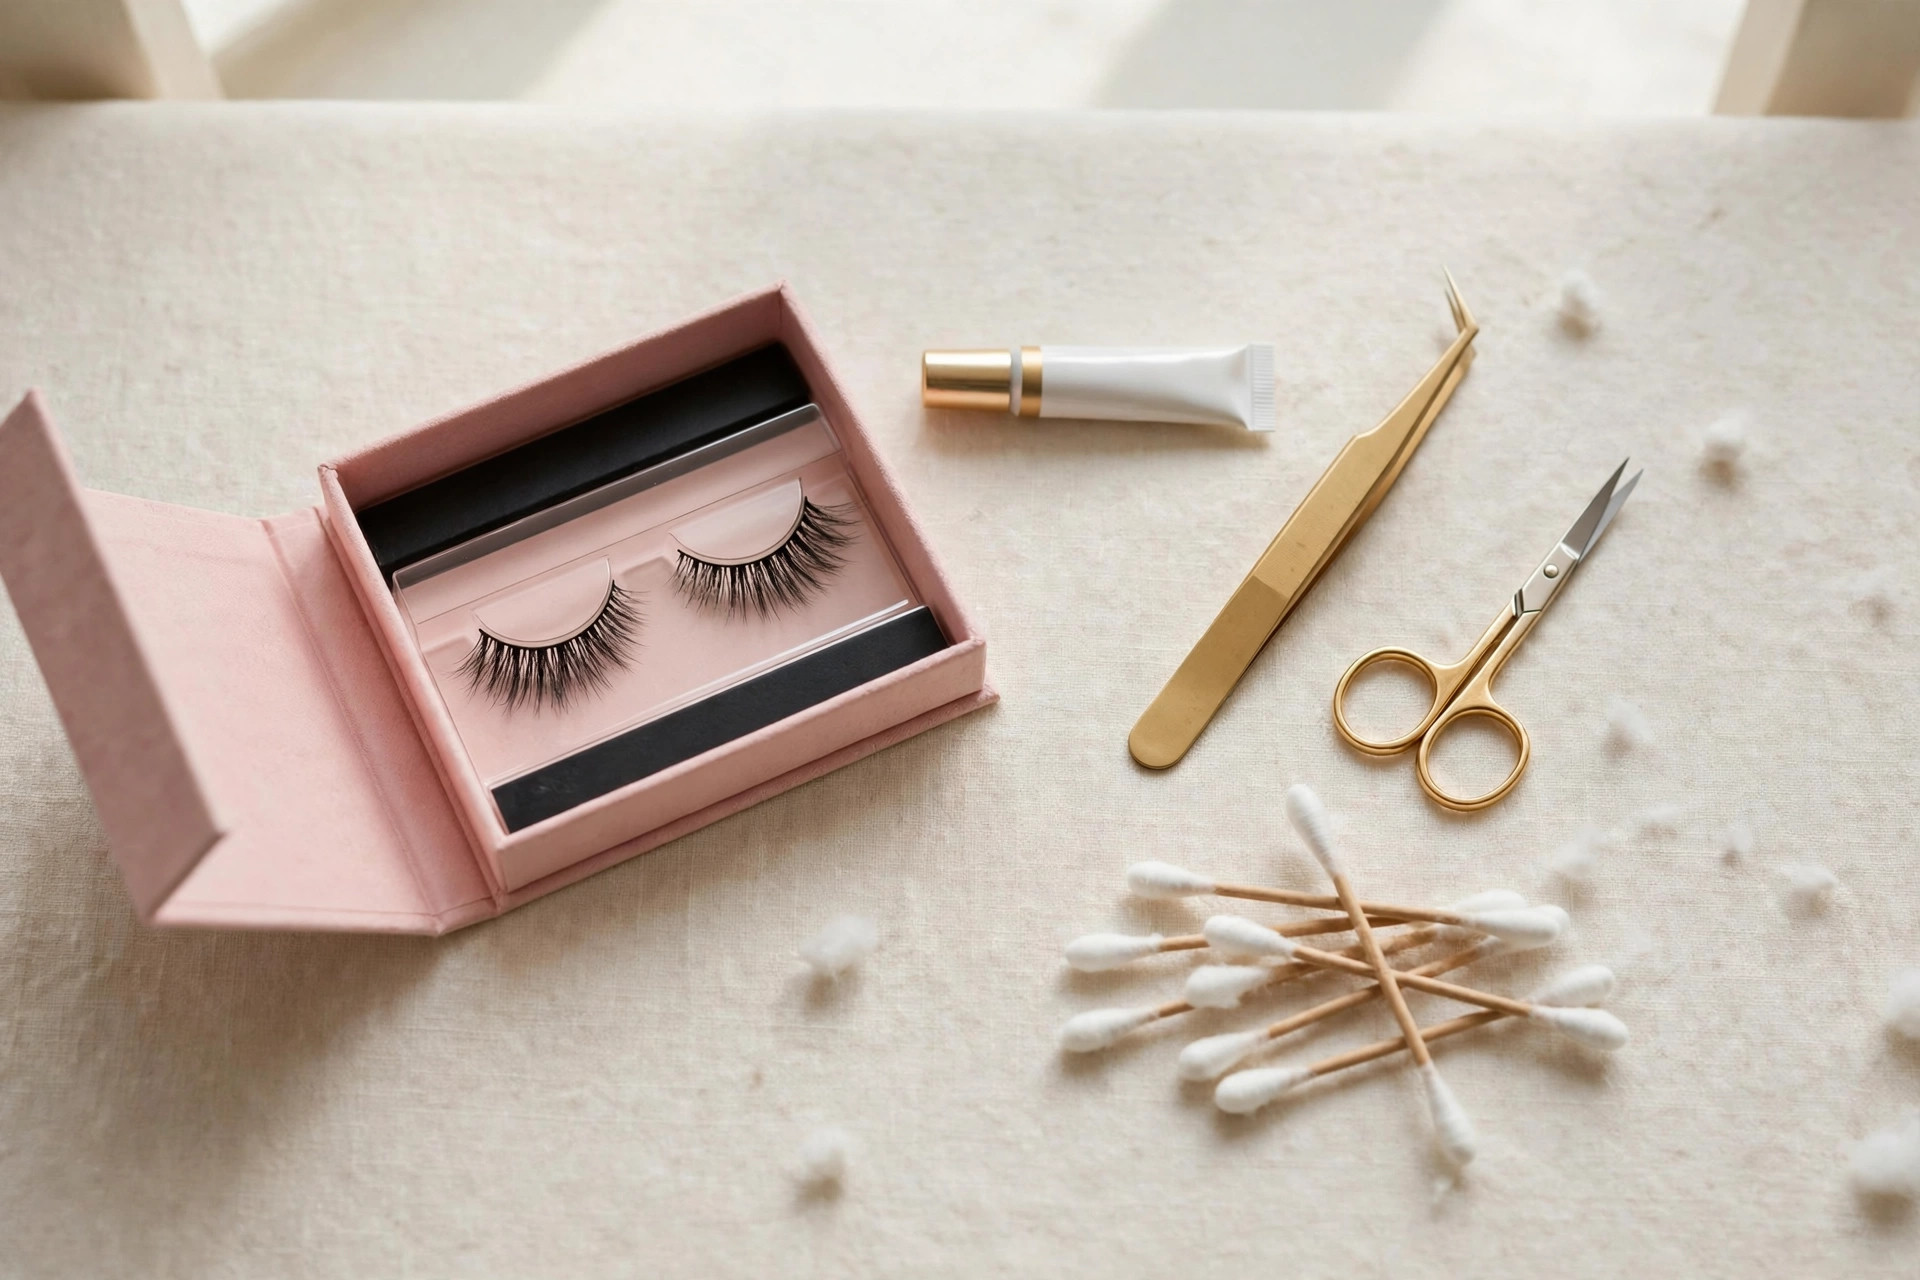
Start with strip lashes rather than individual clusters. Strip lashes are far easier for a first attempt because you place one band instead of many tiny pieces. Look for a band that is thin and flexible, not stiff or thick. A clear or invisible band is the most forgiving choice for beginners, because it disappears against your skin even if your placement is not perfect.
Choose a style that suits the occasion. A Christmas party calls for a little extra drama, but that does not mean the longest, thickest lash on the shelf. A wispy style with varied lengths looks far more flattering than a heavy, uniform strip.
- Strip lashes: one band, easiest for beginners.
- Lash glue: a latex-free formula if your eyes are sensitive.
- Small scissors: for trimming the strip to fit your eye.
- Tweezers or applicator: to place the lash precisely.
- A tilted mirror: looking down into it gives you the best view of your lash line.
How Do I Choose the Right False Lashes for a Christmas Party?
Choose lashes that suit your eye shape and the rest of your make-up, not just the prettiest pair in the shop. If your eyes are small or hooded, a shorter, flared style that is longer at the outer corner opens the eye beautifully. If your eyes are round, a cat-eye shape adds a lovely lift.
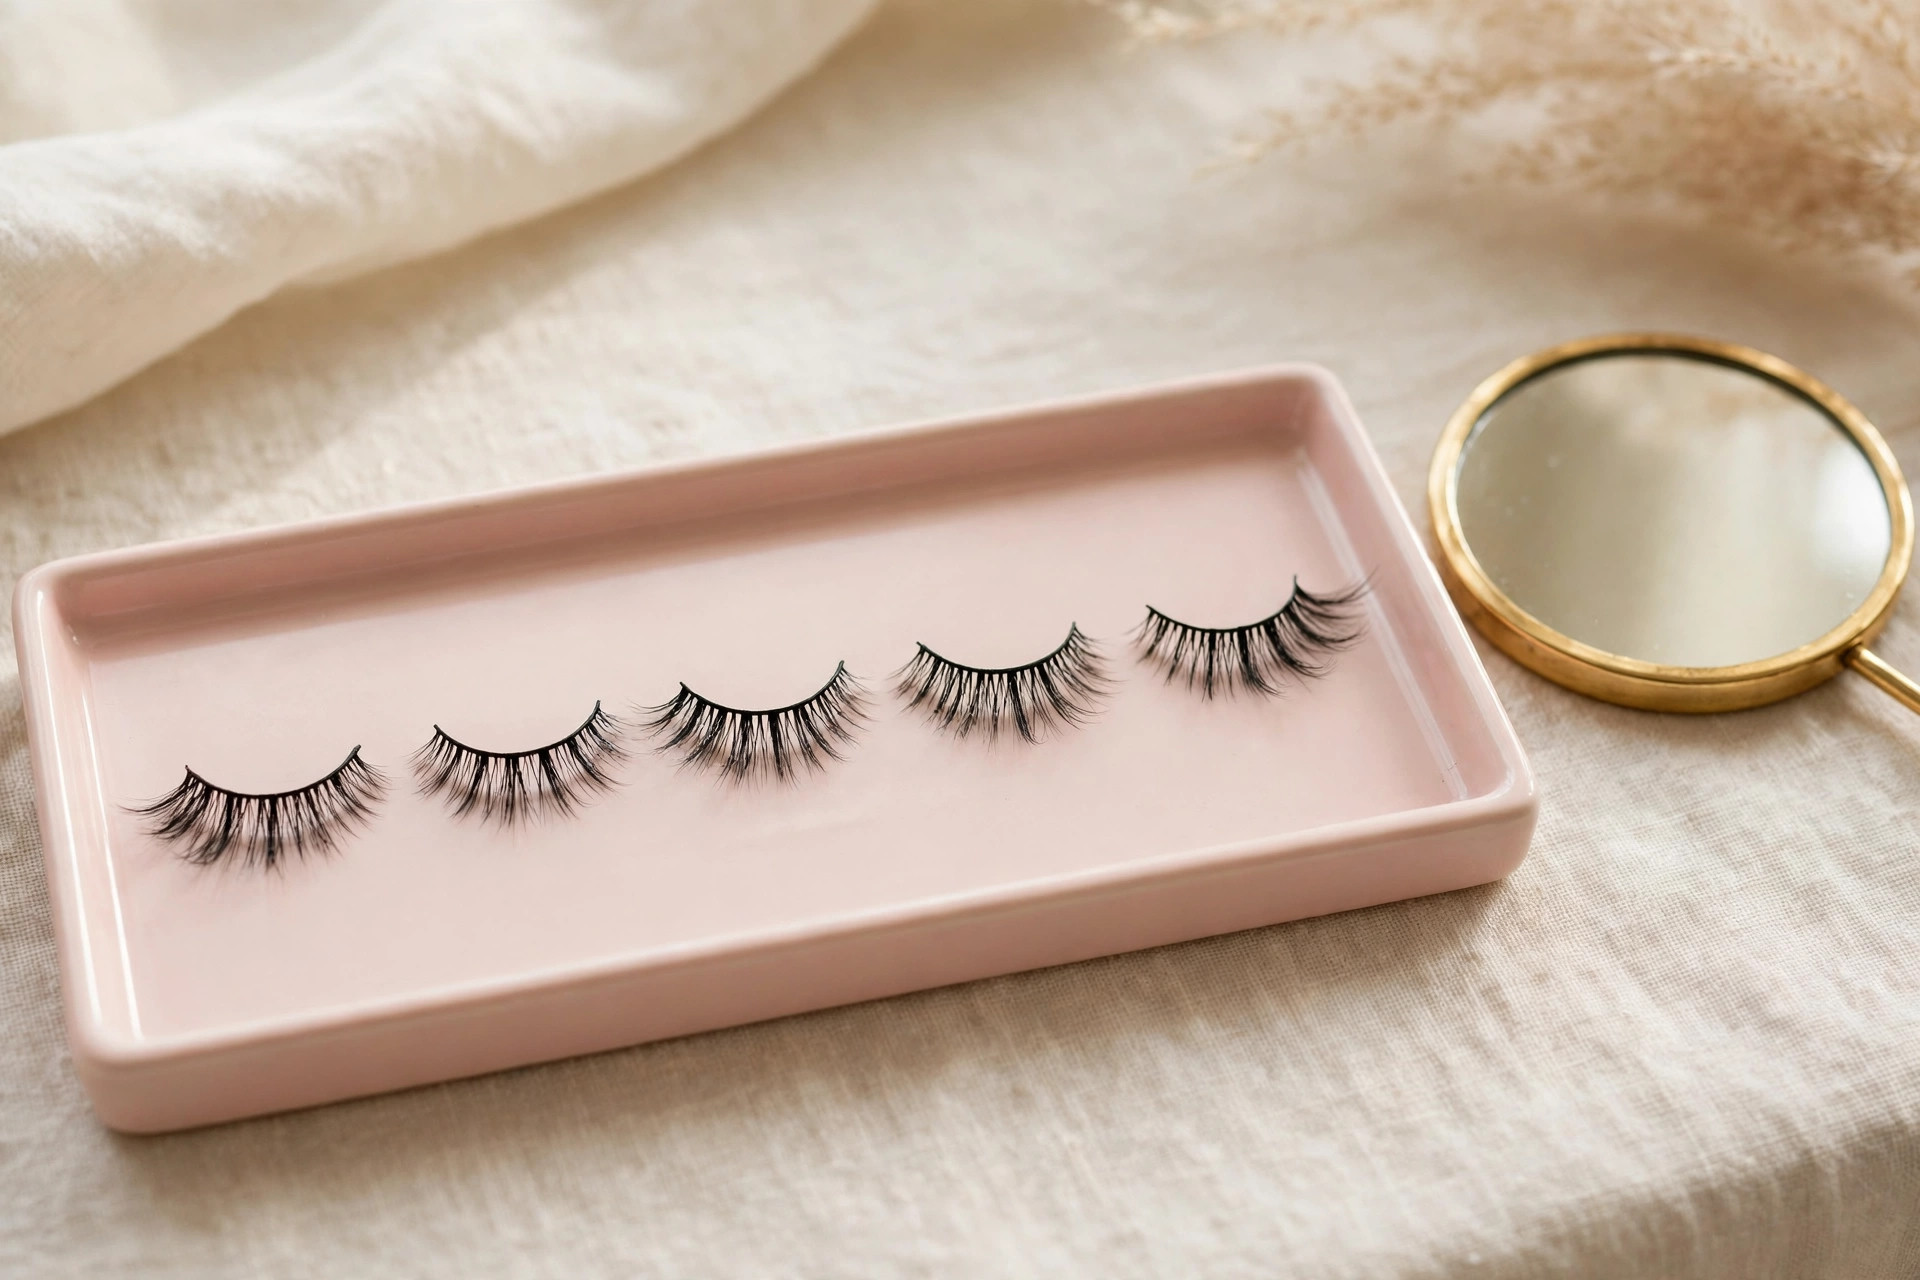
Think about length and volume honestly. A lash that is too long for your eye will droop at the corners and feel heavy within an hour. A medium length with a wispy finish gives you that festive sparkle without the weight.
Consider the band as much as the hairs. A thick black band can double as eyeliner, which is handy if you are short on time. A clear band is more forgiving and looks softer with a light, daytime party look. Either works, so pick the one that matches the rest of your make-up.
| Lash style | Best for | Party feel |
|---|---|---|
| Wispy | First-timers, smaller eyes | Soft, fluttery glamour |
| Flared / cat-eye | Hooded or round eyes | Lifted, elegant drama |
| Voluminous | Evening parties, bold make-up | Full, high-impact glamour |
| Natural / demi | Daytime parties, subtle looks | Polished but understated |
One fact worth knowing: the American Academy of Dermatology advises people to be gentle with the skin around their eyes and to avoid pulling or tugging at lashes, because the area is delicate. You can read their everyday skin care guidance at aad.org.
How to Apply False Lashes Beginners Christmas Party: Step by Step
Applying your first pair is a five-step process: measure and trim, curl your natural lashes, add glue and wait for it to go tacky, place the strip from the centre outwards, then press and blend. Take it slowly, and remember that you can lift the strip off and try again while the glue is still wet.

First, measure the strip against your eye. Hold it along your lash line and see how much hangs past the outer corner. Trim from the outer end only, a tiny amount at a time, until it fits. Cutting from the inner end ruins the shape, so always trim the outer edge.
Next, curl your natural lashes and add a light coat of mascara. This gives the false lash something to sit against and helps the two blend together later. Then apply a thin line of glue along the band. Less is more here.
Now wait. This is the step most beginners skip, and it is the one that matters most. Let the glue sit for about thirty seconds until it turns tacky. Tacky glue grips instantly, while wet glue slides around.
- Measure and trim: hold the strip to your eye and trim the outer end until it fits.
- Prep your lashes: curl them and add one light coat of mascara.
- Glue and wait: apply a thin line of glue and wait about thirty seconds until tacky.
- Place the strip: look down into your mirror and set the centre of the band on your lash line.
- Press and secure: press the inner and outer corners down with tweezers, then hold for a few seconds.
- Blend: add another light coat of mascara and a thin line of eyeliner over the band.
When you place the strip, look down into your mirror rather than straight ahead. Set the middle of the band down first, then press the inner corner, then the outer corner, holding each end for a few seconds.
How Do I Make False Lashes Stay On All Night?
False lashes stay on all night when the glue is fully tacky before you place them, the band sits exactly on your lash line rather than above it, and you avoid touching or rubbing your eyes. A second thin layer of glue at the inner and outer corners adds extra hold where lashes usually lift first.
The corners are the weak points, so give them a little extra attention. After you apply your first line of glue, add a tiny extra dot at each end of the band and wait the full thirty seconds.
Keep your hands away from your eyes once the lashes are on. Every touch loosens the glue a little. If you feel an itch, press gently at the outer corner with a clean fingertip rather than rubbing.
How Do I Blend False Lashes With My Natural Lashes?
Blend false lashes with your natural lashes by sandwiching them together with mascara, hiding the band with a thin line of dark eyeliner, and curling both sets gently together once the glue is dry. The goal is one seamless lash line, not two separate rows.
Start with eyeliner. A thin line of dark brown or black liner drawn right along the band hides it completely. If you are not confident with liquid liner, a soft pencil smudged along the lash line works just as well.
Then add mascara. Brush it through both your natural lashes and the false ones together, from root to tip. One coat is usually enough. Too much mascara makes the lashes clump and look heavy, which defeats the purpose of a pretty wispy strip.
What Should I Do If My False Lashes Keep Lifting at the Corners?
If your false lashes keep lifting at the corners, the strip is probably too long, the glue was not tacky enough, or the band is too stiff for your eye shape. Trim the strip shorter, wait the full thirty seconds for the glue, and bend the band gently around your finger before applying to soften it.
Bending the band before you apply it is a trick every make-up artist uses. Hold the strip between your fingers and gently curve it into a soft arc, like a tiny rainbow. A stiff, straight band fights the natural curve of your eye, which is why the corners pop up. A pre-curved band hugs the eye and stays put.
Check the fit again too. If the strip extends past your outer corner, it has nothing to stick to and will lift within minutes. Trim a millimetre or two from the outer end and try again. Even a tiny trim changes the fit completely.
How Do I Remove False Lashes Safely After the Party?
Remove false lashes gently by softening the glue with warm water or micellar water, then peeling the strip slowly from the outer corner inwards. Never pull a dry strip off quickly, because it can take your natural lashes with it.

Start by soaking a cotton pad in warm water or micellar water and holding it over your closed eye for about twenty seconds. This loosens the glue without any tugging. Then grip the outer end of the strip with your fingers and peel it slowly towards your nose. If you feel resistance, hold the pad over that spot for a few more seconds.
Once the strip is off, clean off any leftover glue from your eyelid with a cotton bud dipped in micellar water. Then clean the strip itself if you plan to reuse it. Gently peel the dried glue off the band with tweezers and store the lashes in their original case so they keep their curve.
Can I wear false lashes if I have never worn them before?
Yes, absolutely. Start with a light, wispy strip with a flexible clear band, and practise once at home before the party. One relaxed practice run makes the real evening feel easy.
Should I put mascara on before or after false lashes?
Both, lightly. One coat before helps your natural lashes blend in, and one coat after sandwiches the two sets together. Keep both coats light so the lashes stay fluttery instead of clumpy.
How long do false lashes last at a Christmas party?
With the right glue and a good fit, a strip lash will comfortably last all evening, usually six to eight hours. A tiny emergency kit in your clutch covers any corner that lifts later in the night.
Can I reuse my false lashes after the party?
Yes, if you remove them gently and clean the dried glue off the band. Store them in their case and they will keep their shape for several more wears. Throw them away if the band is bent or the hairs are tangled.
False lashes are one of those things that feel daunting until you have done it once. After that, they become the quickest way to turn a simple party outfit into a full festive look. Practise once at home, pick a wispy style you love, and give yourself plenty of time on the night.
Leave a Reply