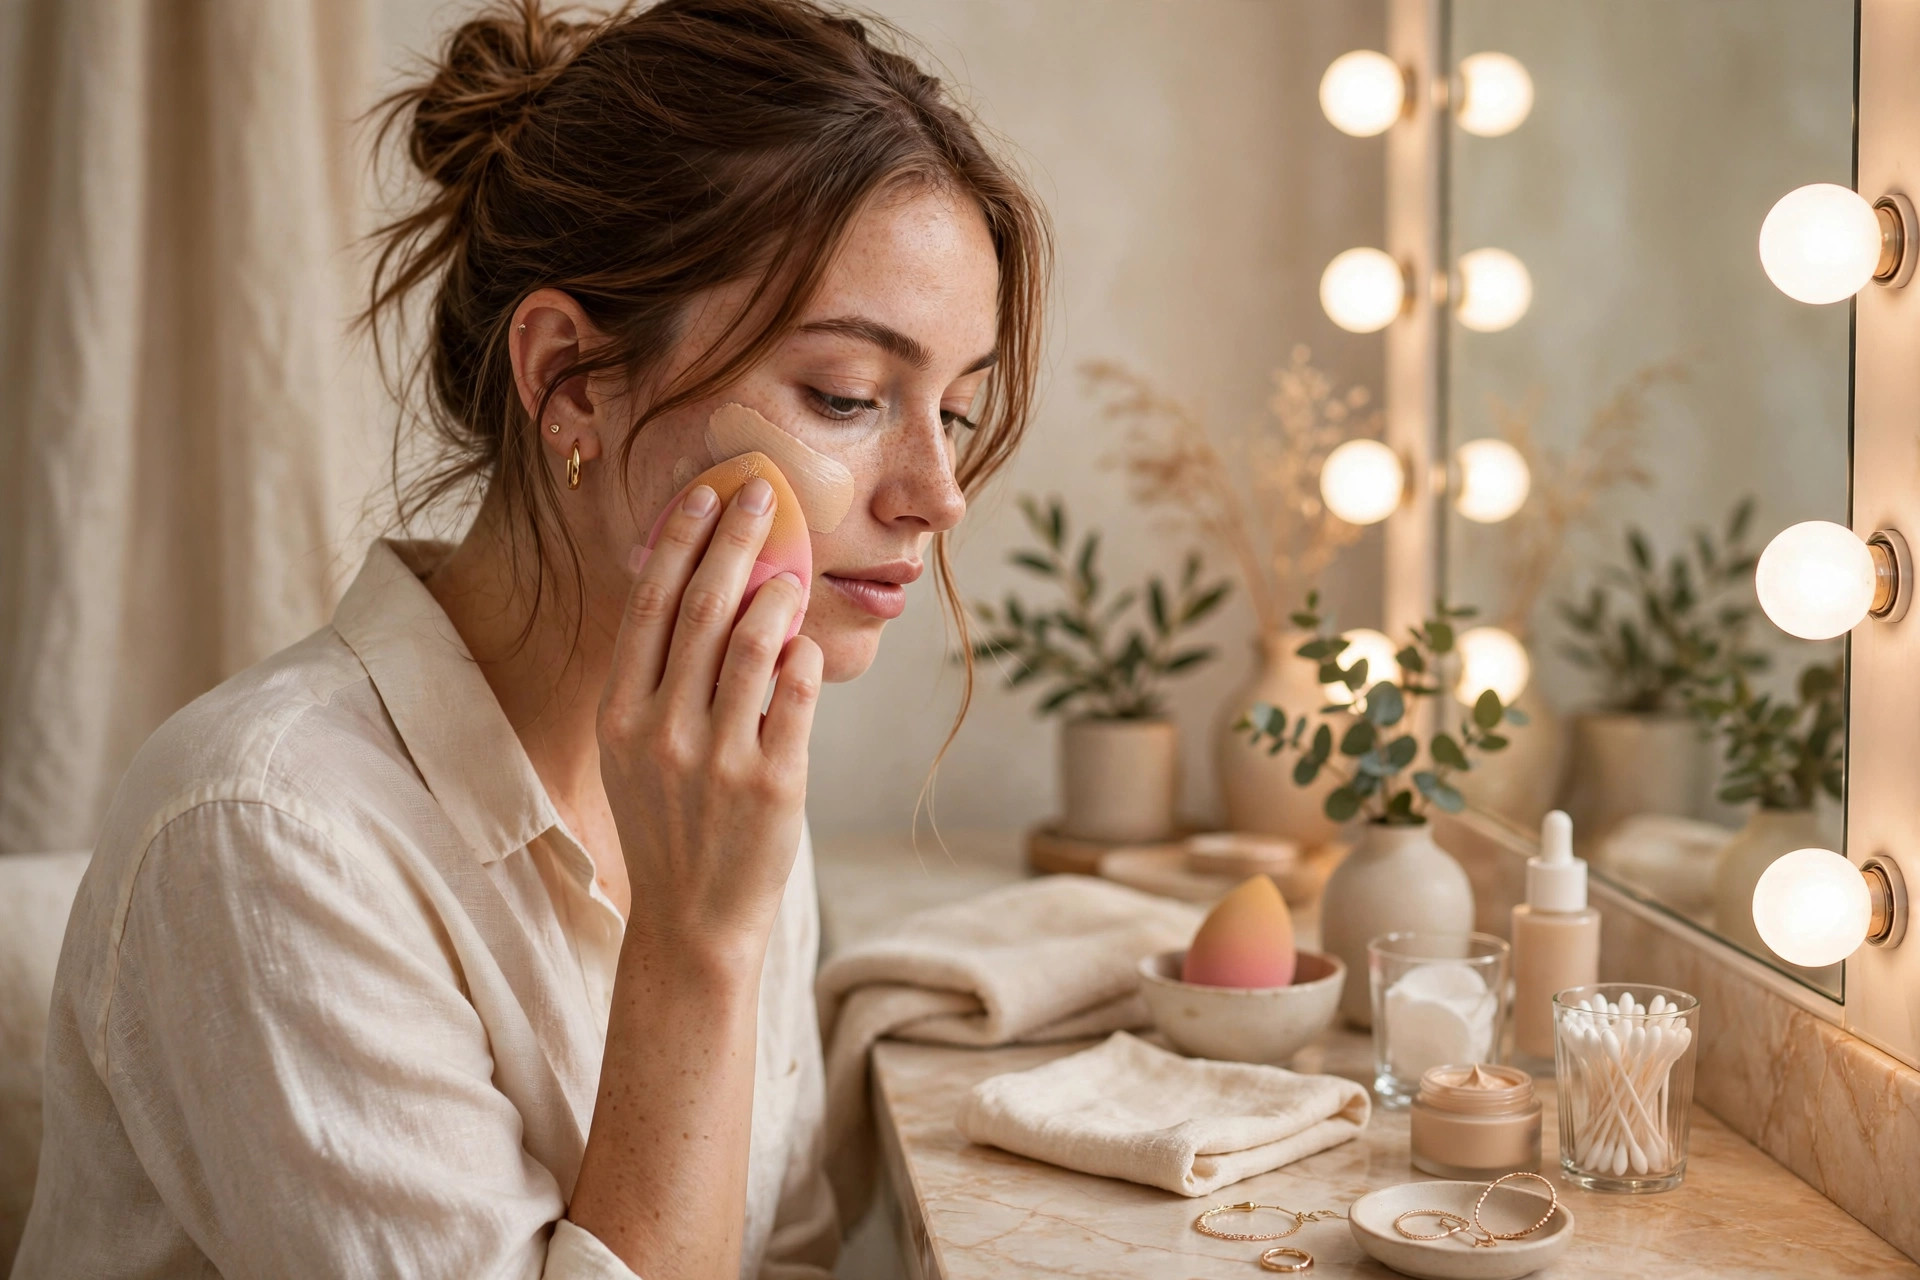
The best foundation is the kind nobody notices. When you learn how to apply foundation naturally, makeup stops looking like makeup and starts looking like really, really good skin. That’s the goal of this guide: a fresh, even, breathable base that works for school, the office, errands — the whole rhythm of an everyday life.
Most foundation mistakes come down to three things: too much product, the wrong shade, and skipping skin prep. Fix those three and you’re already ninety percent there. Let’s walk through the full routine, step by step.
Step 1: Prep Your Skin First
Natural foundation starts before you open the bottle. Foundation grips best on smooth, hydrated skin — on dry, unprepared skin it clings to rough patches and settles into fine lines, which is exactly the cakey look we’re avoiding.
Start with your morning skincare routine: cleanse, moisturize, and let everything absorb for a few minutes. Then add a primer if you like — a hydrating primer for dry skin, a mattifying one for oily areas like the T-zone. Primer isn’t mandatory, but it smooths the surface and helps foundation last longer.
If you’re dealing with flaky patches, a gentle lip-scrub-style exfoliation on those spots the night before makes a visible difference. Never try to exfoliate right before makeup; skin needs calm, not stimulation.
Step 2: Find Your True Shade
A natural finish lives or dies on shade matching. The most common error is testing foundation on the back of your hand — the skin there is a different tone than your face. Instead, swipe three candidate shades along your jawline and step into natural daylight.
The jawline test:
- The right shade will seem to disappear into your skin, blending seamlessly with both your face and neck.
- Check in daylight, not store lighting — fluorescent lights lie.
- Match your neck, not your face. Faces are often slightly redder; matching the neck keeps everything harmonious.
- Consider your undertone: pink (cool), yellow (warm), or neutral. A shade that’s the right depth but wrong undertone will still look off.
Also, foundation oxidizes — many formulas deepen slightly after a few minutes. Wait five minutes before judging the match. And remember that your skin tone shifts with the seasons; you may need a slightly deeper shade in summer and a lighter one in winter.
Step 3: Choose the Right Formula and Tools
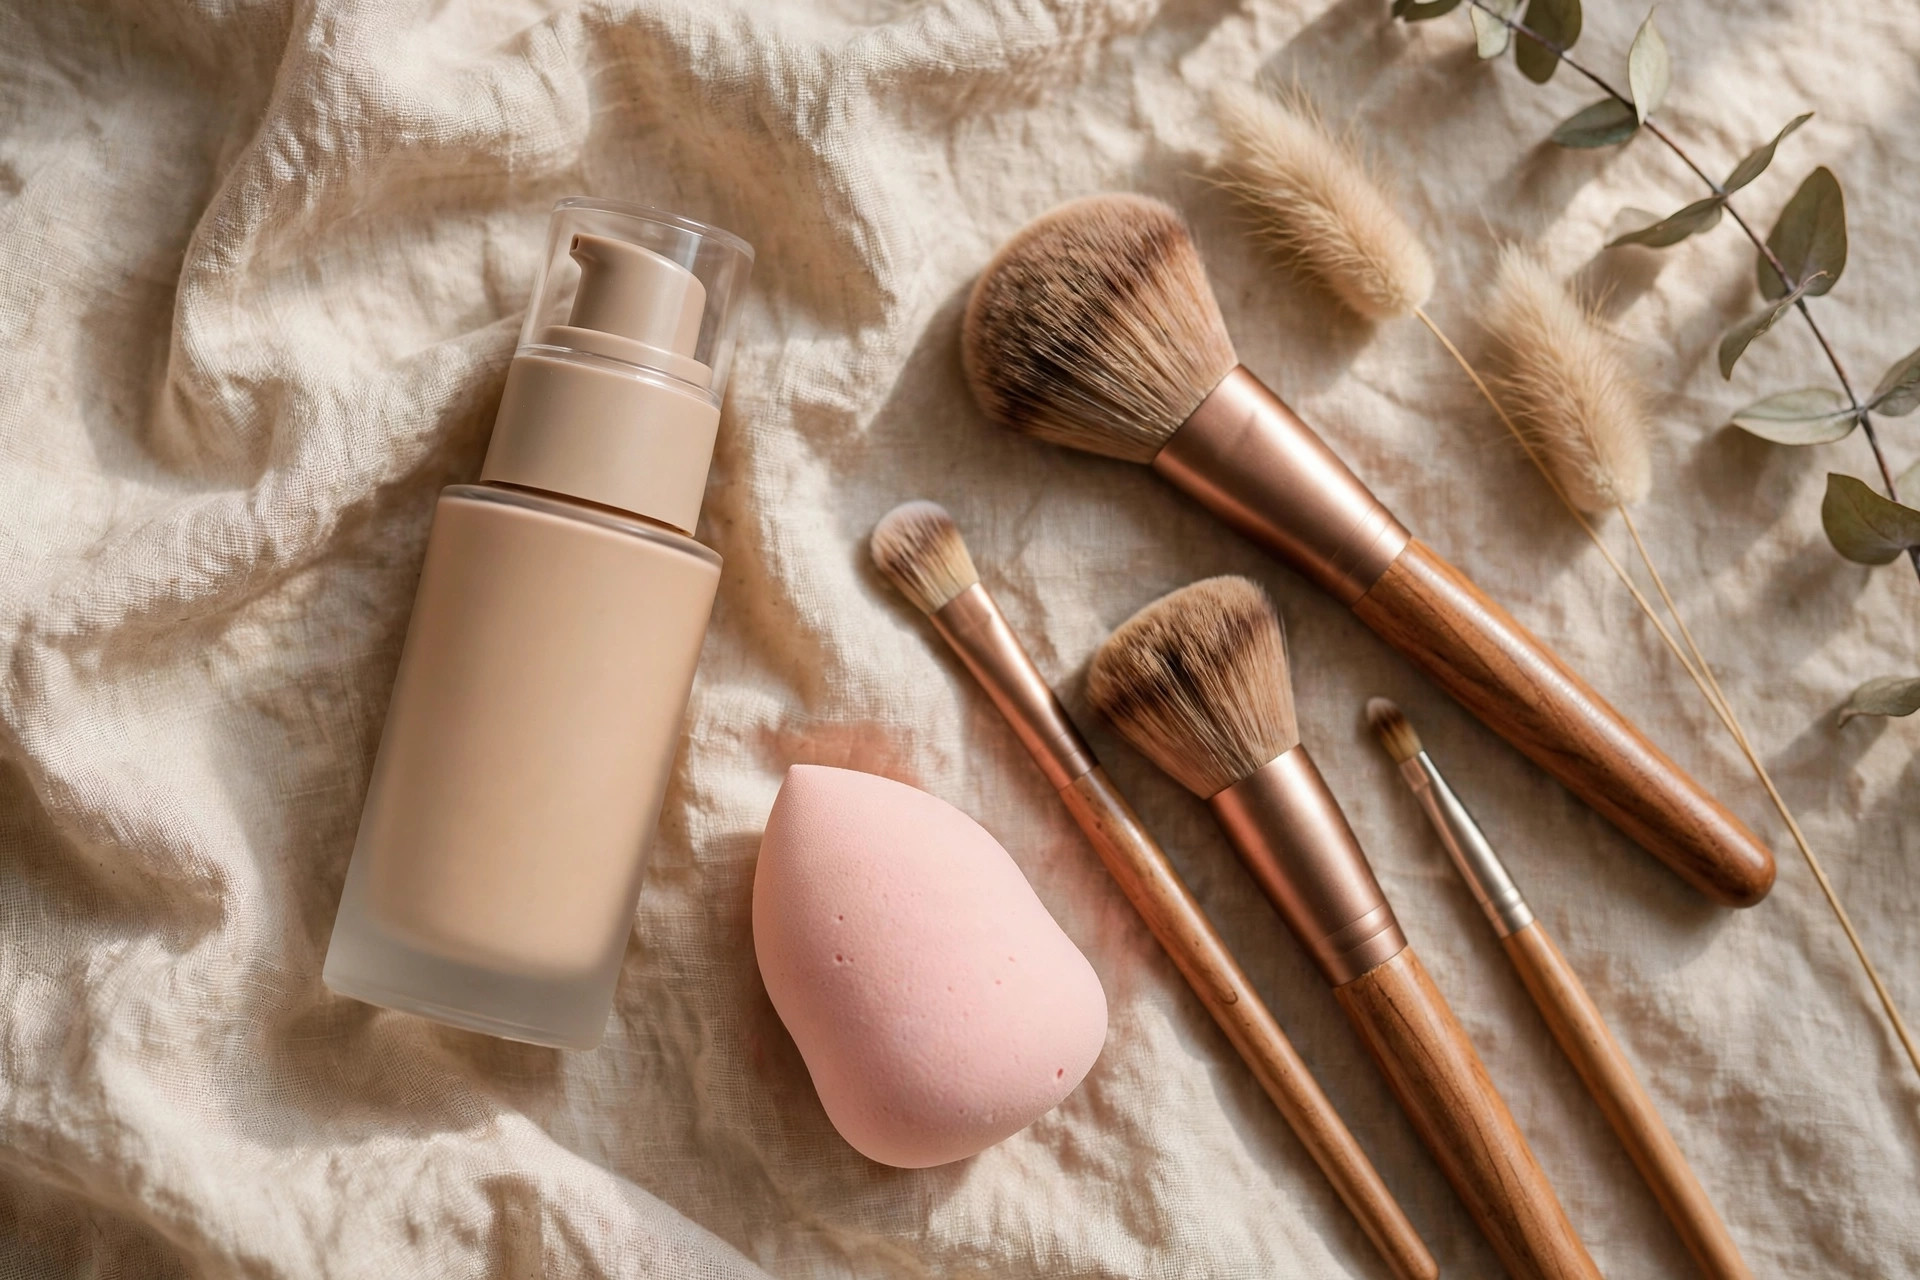
For everyday natural wear, lighter formulas win. Tinted moisturizers, skin tints, and light-to-medium coverage liquid foundations give you that “my skin but better” effect. Full-coverage foundations can look natural too, but they demand more skill to sheer out.
Your tool changes the finish:
- Damp beauty sponge: the most forgiving option for beginners. It sheers out product and gives a skin-like, dewy finish. Always dampen it first and squeeze out excess water.
- Dense flat-top brush: gives slightly more coverage; great for building up only where needed.
- Fingers: warm, quick, and surprisingly effective for skin tints — the warmth of your hands helps product melt in.
Start with a sponge. It’s nearly impossible to overdo it with a damp sponge, which is exactly what a beginner needs.
Step 4: Apply Less Than You Think
Here’s the golden rule: you need about half the foundation you think you do. A natural look is built with thin layers, not one thick one.
The center-out method:
1. Dot a pea-sized amount of foundation on the back of your hand (your palette).
2. Pick up a small amount with your damp sponge.
3. Start at the center of your face — nose, cheeks, chin — where redness and unevenness are usually strongest.
4. Blend outward toward the edges of your face with bouncing, stippling motions. Don’t drag.
5. Use what’s left on the sponge to barely kiss the forehead and jawline. The edges of your face need the least product.
Then stop and look. Most people find that this amount covers everything they wanted to cover, and their skin still looks like skin. If specific spots — a blemish, a patch of redness — still show through, spot-conceal those individually rather than adding another layer of foundation everywhere. Concealer on top of a thin base looks far more natural than a thick base everywhere.
Step 5: Blend, Blend, and Blend Again
Blending is what separates amateur from effortless. The biggest giveaway of foundation is a visible line at the jaw or around the hairline, so spend an extra minute on the edges.
- Bounce the sponge along your jawline so the foundation fades into your neck — no hard stopping lines.
- Press gently around the nostrils, where product loves to gather.
- Sweep any remaining product over your eyelids as a base for the day, then blend up into the hairline.
- Step back from the mirror. Checking your whole face from arm’s length reveals what close-up blending misses.
Take a final look in natural light if you can — near a window is perfect. One of the best ways to check how to apply foundation naturally is to see the result the way the world will see it: indoor lighting hides things that sunlight will reveal.
Step 6: Set Strategically (Not Everywhere)
Setting powder gets a bad reputation because people use too much of it. For a natural everyday look, you don’t need to powder your whole face — just the areas that get shiny or where makeup creases.
Lightly press a small amount of translucent powder onto the T-zone (forehead, nose, chin) and under the eyes if concealer tends to crease there. Leave the cheeks alone — that’s where you want the natural glow to come through. Use a fluffy brush, tap off the excess first, and use a pressing motion rather than sweeping, which can disturb the foundation underneath.
If your skin is dry, you can skip powder entirely and use a setting spray instead. A few spritzes melt everything together and remove any powdery look, giving you that seamless, skin-like finish.
Step 7: Finish With Dimension
Flat, one-tone skin doesn’t read as natural even when the color matches — real faces have dimension. Once your base is set, bring back life with three quick touches:
- Blush on the apples of the cheeks, blended upward toward the temples. Cream blush layered over your base looks especially natural.
- A touch of bronzer where the sun would naturally hit — forehead edges, cheekbones, jawline.
- Highlighter (optional) on the high points: tops of cheekbones, brow bone, inner eye corners. Keep it subtle for daytime.
These small additions make your base look alive rather than masked. If you’re ready to build a full look on top of this base, a soft glam makeup tutorial walks you through the rest.

Troubleshooting Common Foundation Problems
It looks cakey. You’re using too much product, or your skin wasn’t hydrated enough. Sheer it out with a damp sponge and add a spritz of setting spray.
It’s separating by midday. Usually a skincare/makeup mismatch — very rich moisturizer under a matte foundation, for instance. Let skincare absorb fully before applying, and consider a primer.
It fades by afternoon. A primer plus strategic powdering (or setting spray) extends wear significantly. Blotting papers midday refresh shine without adding product.
How to Apply Foundation Naturally: Your Everyday Checklist
- Prep with skincare and let it absorb.
- Match your shade on the jawline in daylight.
- Start with a pea-sized amount, applied center-out.
- Blend edges thoroughly — jawline, hairline, nostrils.
- Powder only where needed; keep cheeks glowing.
- Add blush, bronzer, and a whisper of highlighter for dimension.
Mastering how to apply foundation naturally is genuinely one of those skills that pays off every single day. Once the technique for how to apply foundation naturally becomes muscle memory — and it will, within a couple of weeks — your whole makeup routine gets faster, lighter, and more flattering. Thin layers, good blending, the right shade: that’s the whole secret, and now it’s yours.
Leave a Reply