
Last updated: November 2026
Quick answer: Fold squares of white paper into triangles, cut small shapes from the folded edges, unfold them into snowflakes, then thread them onto string with tape or a needle. Space them evenly, hang the garland, and enjoy a pretty handmade Christmas decoration.
A paper snowflake garland is one of the loveliest Christmas crafts you can make at home, and our how to make paper snowflake garland christmas easy diy guide keeps it simple. It costs almost nothing, it looks beautiful against a window or along a mantelpiece, and it is a wonderful activity to share with children on a cosy afternoon.
In our experience, the charm of this garland is that no two snowflakes look the same, just like real snow. You do not need perfect folds or fancy tools. This guide shows you what you need, how to fold and cut a classic snowflake, how to string the garland, and how to hang it so it looks lovely all through December.
How to Make Paper Snowflake Garland Christmas Easy DIY: What Do I Need?
You need white paper, scissors, string or thread, tape or a needle, and a ruler. Optional extras are glitter, metallic paper, and small wooden beads for spacing the snowflakes along the garland.
Ordinary printer paper works well for snowflakes, because it folds crisply and cuts easily. Thinner paper is easier for small hands and for delicate cuts, while slightly thicker paper holds its shape better on a long garland. White looks classic, but soft silver, pale blue or gold paper looks beautiful too.
Choose scissors that feel comfortable and cut cleanly. Small, sharp craft scissors give the neatest shapes, while child-safe scissors are best if little ones are helping. A needle and thread make the tidiest garland, but clear tape works just as well if you prefer not to sew. Keep a pencil and ruler nearby for marking even folds.
| Paper type | Best for | Cutting ease |
|---|---|---|
| Printer paper | Everyday snowflakes | Easy |
| Thin craft paper | Delicate lace designs | Very easy |
| Light card | Sturdy garlands | Firmer |
How Do I Fold Paper to Make a Snowflake?
Start with a square of paper, fold it in half diagonally, fold it again into a smaller triangle, then fold it into thirds. Cut small shapes from the folded edges, unfold gently, and your snowflake appears.
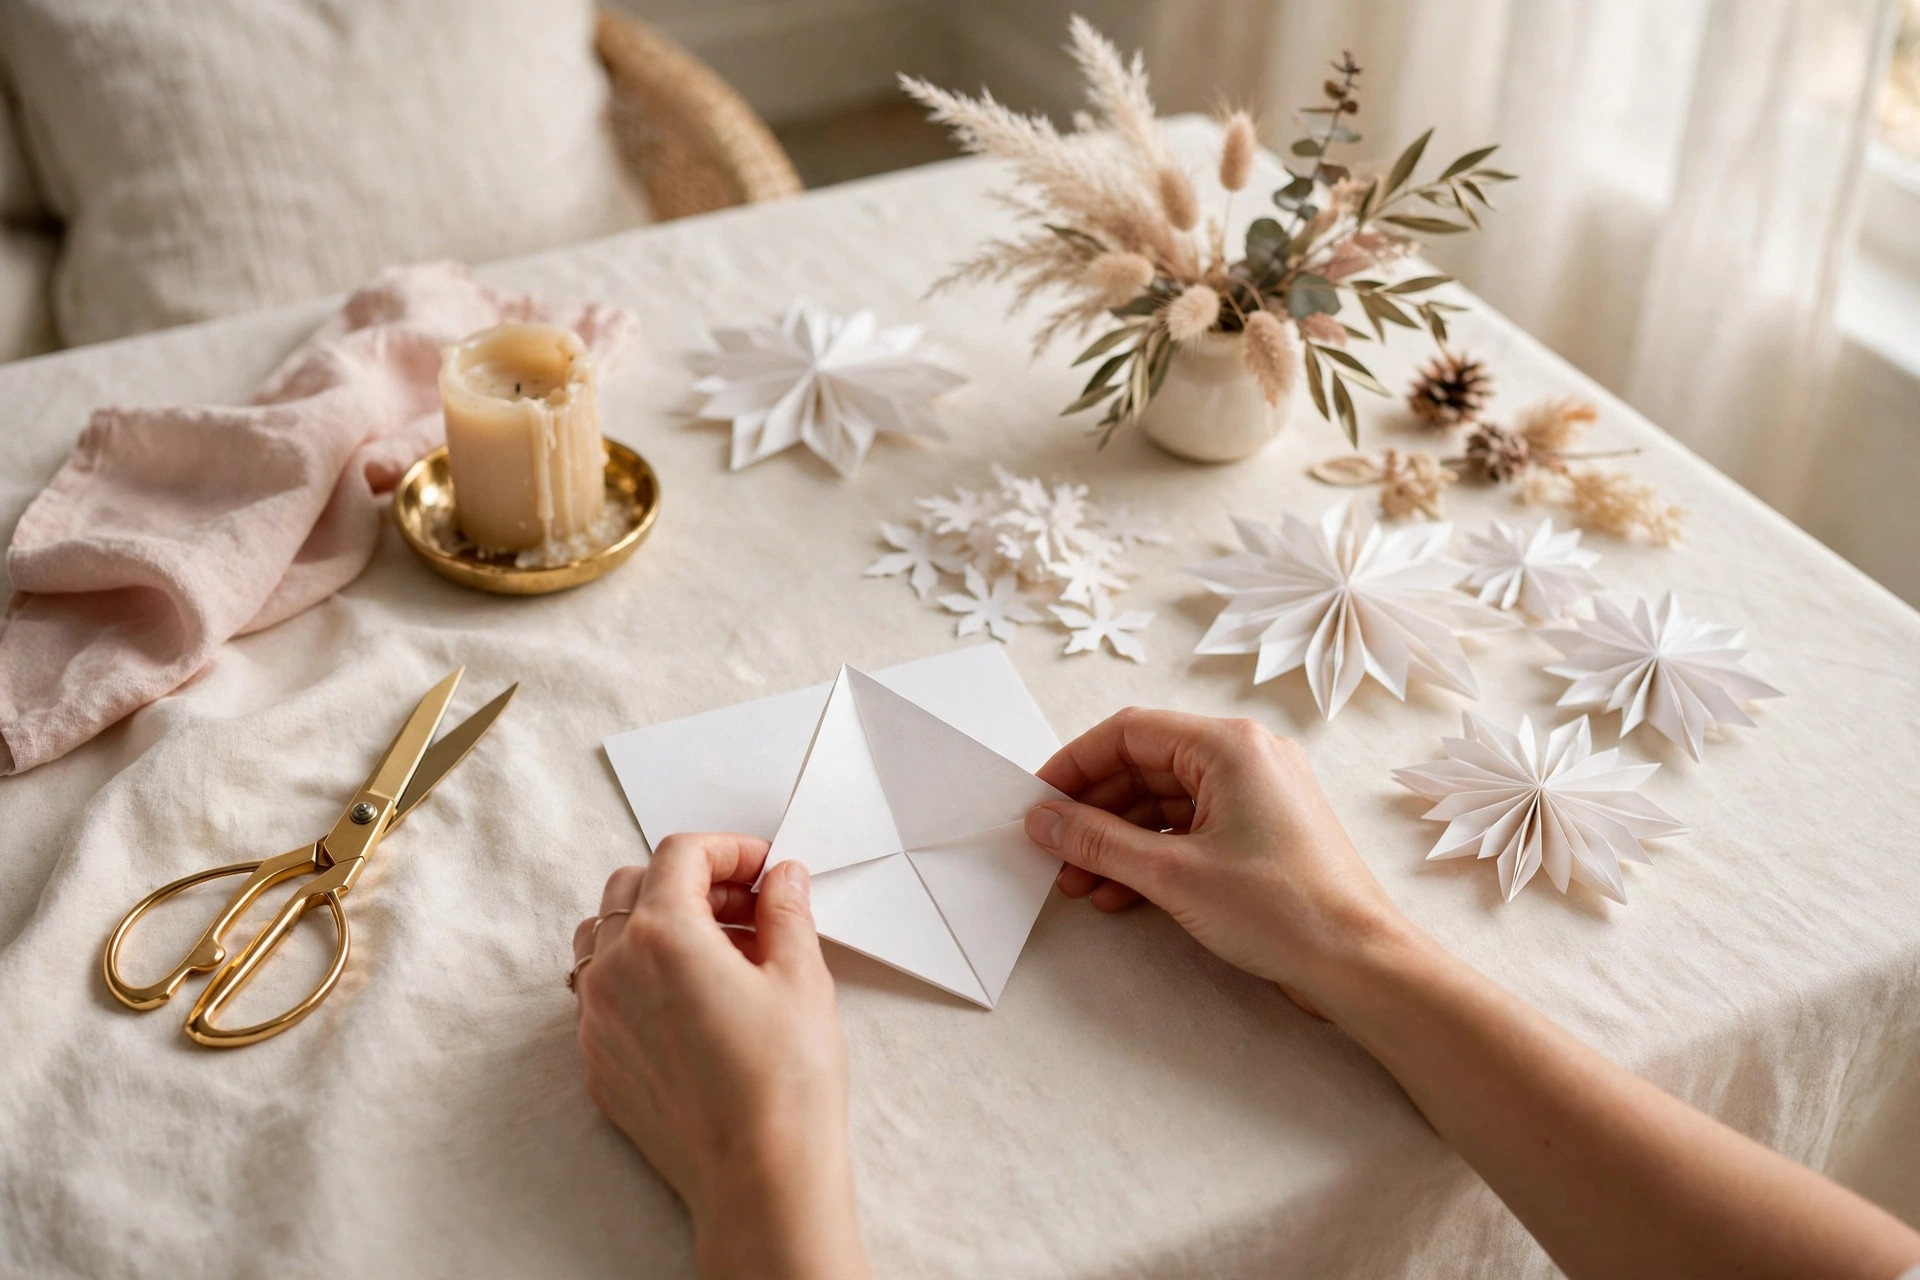
Begin by cutting your paper into a neat square. Fold one corner across to meet the opposite corner, making a triangle, and press the fold flat with your finger or a ruler. Fold the triangle in half again, bringing the two sharp corners together, and press firmly.
Now fold the triangle into thirds. Bring one side over towards the centre, then fold the other side over it, so the shape looks like a narrow wedge with a pointed end. The pointed end is the centre of your snowflake, so never cut it off completely, or the snowflake will fall apart. Trim the open end straight across if you want a flat edge, or leave it pointed for a star-like shape.
How Do I Cut Snowflake Shapes Without Tearing the Paper?
Cut small triangles, curves and notches from the folded edges, never from the centre point. Use the tip of the scissors for detail, open the paper slowly, and press it flat under a book.
Cutting is where the magic happens, and small cuts make the prettiest snowflakes. Snip little triangles and half-circles along both folded edges, and cut a few shapes from the open end. Keep the cuts small and spaced out, because one big cut can weaken the paper and cause a tear when you unfold it.
Use the tip of the scissors for fine details, and keep the blades moving smoothly rather than squeezing hard. When you have finished cutting, unfold the paper very gently, one fold at a time, and press it flat under a heavy book for a few minutes. Real snowflakes almost always have six sides, because ice crystals grow in a hexagonal pattern. You can read more about snowflakes on the Encyclopaedia Britannica website.
How Do I Make Different Snowflake Designs?
Vary your cuts to make different designs: small round holes for a lacy look, long slits for a bold pattern, and pointed notches for a starry edge. Make each snowflake slightly different for a natural, handmade garland.
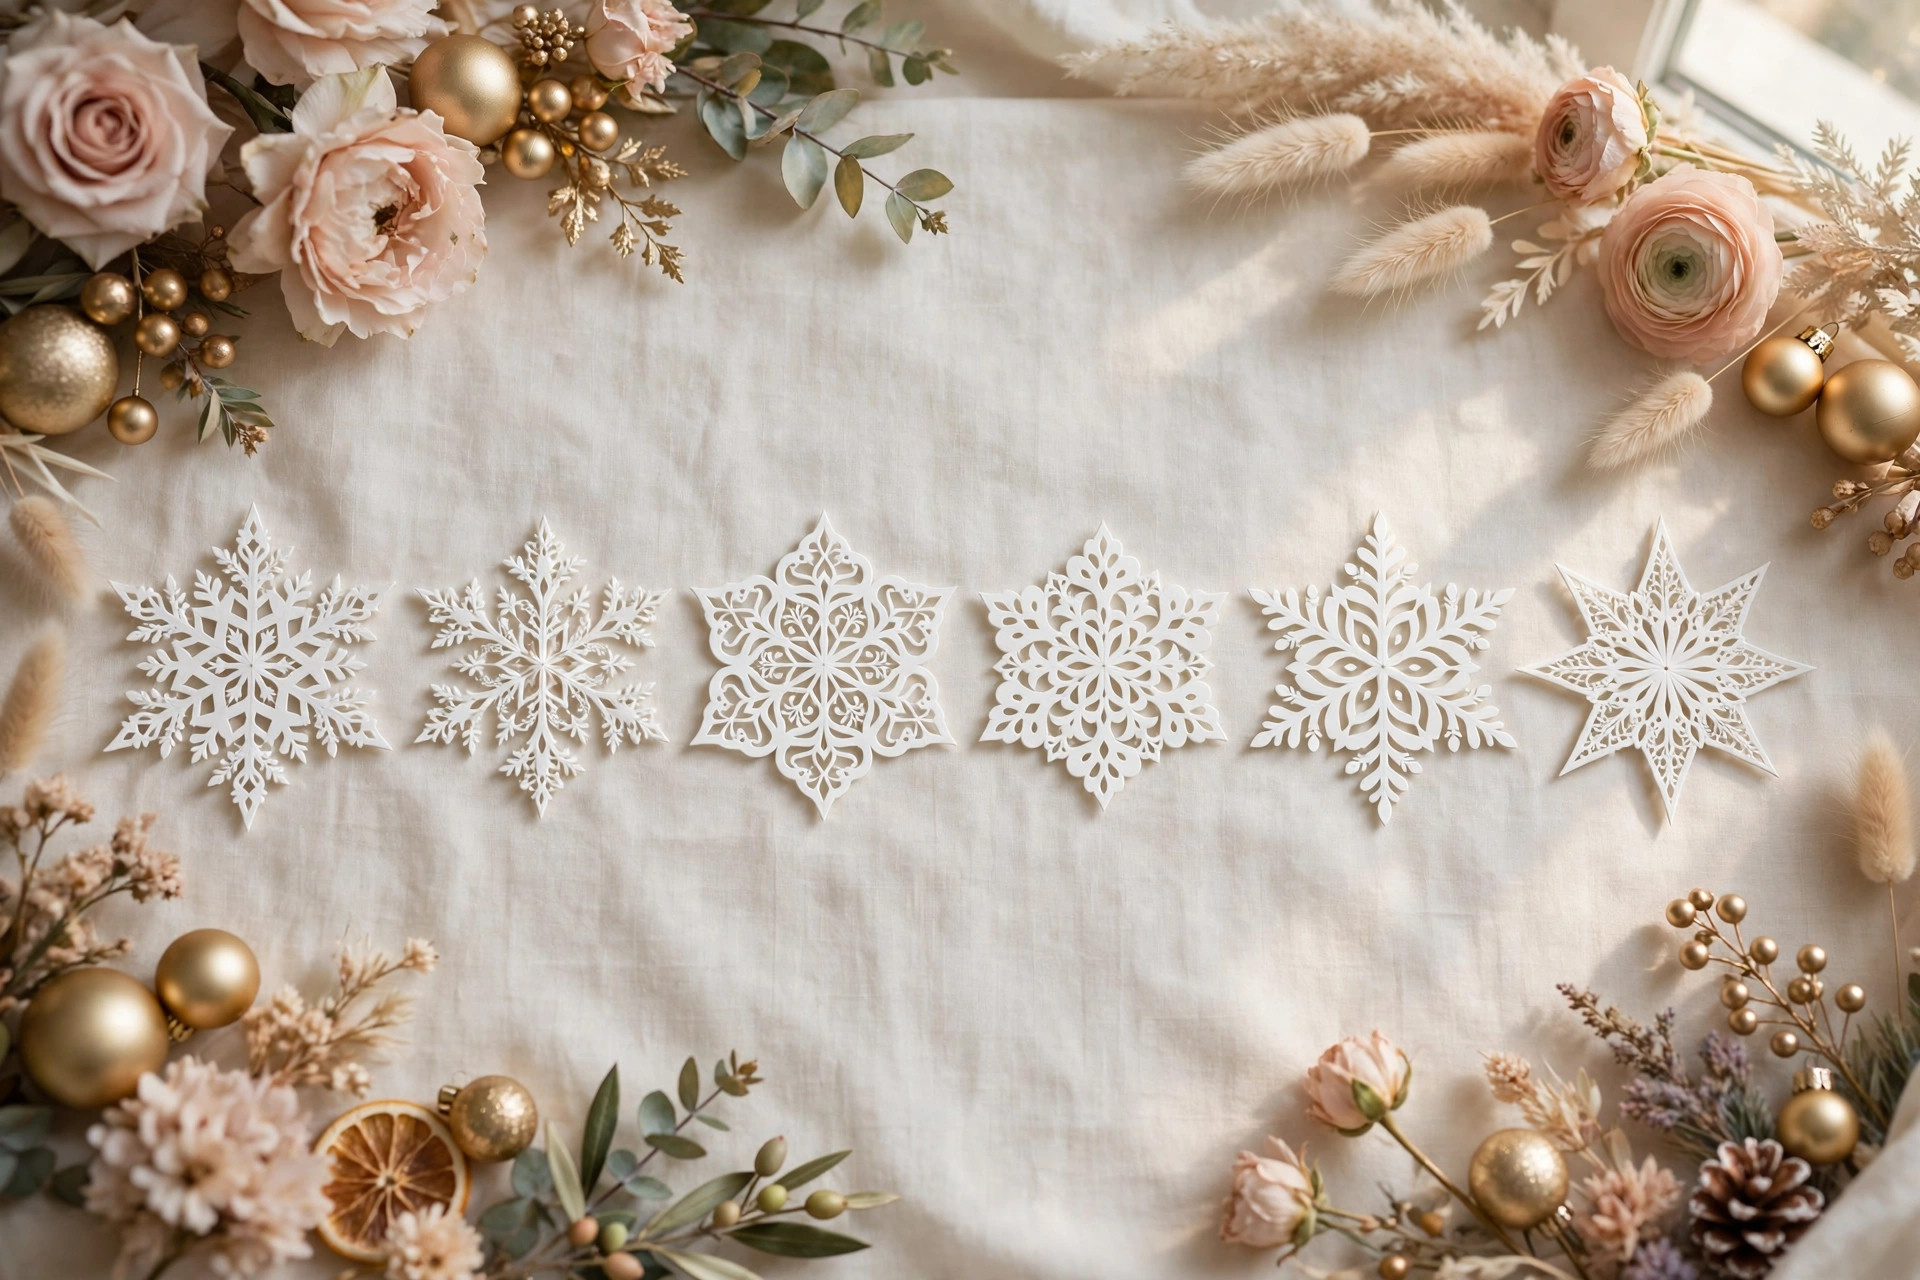
Once you have the basic fold, try a few variations. Tiny round holes made with the tip of the scissors look like delicate lace. Long, narrow slits create a bold, modern pattern. Small triangles cut from the open edge make a pretty star-shaped border. Mix two or three styles along one garland, and it will look much more interesting than a row of identical shapes.
Try different paper sizes too. Large snowflakes make a statement on a mantelpiece, while small ones look dainty across a window. A mix of sizes feels natural and handmade, like real snowfall. If you are crafting with children, let them design their own snowflakes freely. The slightly wonky ones are often the most charming on the finished garland.
- Lacy: tiny round holes for a delicate, frosty look.
- Bold: long slits for a modern, graphic pattern.
- Starry: pointed notches around the edge for sparkle.
- Mixed: combine styles along one garland for variety.
How Do I String the Snowflakes Into a Garland?
Lay the snowflakes in a row, thread string through the top of each one with a needle, or tape the string to the back. Space the snowflakes evenly, knot the string at each end, and leave extra length for hanging.
Start by laying your finished snowflakes out on a table in the order you want them, mixing sizes and designs along the row. Cut a length of string about a third longer than the space you want to fill, so you have plenty of slack for hanging and for tying the ends.
Threading with a needle gives the neatest result. Push the needle through the top point of each snowflake, slide it along the string, and add a tiny knot or a small piece of tape behind each one to stop it sliding. If you prefer tape, stick a small piece of clear tape across the back of each snowflake where it meets the string. It is quick, simple and holds well indoors.
How Do I Hang a Paper Snowflake Garland So It Looks Lovely?
Hang the garland with small clear hooks, tape or pins, letting it drape gently with a little slack. Try it across a window, along a mantelpiece, over a doorway or down a staircase banister.

A window is the prettiest place for a snowflake garland, because daylight shines through the paper and shows off the cut-out patterns. Fix the ends with small clear hooks or tape, and let the middle dip down gently in a soft curve. Two or three lengths hung at different heights look magical, especially with fairy lights behind them.
A mantelpiece or a shelf is another lovely spot. Drape the garland along the front edge and let the snowflakes hang down slightly. Add a few pinecones or a string of warm lights, and the whole display feels festive. The Met Office explains that snow forms when tiny ice crystals in clouds stick together and fall, which is a lovely thought while you hang your paper snowflakes. You can read more on the Met Office website.
How to Make Paper Snowflake Garland Christmas Easy DIY With Children?
Keep it simple and safe: use child-safe scissors, pre-fold the paper for younger children, and let them choose the cuts and colours. Praise every snowflake, however wonky, and display them proudly.
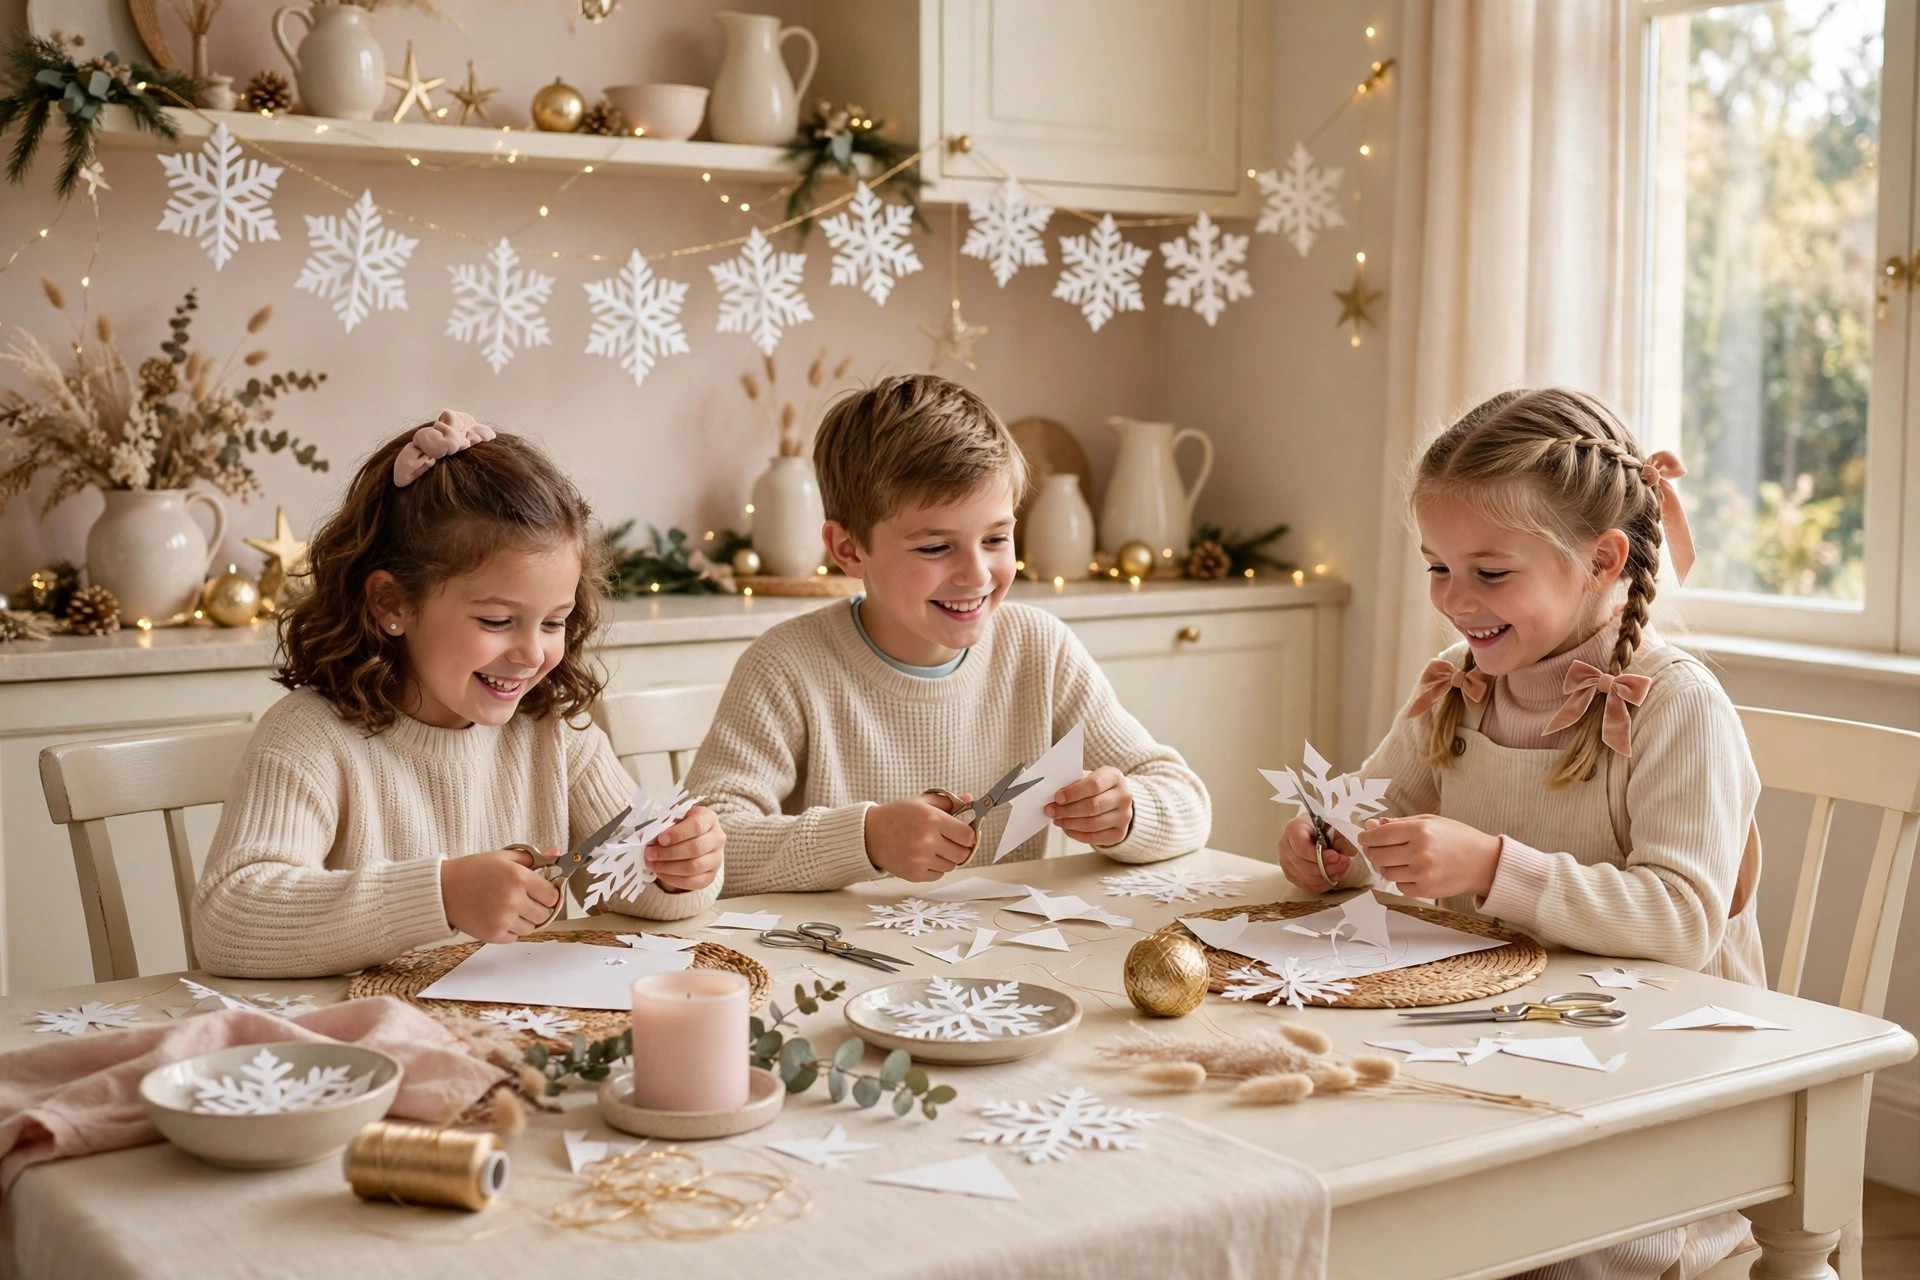
Children love this craft, but it works best with a little preparation. Pre-fold the paper for younger children, so they can focus on the fun part, which is cutting the shapes. Show them how to cut from the folded edges and remind them not to cut off the pointed centre, or the snowflake will fall into pieces.
Give each child their own small pile of paper and let them experiment. Some will cut neat patterns, others will make wild and wonderful shapes, and all of them belong on the garland. Put on some Christmas music, make hot chocolate, and enjoy the slow, happy afternoon together. The garland will carry those memories every time you look at it.
Frequently Asked Questions About Paper Snowflake Garlands
Here are the answers to the questions we hear most about paper snowflake garlands for Christmas. They cover the best paper to use, making the garland last, and fixing torn snowflakes at home.
What paper is best for paper snowflakes?
Ordinary white printer paper is best for beginners, because it folds crisply and cuts easily. Thinner paper suits delicate designs, while light card makes sturdier snowflakes for a long garland.
How do I stop my snowflakes tearing when I unfold them?
Cut smaller shapes, keep the cuts away from the centre point, and unfold the paper slowly, one fold at a time. Pressing the finished snowflake under a heavy book flattens it neatly.
How long will a paper snowflake garland last?
A garland kept indoors, away from damp and direct sunlight, will last the whole festive season. Store it flat between sheets of paper after Christmas, and you can reuse it next year.
Can I add glitter to a paper snowflake garland?
Yes, a light sprinkle of glitter on the snowflakes looks magical. Apply a little glue to the edges, sprinkle the glitter over a tray, shake off the excess, and let the snowflakes dry fully before stringing.
A paper snowflake garland is a small, simple joy, and that is exactly what Christmas is about. A few sheets of paper, some happy cutting, and a quiet afternoon together can make a decoration you will treasure. Hang it where the light catches it, step back, and enjoy your beautiful handmade winter. Merry Christmas, and happy crafting.
Leave a Reply