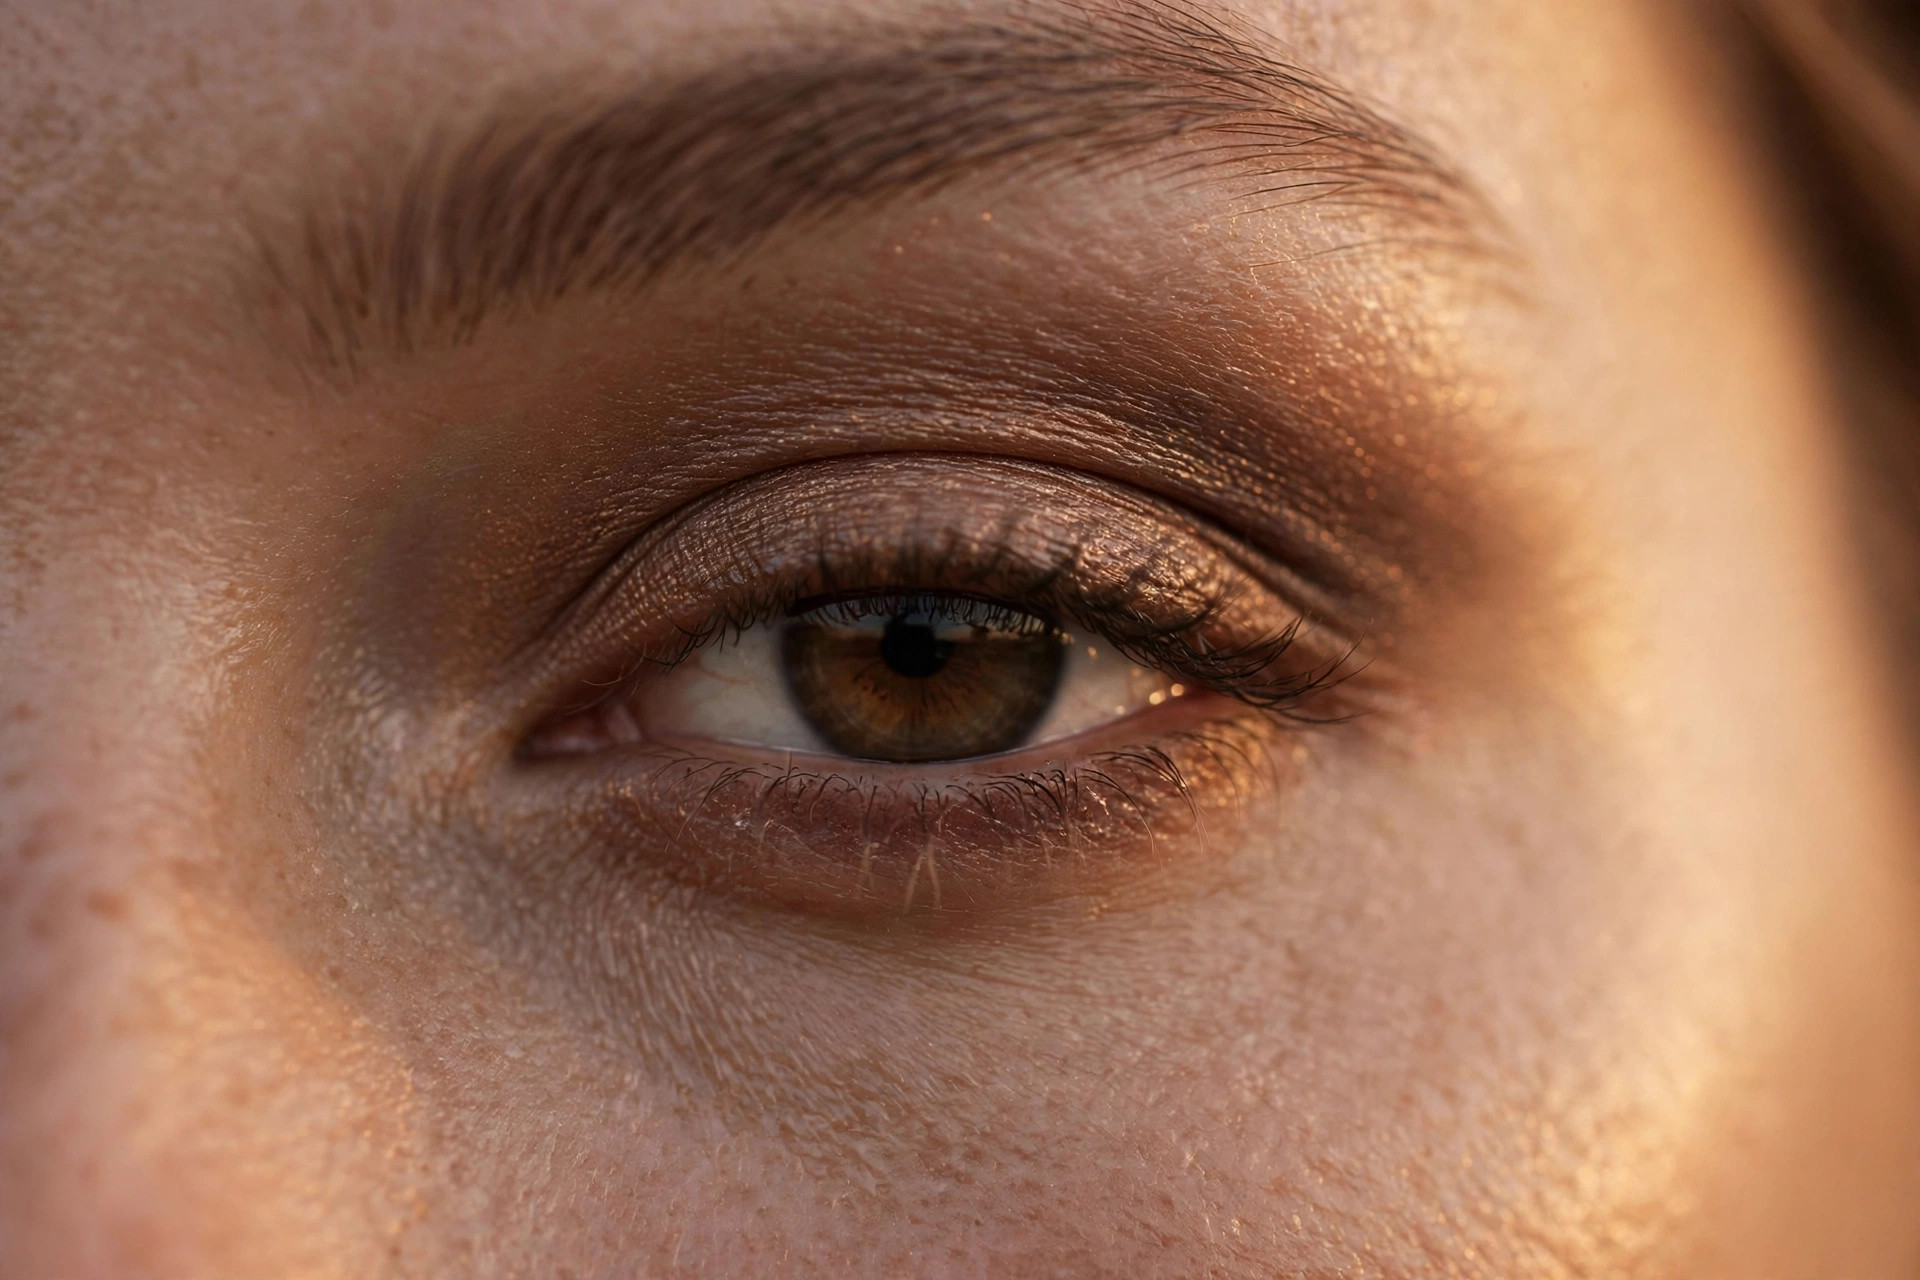
The smoky eye is back — but not the harsh, over-blended black smoky eye of the 2010s. This fall’s version is softer, smokier in the literal sense: diffused kohl, warm browns, a little shimmer at the centre, and an overall effect that looks romantic rather than severe. It is part of the wider “vamp romantic” mood sweeping beauty right now, with Pinterest searches for dark romantic makeup up 160% this year, and it is one of the most flattering evening looks you can learn.
The reason to learn it now is simple: a soft smoky eye works for everything fall throws at you. Dinner dates, work parties, weddings, evenings out — it is polished without being fussy, and it suits every eye shape and every age. The technique looks intimidating, but it is really just three steps done patiently: line, smudge, blend. This guide walks you through the modern soft version in plain language, with the exact brushes, shades, and order of operations that make it work.
What Makes This Fall’s Smoky Eye Different
The classic smoky eye was built on black shadow packed all over the lid and blended up to the brow bone. It was dramatic, but it was also unforgiving: any mistake showed, it aged the eye, and it photographed as a dark blob in anything but perfect light. The 2026 version keeps the sultriness and drops the severity.
The differences are in the details. The base colour is usually brown, bronze, or plum rather than pure black — softer against the skin and more flattering in daylight. The darkest colour sits close to the lash line and fades gradually, instead of covering the whole lid in one flat tone. There is often a touch of shimmer or satin at the centre of the lid to keep the eye looking dimensional rather than heavy. And the edges are diffused to nothing, so the whole thing looks like smoke — which is, after all, the point.
This softer approach is also more wearable. The old smoky eye was strictly a night-out look. The new one, done in warm browns, works for an evening dinner and — sheered out — even for daytime.
The Tools and Shades You Need
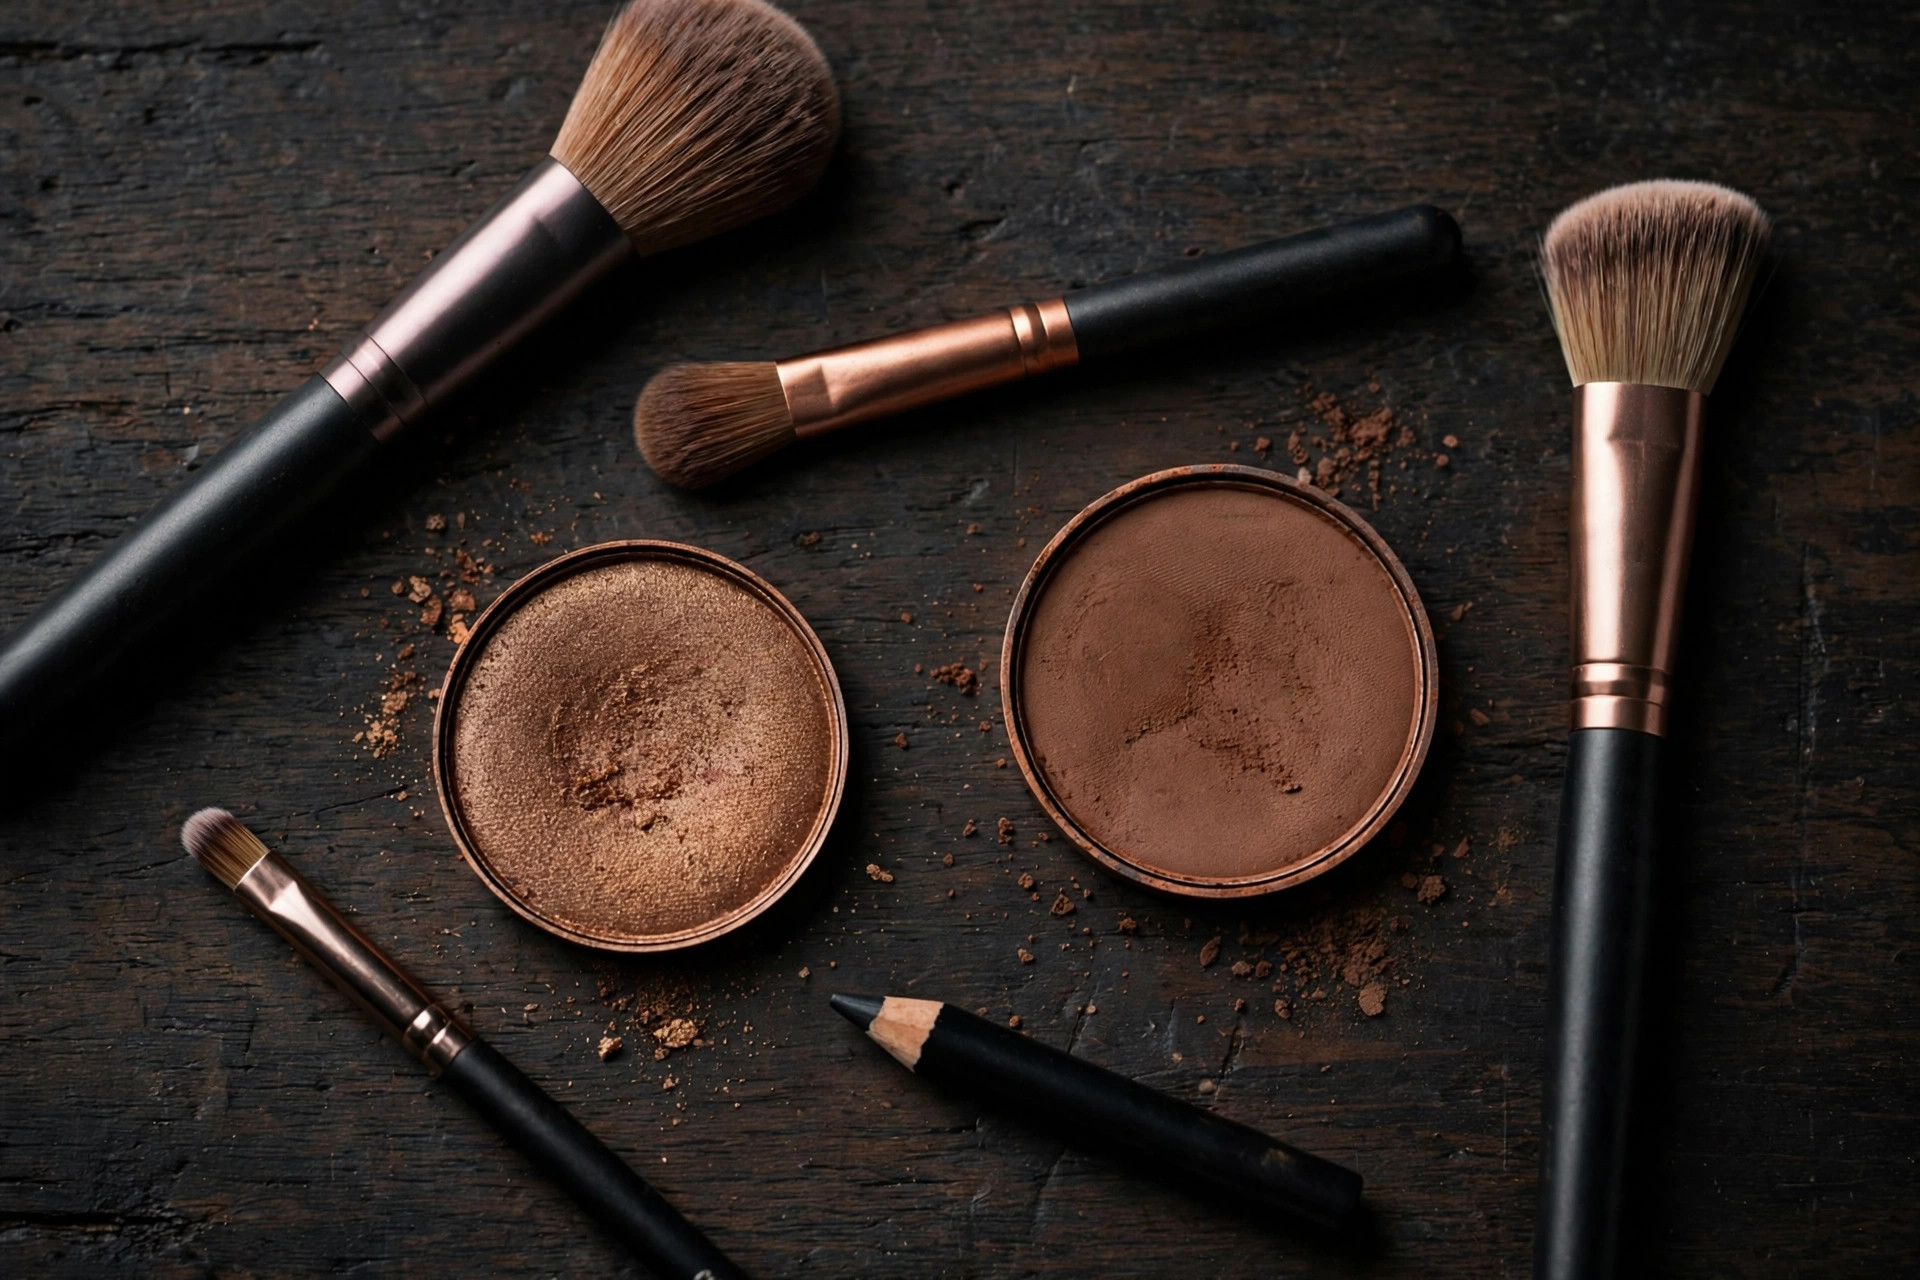
You do not need a twenty-pan palette. A soft smoky eye needs surprisingly little:
- A kohl or gel pencil in dark brown or black. Kohl is the traditional choice because it smudges beautifully; gel pencils last longer. Dark brown is more forgiving than black for beginners.
- Three eyeshadows: a medium matte transition shade (warm taupe or soft brown), a deep matte shade (espresso, deep plum, or charcoal), and a light shimmer for the inner corner and centre of the lid.
- Three brushes: a flat shader brush for packing colour on the lid, a fluffy blending brush for diffusing edges, and a small pencil brush for smudging along the lash line. Clean, dry brushes matter more than expensive ones.
- Eye primer and concealer. Primer keeps the dark shades from creasing and fading; concealer cleans up the edges at the end.
On shades: warm browns and bronzes flatter warm skin tones and green or hazel eyes. Cool charcoals and plums flatter cool skin tones and blue eyes. But these are guidelines, not rules — the smoky eye is one of the most democratic looks in makeup, and nearly every shade family works when it is blended well.
Prep: The Step Everyone Skips
Almost every smoky-eye disaster starts with skipped prep. Dark shades show every bit of oil, creasing, and fallout, so the base has to be right. Start with eye primer from lash line to brow bone, and let it set for a minute. If your lids are oily, dust a light layer of translucent powder over the primer.
Do your eye makeup before your foundation, not after. Dark shadow inevitably drops tiny particles onto the cheeks, and it is far easier to wipe fallout off bare skin than to repair foundation. This one change in order will save you more frustration than any technique tip.
Finally, work one eye at a time through the lining and smudging steps, then blend both together. Kohl sets within a minute or two, and once it sets, it will not smudge — so the smudging has to happen while the liner is still creamy.
Step by Step: The Soft Smoky Eye
- Map the shape. With the medium matte shade on the fluffy blending brush, sweep colour through the crease in windshield-wiper motions, from the outer corner toward the inner corner. This is your transition — it creates the gradient the dark shades will melt into. Keep it soft; this layer should look like a whisper.
- Line the lash line thickly. With the kohl pencil, draw a thick, slightly messy line along the upper lash line, getting right into the roots of the lashes. It does not need to be neat — you are about to smudge it. Extend it slightly past the outer corner in a soft wing direction.
- Smudge immediately. With the small pencil brush, smudge the liner upward and outward into a soft wing shape. Small back-and-forth motions, not big sweeps. The goal is a gradient: darkest at the lash line, fading as it moves up.
- Deepen the outer corner. With the flat brush, pat the deep matte shade onto the outer third of the lid and into the outer crease. Then, with the clean fluffy brush, blend the edge where the deep shade meets the transition shade until there is no visible line.
- Add dimension. Pat the light shimmer onto the centre of the lid with your fingertip — just the middle third. This catches the light when you blink and stops the look from going flat. Add a tiny dab to the inner corner too.
- Smoke the lower lash line. Run the kohl along the outer two-thirds of the lower lash line, then smudge it with the pencil brush. This is what makes it a smoky eye rather than just dark lids — but keep it softer and narrower than the top.
- Tightline and mascara. Fill the upper waterline with the kohl (this is called tightlining) to make lashes look thicker at the base. Then two coats of mascara, wiggling at the roots. False lashes are optional; if you wear them, choose a natural, wispy style.
- Clean up. Wipe away fallout under the eyes, then use concealer on a flat brush to sharpen the outer edge into a clean line from the outer corner toward the tail of the brow. This one step makes the whole look look professional.
Now apply your foundation and the rest of your face makeup. Keep the cheeks soft and the lips in the neutral-to-berry family — a strong eye plus a strong lip is a lot for one face. If you want the full dark-romance effect, a deep berry lip with a soft smoky eye is gorgeous for evening; for daytime, pair the sheered-out version with a nude lip.
The Daytime Version
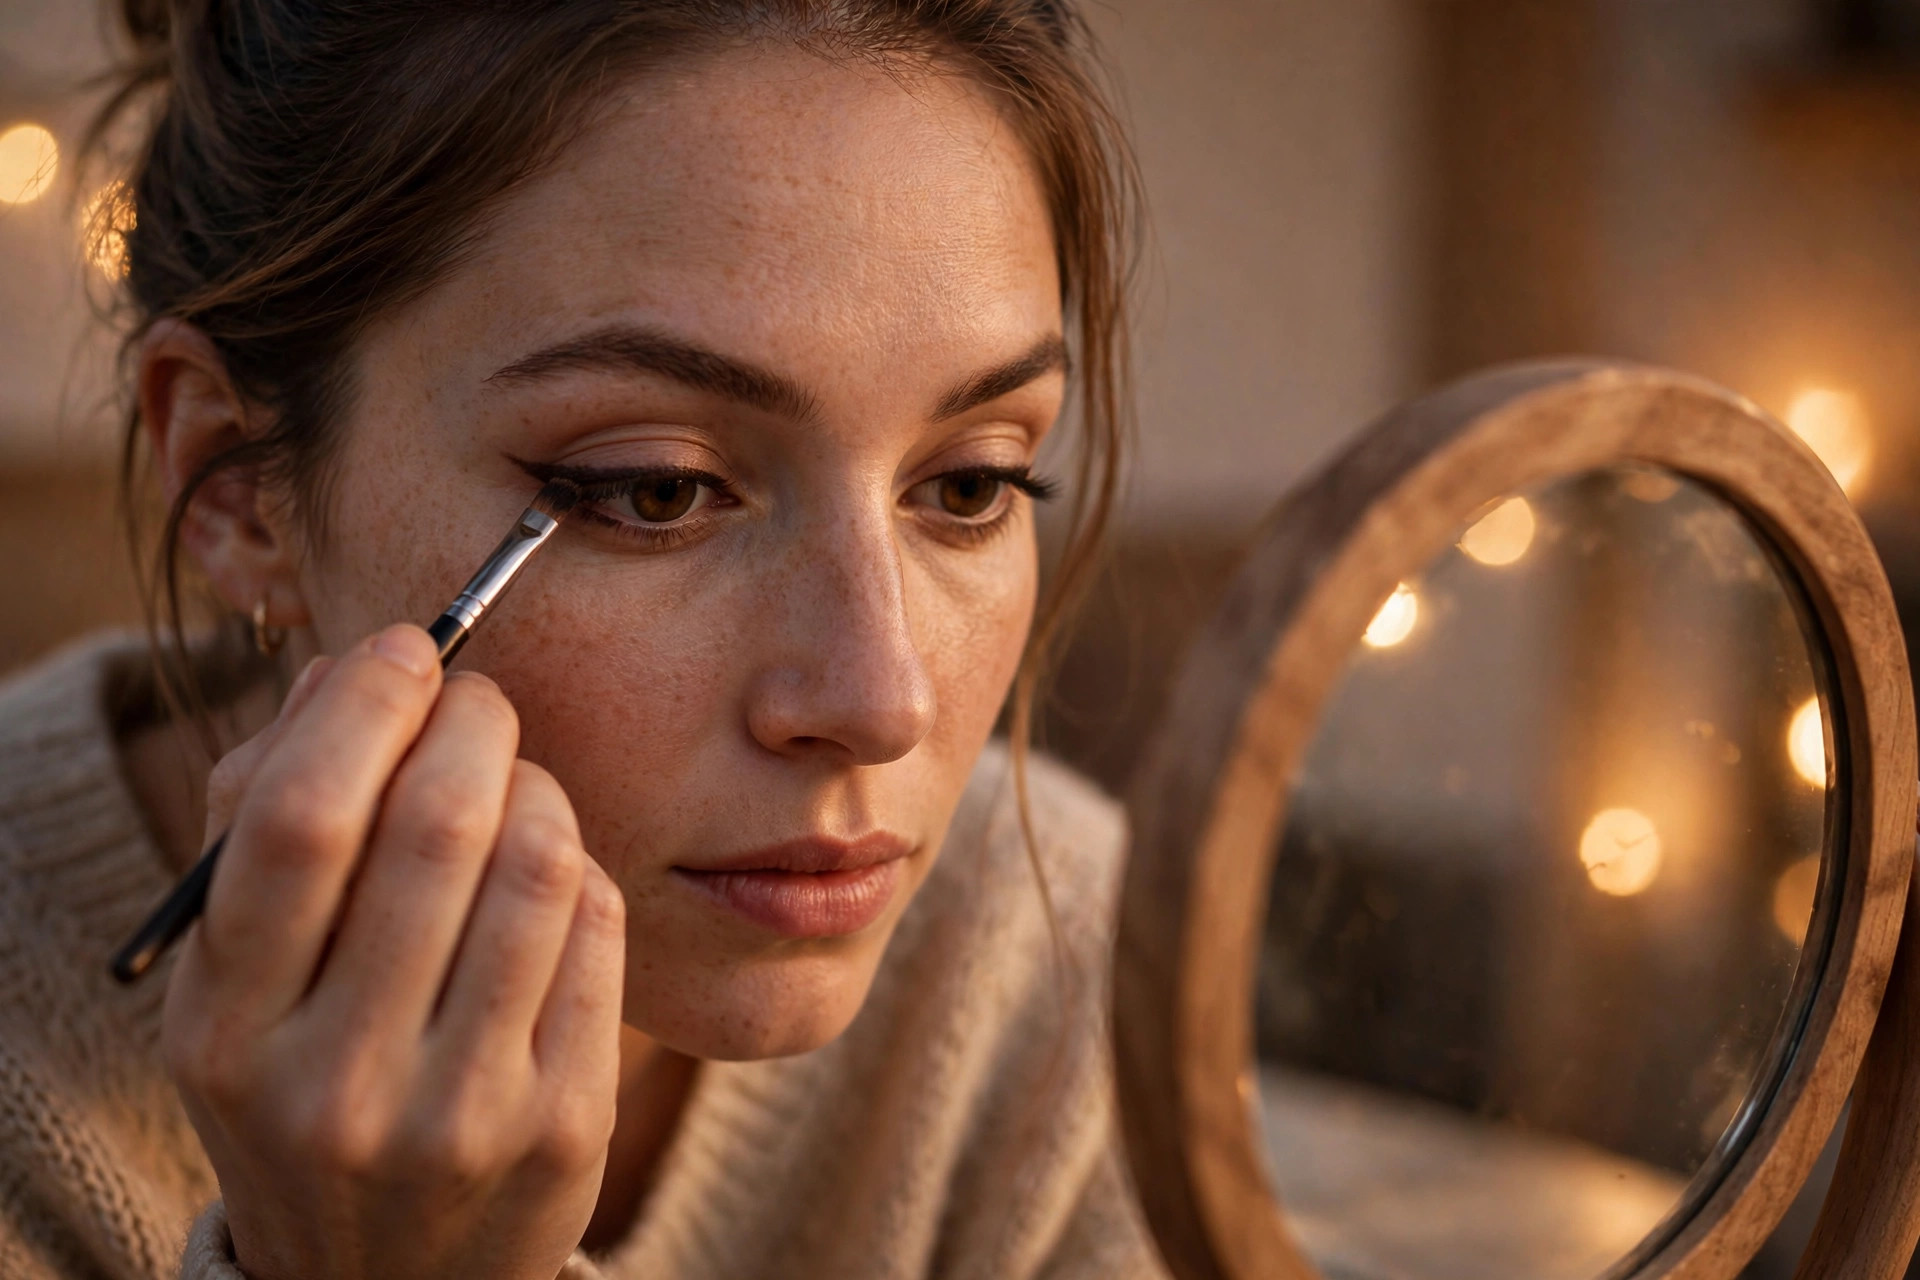
The same technique, done lighter, makes a beautiful daytime eye. Use the medium brown as your deepest shade instead of the espresso, skip the lower lash line or keep it to a whisper of shadow, and use brown mascara instead of black. The result reads as defined and polished rather than dramatic — the kind of eye makeup that makes people ask if you have done something different, in a good way.
The daytime version is also the best place to start if you are learning. Mistakes are less visible in lighter shades, and you build the muscle memory for the evening version without the pressure. Do the daytime version three or four times, and the full smoky eye will feel natural.
Adapting It to Your Eye Shape
A few small adjustments make the smoky eye flattering on every eye shape:
- Hooded eyes: place the transition shade slightly above your natural crease, where it will actually be visible when your eyes are open. Keep the shimmer off the brow bone and concentrated on the centre of the lid. The outer-corner wing shape matters more than lid coverage here.
- Deep-set eyes: keep the dark shades close to the lash line and use more of the shimmer on the lid — light brings deep-set eyes forward.
- Close-set eyes: keep the darkest colour on the outer half and put the highlight generously in the inner corner to create the illusion of width.
- Wide-set eyes: bring the dark shade a little further toward the inner corner than usual, and go easy on the inner-corner highlight.
- Mature eyes: the soft version is your friend. Matte shades over shimmer (shimmer can emphasise texture), thorough blending, and a lighter hand on the lower lash line keep the look fresh rather than heavy.
If you wear glasses, you can afford to go slightly bolder — frames soften and frame the eye area, so a little extra intensity reads perfectly through lenses.
Mistakes That Ruin a Smoky Eye
- Blending with a dirty brush. Once your blending brush is loaded with dark shadow, it stops blending and starts depositing. Wipe it on a clean towel between blends, or keep a second clean fluffy brush just for diffusing edges.
- Taking the dark shade too high. The deep colour should live in the outer lid and crease, not march up toward the brow. When in doubt, blend upward with the transition shade, not the dark one.
- Forgetting the lower lash line. A smoky top with a bare bottom looks unbalanced — like the look is unfinished. Even a soft smudge underneath completes it.
- Skipping the clean-up step. The concealer-sharpened outer edge is the difference between “smoky” and “messy.” Never skip it.
- Matching it with heavy everything. Smoky eyes plus heavy contour plus dark lips plus bold brows is too much. Let the eyes lead and keep everything else quiet — including the nails. Soft, nude nails are the classic pairing; our guide to classy acrylic nail designs has elegant options that balance a strong eye perfectly.
Making It Last All Night
Evening looks need to survive hours, heat, and maybe happy tears. Primer is the foundation of longevity, but two more steps help: after the eye is done, press a tiny amount of translucent powder just along the lower lash line to prevent smudging downward, and finish with a light mist of setting spray held at arm’s length. Carry the kohl pencil and a cotton bud for touch-ups — a quick re-smudge of the outer corner at midnight takes ten seconds and refreshes the whole look.
Waterproof formulas are worth considering for the liner and mascara if the evening involves emotion, weather, or dancing. Just remember that waterproof eye makeup needs a proper oil-based remover at the end of the night — scrubbing at it with a regular wipe irritates the delicate eye area.
The Bottom Line
The soft smoky eye is having its moment because it is the rare trend that is both dramatic and forgiving. Diffused edges hide mistakes, brown shades flatter everyone, and the technique — line, smudge, blend — is learnable in an evening. Start with the daytime version in warm browns, practise the blending until it feels automatic, and then take the full espresso version out for the next fall evening that deserves it. Pinterest’s 160% surge in dark romantic makeup searches suggests you will be in fashionable company.
Leave a Reply