Last updated: October 2026
Quick answer: Spooky chic Halloween decor means a limited palette — one dark base, one rich jewel tone, one metallic — plus natural textures and lots of candlelight. Fifteen simple DIY ideas, grouped by mantel, table, entryway, outdoors and cosy corners, make your home feel elegantly haunted without looking cheap or chaotic.
Halloween is only a month away, and decorating for it has quietly become one of the most fun parts of the season. The style everyone is loving right now is not the plastic, flashing-light haunted house of years past. It is something far more grown up: spooky chic. Think velvet pumpkins in deep jewel tones, candlelight that flickers against black taper candles, dried botanicals, and a colour palette that could sit just as happily in a magazine spread as on a trick-or-treat route.
Spooky chic is the sweet spot between festive and tasteful. Your home still feels unmistakably Halloween, but nothing about it looks cheap or chaotic. The secret is restraint: a limited colour palette, natural textures, and lots of candlelight. And the best part is that most of the prettiest looks are DIY projects you can finish in an afternoon with supplies from the craft shop, the pound shop, or your own autumn walks.
This guide walks you through 15 do-it-yourself Halloween decor ideas, grouped by where they will live in your home, from the mantel to the front door. Each one is budget friendly, genuinely attractive, and easy enough to finish in a weekend. By the end, your home will feel like the elegant kind of haunted — the kind guests talk about long after the candy is gone.
What colours make Halloween decor look chic, not cheap?
Quick answer: Pick three colour families before you make anything: a dark base (black, deep charcoal or espresso), one rich jewel tone (emerald, aubergine, deep burgundy or midnight blue) and one metallic (antique gold, brushed brass or copper). Keep every project inside those three.

Before you make anything, pick your colours. This is the single decision that separates chic from cluttered. The trending Halloween palette this year moves away from bright orange overload and leans into something moodier and more sophisticated.
| Palette layer | Your options | Its job |
|---|---|---|
| Dark base | Black, deep charcoal, espresso brown | The background colour — the one that makes everything else glow |
| Jewel tone | Emerald, aubergine, deep burgundy, midnight blue | The rich, moody accent that says Halloween |
| Metallic | Antique gold, brushed brass, copper | The shimmer that lifts the whole look |
What you are avoiding is the rainbow effect: orange pumpkins next to purple spiders next to green witches next to red bats. When every decoration is a different colour, nothing looks intentional. When everything shares the same three tones, even a paper bat garland looks designed. Pull your three colours together on one shopping list and stick to it for every project in this guide.
How do I style a spooky chic mantel?
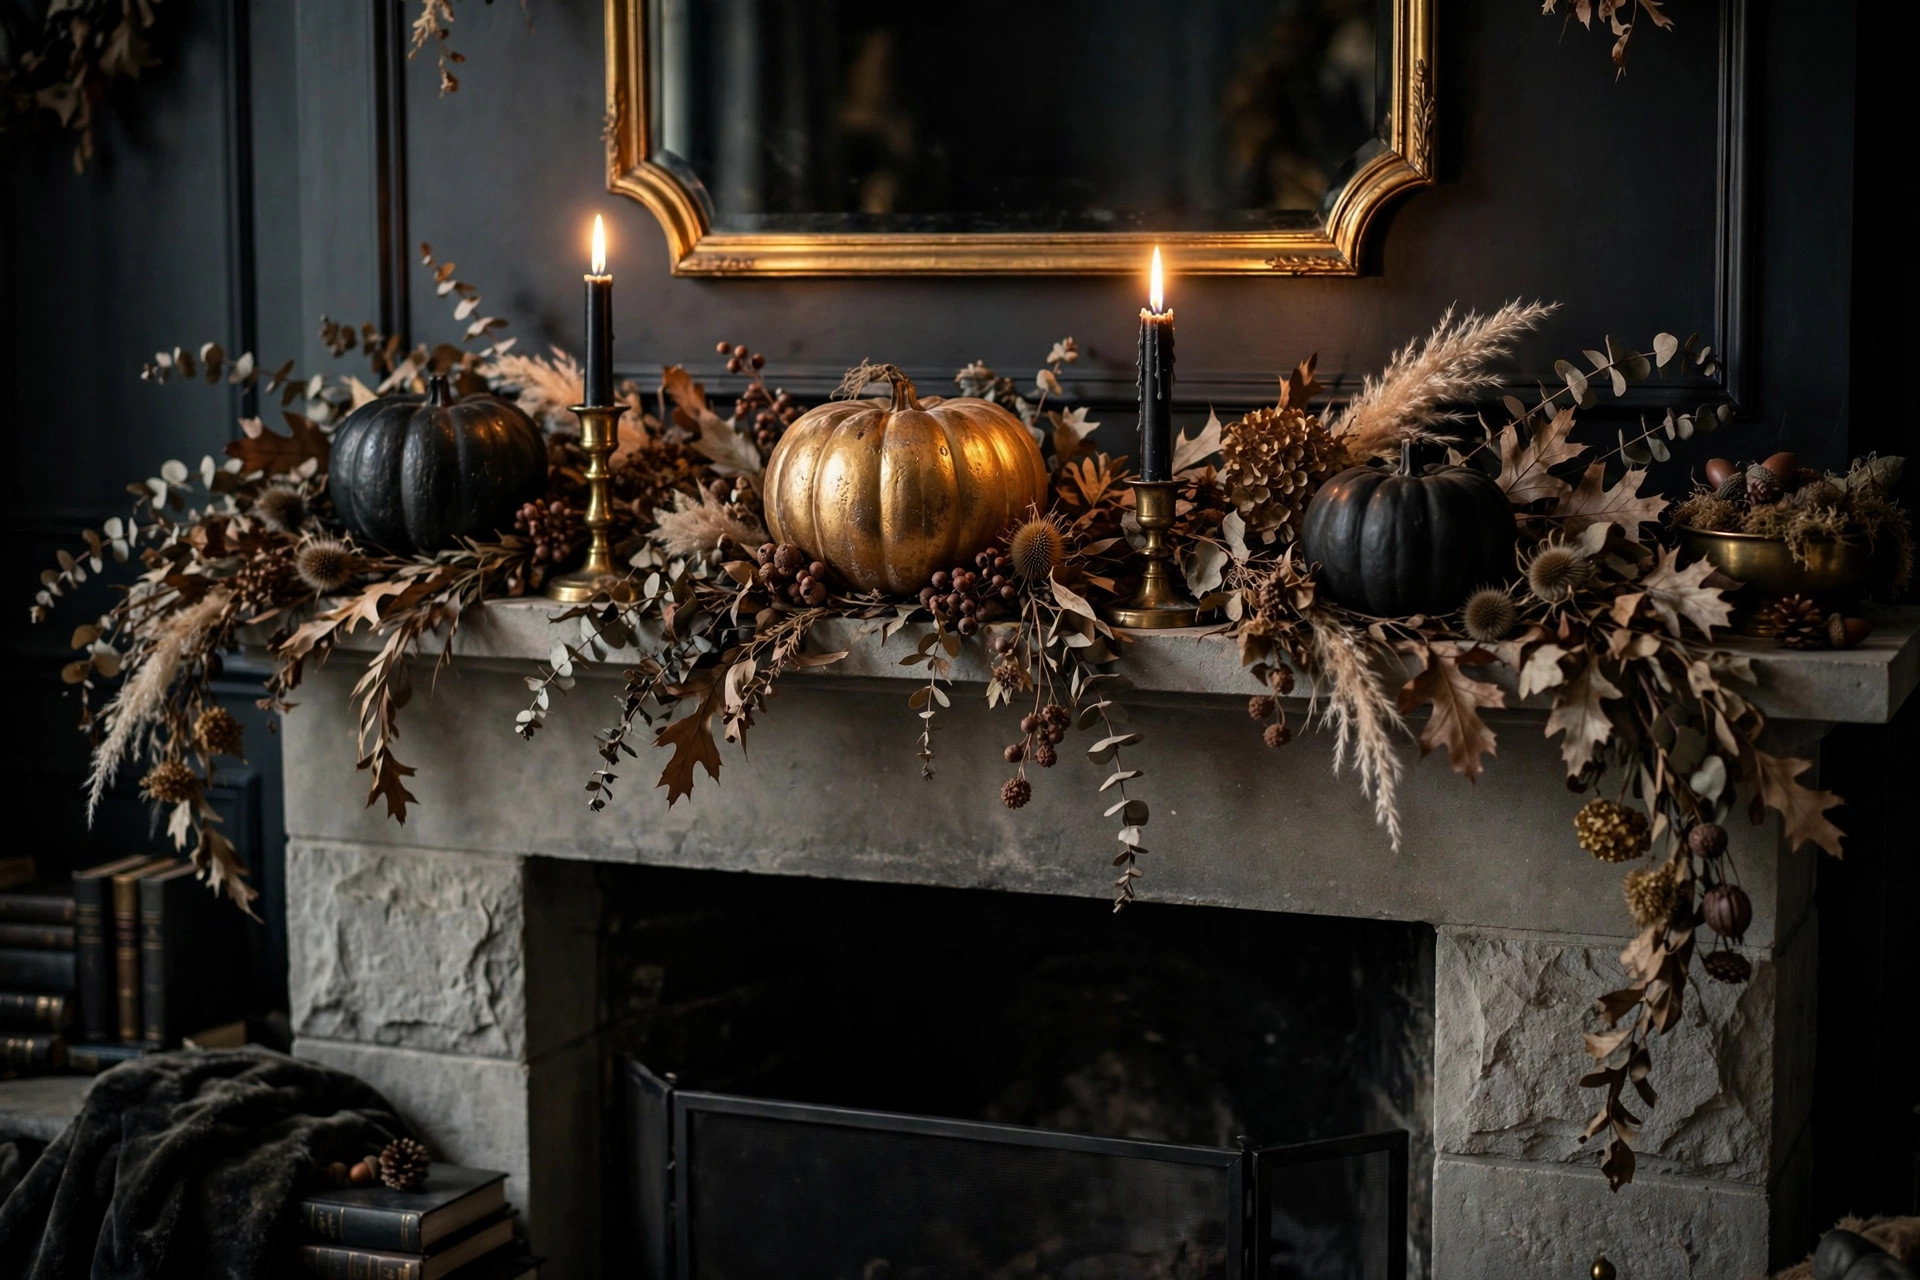
Quick answer: Fill your mantel with three projects: a dried botanical garland draped across the front, painted pumpkin clusters in your palette at one end, and black taper candles in mismatched brass candlesticks for flickering evening light.
The mantel is the natural stage for Halloween decor, and three simple projects will fill it beautifully.
- Dried botanical garland. Gather dried grasses, wheat stalks, and black-dyed eucalyptus from the craft shop (or dry your own from the garden). Tie small bunches with black twine and attach them along a length of jute rope, layering until it looks full. Drape it across the mantel so the ends hang down at the sides. The dried textures read as harvest and Halloween at once, and the whole thing costs very little.
- Painted pumpkin clusters. Buy a mix of small faux pumpkins in white and orange, then spray paint or hand paint them in your palette: matte black, deep plum, antique gold. Group them in odd numbers — three or five — at one end of the mantel. The single-colour paint finish is what makes them look expensive rather than crafty. Tuck a few dried leaves or a sprig of black-dyed baby’s breath between them to finish the arrangement.
- Black taper candles in mismatched brass candlesticks. Brass and thrift shops go together — you do not need a matching set, because mixed heights and shapes look better anyway. Light them in the evening and the mantel glows with the kind of flickering light that makes everything else look twice as dramatic.
Safety note: the National Fire Protection Association advises never leaving burning candles unattended, and keeping them well away from anything flammable — including your garland and any dried materials. Flameless black taper candles give you the same look with zero worry if you have children or pets.
What makes a moody Halloween table setting?
Quick answer: Skip the plastic skeletons and build atmosphere instead: a black gauze runner with layered candles and small pumpkins, handwritten place cards with a witchy sprig tucked behind, and dark glassware under dim lighting.
If you are hosting anything in October — even just a cosy dinner with friends — a Halloween-inspired table does not have to mean plastic skeletons across the tablecloth. A moody, candlelit setting with a few seasonal touches feels festive without trying too hard.
- Black linen runner with layered candles. A length of black cheesecloth or gauze, loosely gathered down the centre of the table, instantly transforms an ordinary table. Layer pillar candles of different heights down the middle, mixing black and ivory, and scatter a few small black or gold pumpkins between them. The runner costs almost nothing and does most of the visual work.
- Handwritten place cards with a witchy touch. Cut small rectangles from black card stock, write each guest’s name in gold or copper pen, and tuck a sprig of dried rosemary or lavender behind each card. It takes twenty minutes for a table of eight and looks like something from a styled shoot. If your handwriting is shaky, a simple stamp set or printed labels work just as well.
- Moody glassware accents. You do not need Halloween plates. Dark amber or smoky grey glasses, a few brass chargers, and your everyday white plates are enough when the lighting is low and the candles are lit. Dim the overhead lights, let the table glow, and the atmosphere does the rest. If you enjoyed our easy fall tablescape ideas, this is the same layering idea with the lights turned down and the colours turned darker.
How can I add entryway drama?
Quick answer: Three quick projects give your entryway haunted-manor charm: a statement wreath with black feathers and velvet ribbon, a sweeping paper bat wall, and a cluster of labelled potion bottles with candles.
Your entryway sets the tone before guests even take off their coats. Three quick projects give it that haunted-manor feeling in the best way.
- A statement wreath with a twist. Start with a plain grapevine or black wreath base. Instead of the usual autumn berries, add black feathers, dried black-eyed Susans, small matte-black painted pumpkins, and a length of black velvet ribbon for the bow. It reads Halloween without a single plastic bat. Hang it on a black ribbon rather than a wreath hanger for a cleaner look.
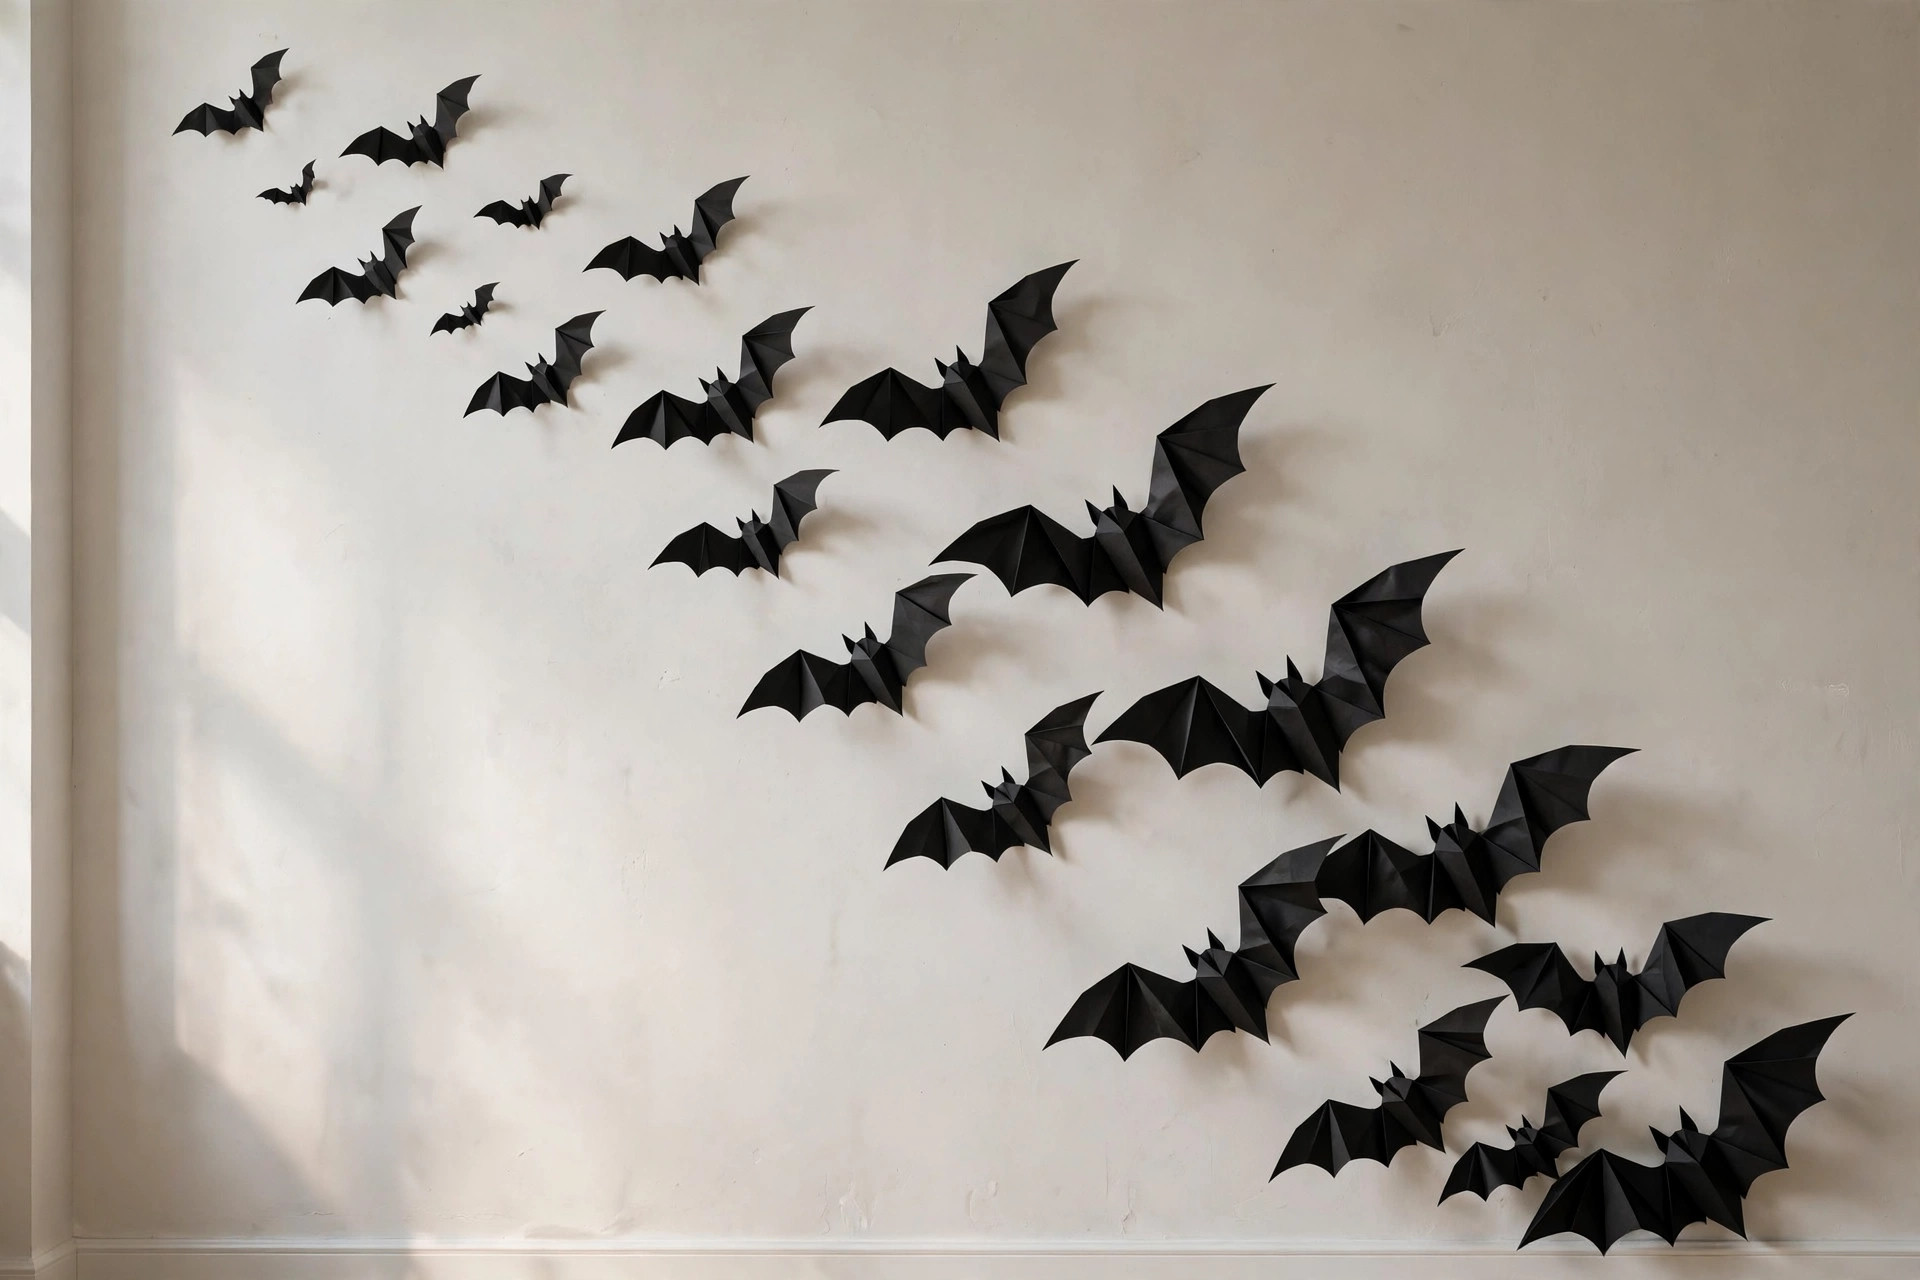
- Paper bat walls. Cut bat shapes from black card stock in three sizes (there are free templates everywhere online), fold each slightly in the middle so the wings lift, and stick them to the wall with removable adhesive dots. Start them small and sparse near the ceiling in one corner and make them bigger and denser as they sweep down across the wall, like a flock in flight. On a light wall the contrast is striking, and the whole project costs very little. When October ends, they peel right off.
- A potion-bottle vignette. Collect interesting glass bottles — apothecary style if you can find them, but any old bottles work. Fill them with coloured water (a drop of food colouring), add labels that say things like “Moonlight Tonic” or “Witch’s Brew” written in your best script, and cluster them on the entryway table with a couple of candles. It is a little bit playful, a little bit elegant, and guests always stop to read the labels.
What works for outdoor Halloween decor?
Quick answer: Keep the outdoors as restrained as the indoors: lantern-lined steps with flameless candles, one surface of oversized paper spiders or moths, and a tight-palette stack of painted pumpkins on a crate by the door.
Outside is where Halloween decor usually goes wrong — too much, too bright, too plastic. The spooky chic approach keeps the outdoors as restrained as the indoors.
- Lantern-lined steps. Line your front steps or pathway with black or bronze lanterns, each holding a flameless candle. The warm glow is welcoming rather than scary, and from the street it looks genuinely beautiful. If you already decorated your porch for fall with our fall porch decor ideas, simply swap a few pumpkins for black ones and add the lanterns — the two looks blend seamlessly.
- Giant paper moths or spiders, done tastefully. Oversized black paper spiders climbing the front door frame or a few large paper moths on the windows look dramatic and arty, not cheap. Keep them to one surface — the door frame or one window — and let the scale do the talking. One giant spider beats twelve small plastic ones every time.
- A moody doorstep pumpkin stack. Instead of a carved jack-o’-lantern, stack pumpkins you have painted matte black, deep plum, and antique gold on a crate beside the door, biggest at the bottom. Add one real carved pumpkin if you want the classic touch, but keep the paint palette tight. The stack looks intentional and photographs beautifully, which matters when your porch is also your social media backdrop. Bonus: painted uncarved pumpkins last for weeks, while a carved pumpkin only lasts a few days.
How do I decorate the small, forgotten corners?
Quick answer: Dress the spots hosts forget — one styled bookshelf vignette, two minutes of seasonal touches in the bathroom, and a dark-toned dried floral arrangement in the hallway — and the whole house will feel fully dressed for the season.
The last three ideas are for the small corners people forget: the bookshelf, the bathroom, the hallway. These are the touches that make a home feel fully dressed for the season.
- Styled bookshelf vignettes. Clear one shelf and rebuild it as a little Halloween scene: a stack of old books with dark covers, a small brass candlestick, a tiny pumpkin, and a framed black-and-white print (a raven, a moon, an old house — free printables are everywhere). It takes ten minutes and looks like you planned it for weeks.
- Seasonal bathroom touches. Swap your hand towel for a black or deep plum one, put a small pumpkin on the back of the toilet or the vanity, and add a candle in a dark glass holder. The bathroom is the one room guests always see but hosts always forget. Two minutes of effort makes you look like a genius.
- Dried floral arrangements in dark tones. Dried flowers are everywhere this fall, and the Halloween version just goes darker: black-dried grasses, deep burgundy dried roses, dried thistle. Put them in a matte black or antique brass vase on the hallway console, the sideboard, or the coffee table. They last for months, so you will still be enjoying them long after the candy bowls are empty.
What should I buy — and what should I skip?
Quick answer: Shop in this order: your own home first, then the craft shop for what you cannot fake, then the pound shop and thrift shops for bargains. Skip flashing lights, sound effects and bright orange plastic — if it does not fit your three-colour palette, it does not come home.
You can do every project in this guide for the cost of one expensive store-bought Halloween decoration if you shop in the right order.
| Where to shop | What to look for |
|---|---|
| Your own home first | Candles, jars, old books, baskets, and last year’s pumpkins |
| The craft shop | The things you cannot fake: black card stock, spray paint, dried botanicals, taper candles |
| The pound shop or dollar store | Glass bottles, black cheesecloth, battery candles, small faux pumpkins at a fraction of craft-shop prices |
| Thrift shops | Brass candlesticks, old books with dark covers, interesting bottles |
| Your garden or a park walk | Dried grasses, branches, and pinecones — free |
One caution for thrifted treasures: the EPA notes that painted items made before 1978 may contain lead-based paint, so if you have small children, skip chipped vintage painted pieces or keep them well out of reach.
What to skip: anything with flashing lights, anything that plays sounds, and anything in bright orange plastic. They are the fastest way to undo all the elegant work everywhere else. If something does not fit your three-colour palette, it does not come home with you. That one rule will save you more money and more regret than any shopping list.
How do I store Halloween decor for next year?
Quick answer: Pack painted pumpkins in tissue, coil the garland loosely in a box, and keep candle holders and bottles together in one labelled bin with the year written on it. Reuse most of it next October and add just two or three new projects a year.
The unglamorous secret of people with beautiful Halloween decor is that they reuse most of it. When November arrives, pack the painted pumpkins in tissue, coil the garland loosely in a box, and keep the candle holders and bottles together in one labelled bin. Write the year on the box. Next October, you will open it like a gift to yourself — and you can add two or three new projects a year instead of starting from scratch. That is how a spooky chic collection is really built: slowly, one October at a time.
Leave a Reply