Last updated: October 2026
Quick answer: Sweater texture nails copy cable-knit patterns in raised polish on your nails, finished with a matte top coat so they read as wool. If you can draw a wavy line, you can do them — and slight wobbles only make the knit look more real.
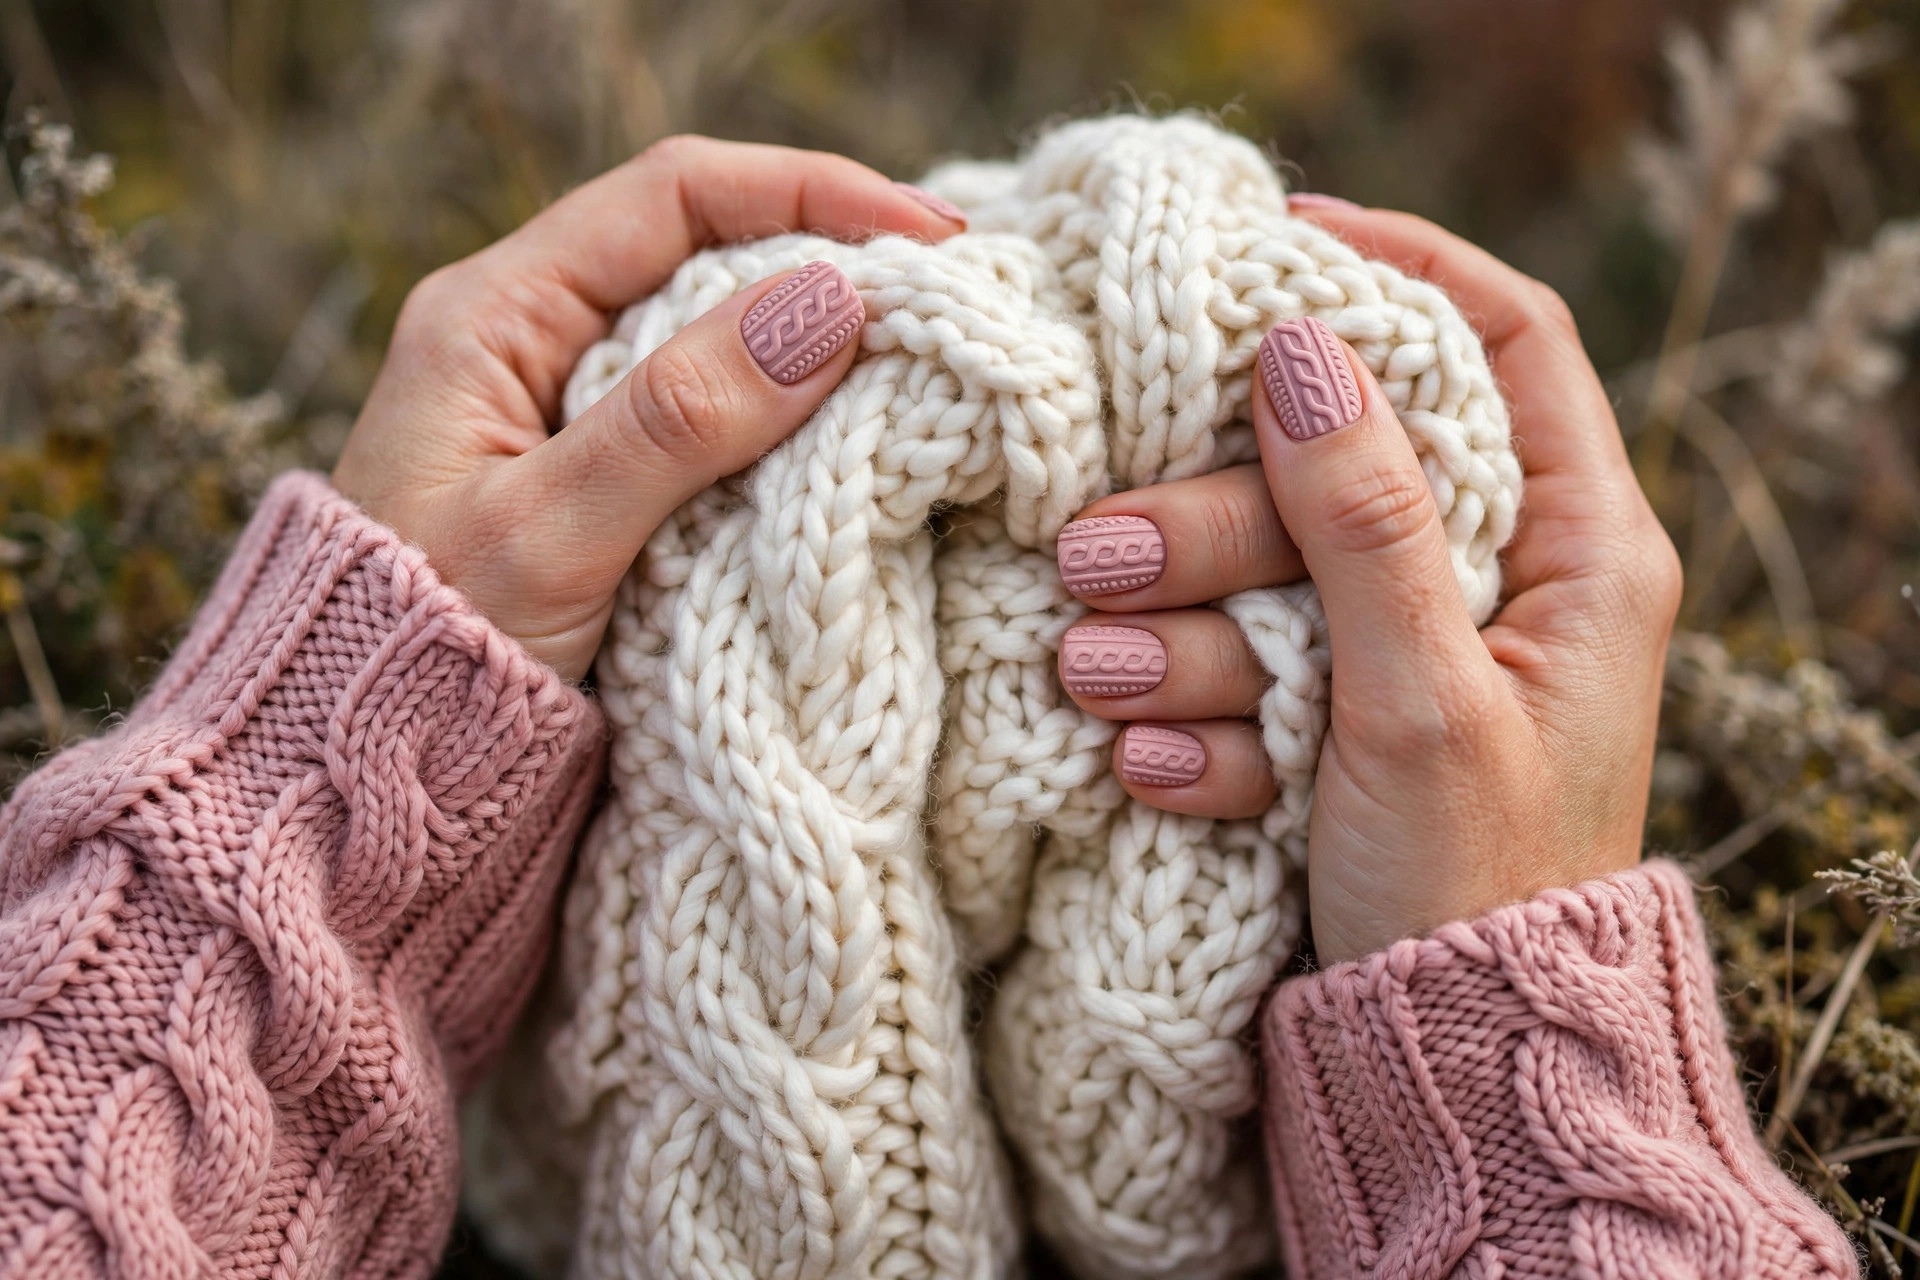
Every autumn has a texture. Summer is all smooth skin and glossy lips, but fall belongs to soft, touchable things: chunky knits, brushed wool, warm cashmere. Sweater texture nails take that feeling and put it exactly where you will see it all day — on your fingertips. The look mimics the raised cable-knit pattern of a cosy jumper, painted directly onto your nails in the same colour as your base.
If you have seen the photos, you know the effect is strangely satisfying. The pattern sits slightly raised on the nail, catching light and shadow the way real knitwear does. It looks intricate and expensive, like something that must have taken a professional hours. The lovely secret is that it is one of the most achievable nail art designs out there — if you can draw a wiggly line, you can do a cable-knit nail.
This guide walks you through everything: what sweater nails actually are, the two main ways to create them (gel and regular polish), the full toolkit, a detailed step-by-step tutorial, eight design variations, and how to keep your textured manicure looking fresh. By the end, you will be ready to try it on a quiet evening with a cup of something warm beside you.
What Are Sweater Texture Nails?
Sweater nails paint raised braids, dots and chevrons in the same colour as your base, so light and shadow sell the knit illusion. A matte top coat completes the wool effect, though a glossy version works as a dressier take.
Sweater texture nails — sometimes called cable-knit nails or knit nails — are a nail art design that copies the look of knitted fabric. Using polish in the same colour as your base coat, you paint raised lines, braids, dots, and chevrons onto the nail to imitate patterns you would find on a jumper: cable braids, honeycomb stitches, little hearts, and dotted rows.
The key to the look is that the pattern is raised. You are not just drawing lines on a flat nail; you are building up thin layers of polish so the design has real dimension you can feel with your fingertip. Light hits the raised pattern and creates tiny shadows, which is what sells the illusion of actual knitwear.
The classic version uses a matte top coat over the whole design. Matte finish is what makes it read as wool rather than patent leather — real jumpers are not shiny, and the matte surface completes the cosy illusion. That said, glossy sweater nails exist too, and they have their own charm, more like a lacquered, dressed-up version of the idea. We will cover both.
The design works on any nail length and shape, though medium-length almond or oval nails show off the pattern best because there is more surface to decorate. Short nails can absolutely wear it — just keep the pattern simple, with one or two elements per nail rather than a full cable braid.
Why Does This Cosy Look Suit Fall So Well?
They match the season’s knitwear palette — cream, grey, taupe, burgundy and forest green — so they coordinate with your wardrobe without planning. Knit patterns are naturally imperfect, so the design forgives wobbly lines beautifully.
Some nail trends fight the season. Sweater nails belong to it completely. The moment the weather turns and you reach for your first chunky knit of the year, your nails can match the mood — and there is something deeply pleasing about that kind of coordination.
The colour palette does a lot of the work. Sweater nails look best in the shades of actual knitwear: cream, oatmeal, soft grey, dusty pink, warm taupe, chocolate brown, burgundy, forest green, and classic black. These are the colours already hanging in your wardrobe, which means your manicure will match your outfits without any planning at all.
There is also a comfort factor that is hard to describe until you have worn them. Glancing down at tiny knitted patterns on your nails throughout a busy grey day is a small, private pleasure — like wearing your favourite jumper, but visible. Beauty does not always have to be dramatic to be enjoyable; sometimes the quiet, tactile details are the ones that make you happiest.
And practically speaking, it is a forgiving design. Knit patterns are made of wobbly lines and organic shapes by nature — real cable knits are not geometrically perfect, so your hand-painted version does not need to be either. Slight wobbles in your lines actually make the pattern look more like real knitting. It is nail art that rewards imperfection, which is a rare and wonderful thing.
Which Is Better: Gel or Regular Polish?
Regular polish needs no lamp and comes off with normal remover, lasting about three to five days. Gel holds crisper raised lines for two weeks or more, but needs a lamp and practice with curing times.
Before you start, decide which method suits you. Both work; they just differ in effort, durability, and equipment.
| Regular polish | Gel | |
|---|---|---|
| Equipment | None beyond normal polish | UV or LED lamp plus gel products |
| Wear | About three to five days | Two weeks or more |
| Removal | Normal remover | Soak-off, following product instructions |
| Best for | Trying the look tonight, weekends, special occasions | Long wear, if you already do gel at home |
The regular polish method. This is the accessible route. You use ordinary nail polish, building up the pattern in two or three layers, and finish with a matte top coat. No lamp, no special equipment, and everything washes off with normal remover. The downside is durability: the raised design can wear down or chip within a few days, especially if you are hard on your hands. Expect three to five days of good wear, which is plenty for a weekend or a special occasion.
The gel method. Gel polish (cured under a UV or LED lamp) gives a crisper, longer-lasting result. The thicker gel formula holds raised lines beautifully, and the design can last two weeks or more. The trade-off is that you need a lamp and gel products, plus a little practice with curing times. If you already do gel nails at home, this method is clearly the better choice. If you are buying a lamp just for this, the regular polish method will tell you whether you love the look enough to invest.
For this guide’s step-by-step, we will use the regular polish method, since anyone can follow it tonight. The design steps are the same for gel — you simply cure each layer under your lamp instead of waiting for it to air-dry, and you cure the final matte top coat at the end.
What Will You Need?
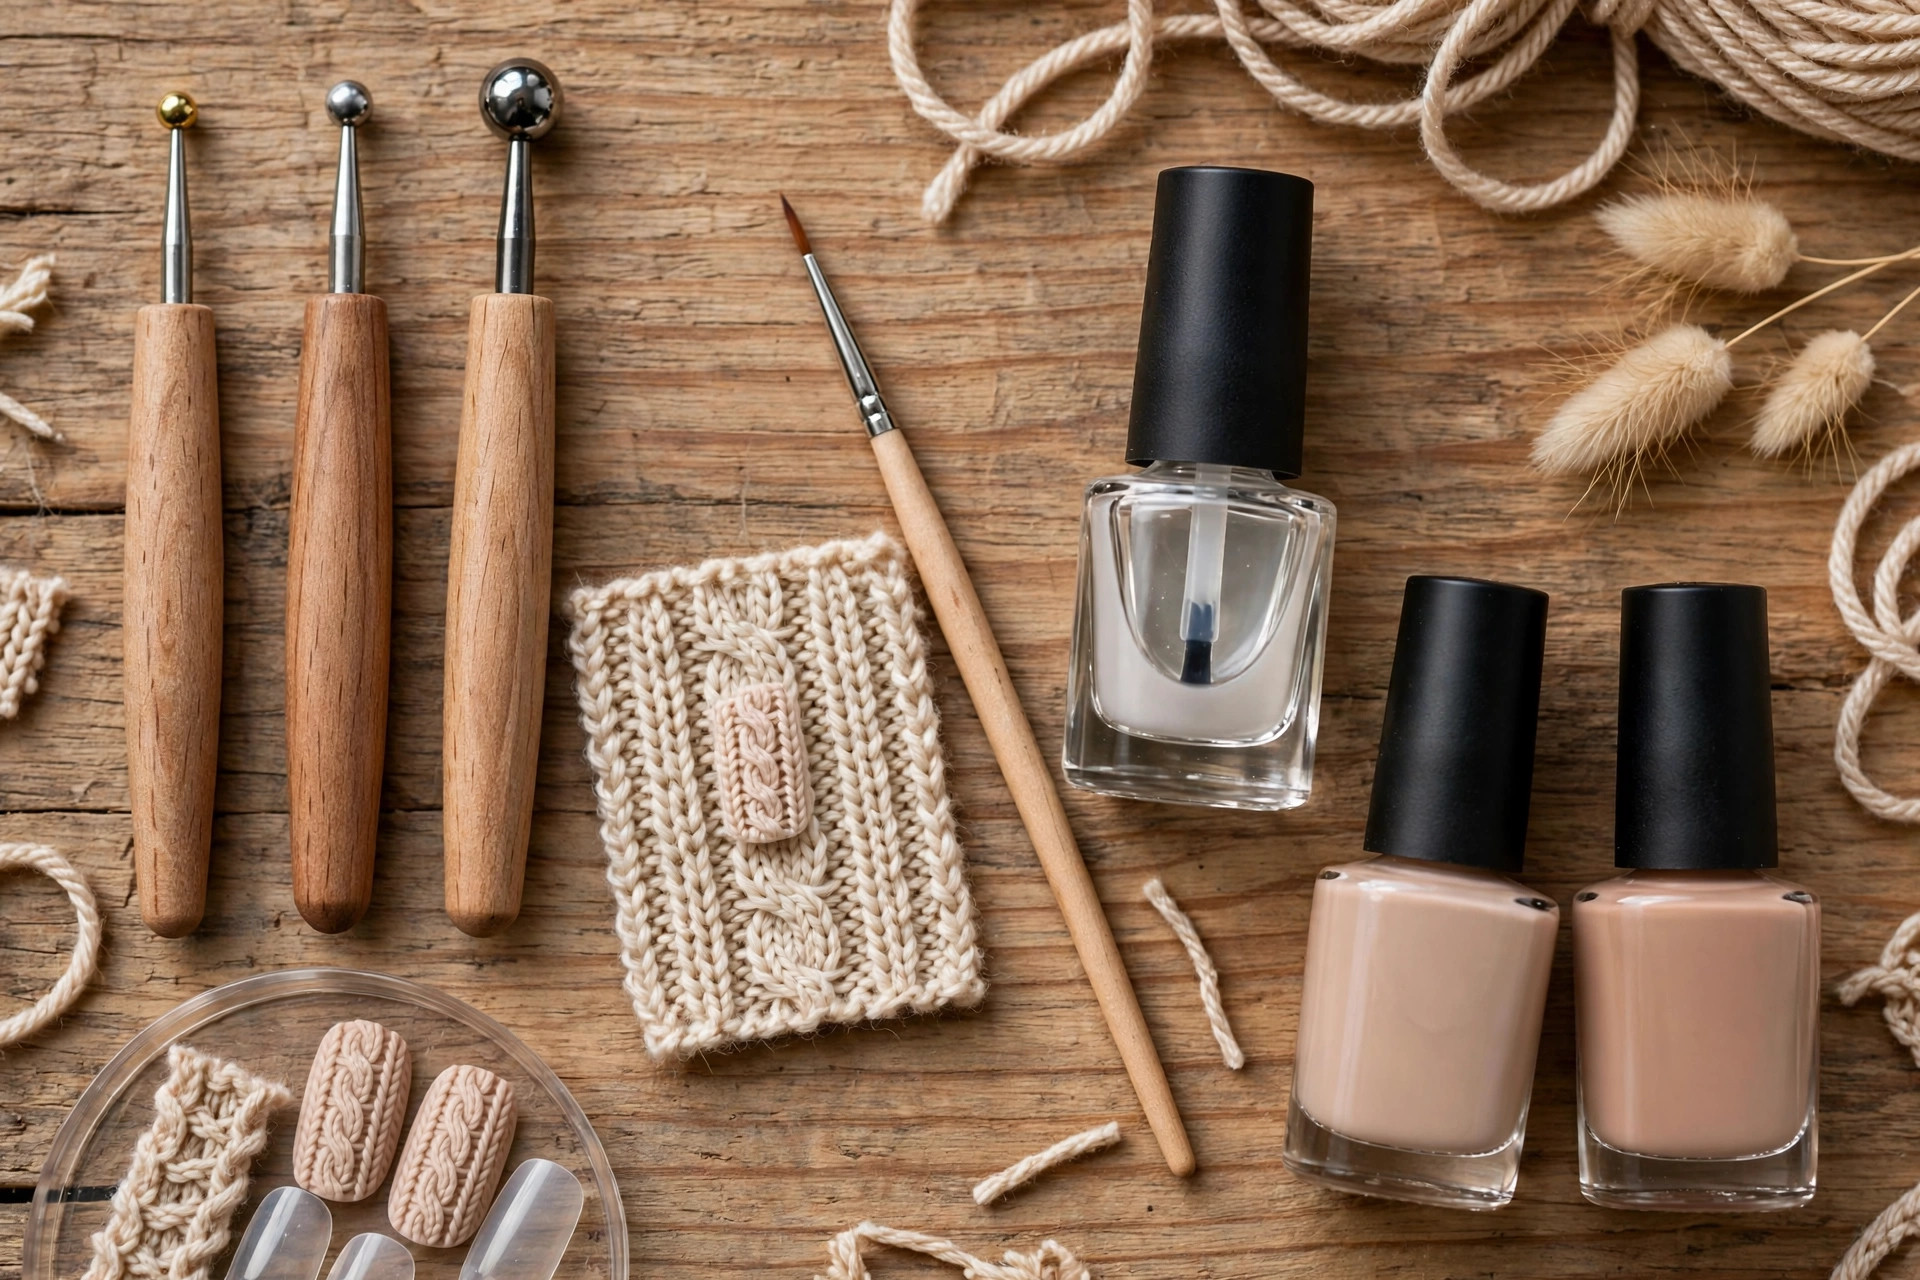
Gather base coat, your chosen polish, a dotting tool, a thin nail art brush, matte top coat, a clean-up brush, cuticle oil and a foil palette before you start. Hunting for tools with wet nails is a recipe for smudges.
Gather everything before you start. Hunting for a tool with wet nails is a recipe for smudges.
- Base coat — protects your nails and helps polish grip.
- Polish in your chosen colour — one bottle for the base and the pattern. Creams, nudes, greys, and deep autumn shades all work.
- A dotting tool — for dots and the centres of patterns. A cheap set with multiple sizes is ideal. In a pinch, the end of a bobby pin or a toothpick works.
- A thin nail art brush or striping brush — for the cable lines. If you do not own one, a small paintbrush with most bristles trimmed away can work.
- Matte top coat — the essential finishing touch that makes the design read as knitwear.
- Optional: a glossy top coat — if you want to try the shiny version, or to seal the base before adding the pattern.
- Clean-up brush and remover — a small flat brush dipped in remover for tidying edges.
- Cuticle oil — for finishing and daily care afterwards.
A small piece of foil or a palette to blob polish onto will make your life easier, since you will be picking up small amounts of polish repeatedly for the pattern work.
How Do You DIY Cable-Knit Nails, Step by Step?
Build the design one nail at a time: base coats, a raised wavy centre line, alternating braid strokes, optional side lines and dots, then a light matte top coat. Let raised polish dry at least ten minutes before sealing.
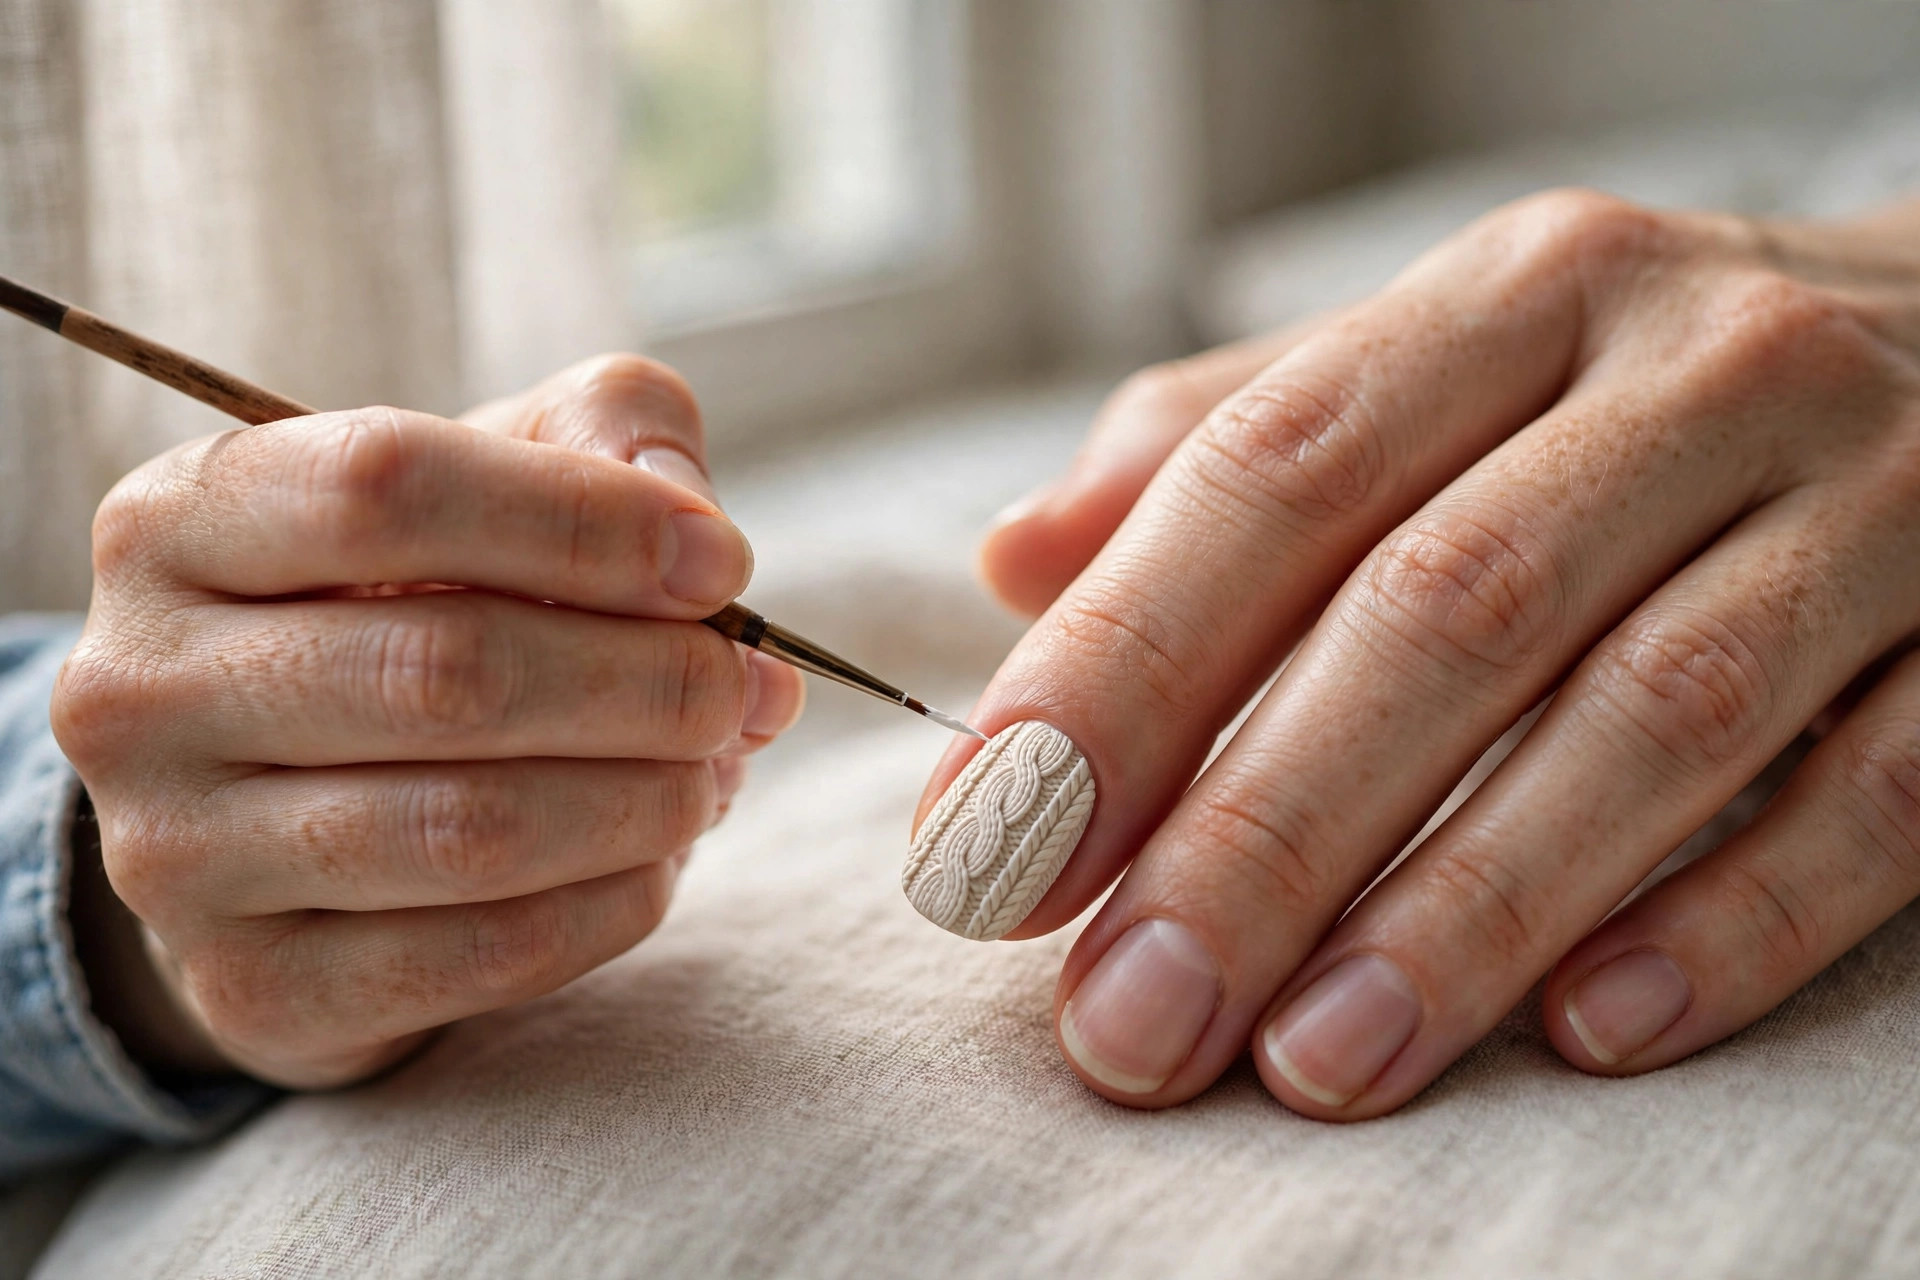
Here is the full process for a classic cable-knit design on every nail. Work on one hand at a time, and give each layer a few minutes to set before adding the next — patience is the main skill this design requires.
- Prep and base. File and shape your nails, push back cuticles, and apply base coat. Then apply two coats of your chosen colour as the base, letting each coat dry. Your nails should look like a normal, neat manicure at this stage.
- Set up your palette. Blob a generous drop of the same polish onto foil. You will dip your brush and dotting tool into this rather than the bottle, which gives you much better control over how much polish you pick up.
- Paint the centre cable. With your thin brush, draw a slightly wavy vertical line down the centre of the nail, from near the cuticle to near the tip. Reload the brush and go over the same line two or three times to build it up. This raised centre line is the spine of your cable braid.
- Add the braid loops. On each side of the centre line, paint small diagonal strokes that lean toward the centre line, alternating left and right like a herringbone or braid. Each stroke should slightly overlap the centre line. Two passes over each stroke builds the raised effect.
- Frame with side lines (optional). Many classic designs add a straight vertical line down each side of the nail, framing the cable. Add dots between the frame lines and the cable for a traditional Aran-knit feel.
- Repeat on every nail. You can do the identical cable on all ten nails for a uniform jumper look, or vary it — more on design ideas below. Let the pattern dry for at least ten minutes; the raised polish needs longer than a flat coat.
- Seal with matte top coat. One careful coat of matte top coat over everything. Use a light touch and do not over-brush, or you can drag the raised pattern. This is the step that transforms painted lines into convincing knitwear.
- Clean up and moisturise. Tidy any edges with your clean-up brush, then massage cuticle oil around each nail once everything is fully dry.
Your first nail will be the messiest and your tenth will be the neatest — that is completely normal. If a nail goes badly wrong, wipe it clean with remover and redo just that nail. The design is forgiving, and a slightly wonky cable still reads as charming hand-knitted texture.
Which 8 Design Ideas Should You Try?
Beyond the classic full cable, try accent nails, tiny hearts, honeycomb dots, chevron zigzags, mixed patchwork motifs, glossy finishes or tonal ombre knits. Each variation uses the same brush skills, just arranged differently.
The classic cable is just the beginning. Once you are comfortable with the technique, try these variations:
- Full cable on every nail: The timeless look. Cream or oatmeal polish, matte finish, identical braids. Pairs with literally everything.
- Accent nail cable: Paint all nails in your base colour, but add the knit pattern to just one or two accent nails per hand. Subtle and office-friendly.
- Tiny hearts: Use your dotting tool to place pairs of dots that merge into little hearts, in rows down the nail. Sweet and romantic in dusty pink.
- Honeycomb dots: Cover the nail in an offset grid of raised dots. Simple, graphic, and very satisfying to make.
- Chevron zigzags: Paint raised zigzag lines across the nail for a modern geometric knit. Looks striking in charcoal or black.
- Mixed patterns: Give each nail a different knit motif — cable on one, dots on the next, chevron on the third. Like a patchwork jumper.
- Glossy sweater: Skip the matte top coat and seal with glossy instead. The raised pattern catches the light beautifully — a dressier take.
- Ombre knit: Use a slightly darker shade for the raised pattern than for the base. The tonal contrast adds depth and looks very professional.
How Do You Choose Your Colours?
Cream and oatmeal give the classic cosy-jumper feeling, dusty pink feels romantic, taupe and chocolate are rich and autumnal, and black is unexpectedly chic in matte. Very light shades show wear fastest on raised edges.
Colour choice changes the personality of the manicure completely. Cream, oatmeal, and soft white give the classic cosy-jumper feeling and suit every skin tone. Dusty pink and mauve feel romantic and feminine. Warm taupe and chocolate brown are rich and autumnal. Burgundy and forest green make a statement while staying seasonal. Black sweater nails are unexpectedly chic — dramatic but still soft because of the matte texture.
Consider your wardrobe too. If you live in neutrals, a cream or grey knit nail will blend in seamlessly. If your style is bolder, match your nails to your favourite jumper — burgundy nails with a burgundy knit is a small joy. There is no wrong answer; the texture is the star, and the colour is the supporting act.
One practical note: very light colours like white and cream show wear faster on the raised pattern, since the edges can pick up tiny marks. If that bothers you, choose a mid-tone shade, or simply enjoy the lived-in look — a slightly worn knit nail still looks intentional.
How Do You Care for a Textured Manicure?
Be gentle for the first few hours while raised polish hardens, wear gloves for cleaning, and never pick at the texture. Refresh matte top coat after three or four days, and dab and reseal any small chips.
Raised nail art needs slightly different care than a flat manicure, but nothing complicated:
- Be gentle for the first few hours. The raised pattern takes longer to harden fully than flat polish.
- Avoid picking at the texture. It is tempting to touch, but oils and pressure wear it down faster.
- Wear gloves for cleaning and washing up, as with any manicure.
- If an edge of the pattern chips, dab a tiny amount of polish on the spot and reseal with matte top coat — repairs blend in well because the design is textured.
- Refresh the matte top coat after three or four days to revive the knit effect and extend wear.
- Moisturise your hands and cuticles daily. Dry autumn air is hard on both skin and polish.
When you are ready for a change, removal is straightforward with regular polish — soak a cotton pad in remover, press, and wipe. The raised areas may need a few extra seconds of soaking, but they come off cleanly. If you used the gel method, soak off the gel as you normally would, following your product’s instructions.
As a general habit, the American Academy of Dermatology (AAD) advises moisturising hands, nails and cuticles after washing to help prevent dryness and brittle nails, and the AAD notes that keeping nails short helps stop them bending, catching and breaking. This is general beauty guidance, not medical advice — if a nail becomes painful, swollen or changes unexpectedly, see a dermatologist.
The Final Word
Sweater texture nails are proof that the best beauty trends make you smile at your own hands. They are cosy, creative and surprisingly easy — give yourself one unhurried evening, and your first attempt does not need to be perfect.
Sweater texture nails are proof that the best beauty trends are the ones that make you smile when you look at your own hands. They are cosy, creative, surprisingly easy, and perfectly in tune with the season. Whether you go for the full cable-knit on every nail or a single textured accent nail, you will have a manicure with personality — and a fun story when someone asks how you did it.
Pour something warm, put on a film, and give yourself an unhurried evening to try it. Your first attempt does not need to be perfect; it just needs to be yours. And when you catch yourself admiring your tiny knitted nails over your morning coffee, you will understand exactly why this trend keeps coming back every fall.
Leave a Reply