
A salon manicure costs what a good bottle of polish costs — and a good bottle of polish does twenty manicures. The math is obvious, but most at-home manicures look, well, at-home: bumpy polish, flooded cuticles, chips by day two. The difference between a DIY manicure and a salon one isn’t talent. It’s a sequence of small, unglamorous steps that most of us skip.
Do all of them, in order, and your nails will look like you paid for them. Here’s the full routine.
Set Up and Remove the Old
Start with a clean workspace and good light — you need to actually see your cuticles. Lay down a towel or paper to protect the surface.
Remove old polish completely, even if you’re just refreshing. Use an acetone-based remover for glitter or dark shades (non-acetone struggles with those), and hold the soaked cotton pad on each nail for ten seconds before wiping — the soak does the work, so you don’t have to scrub. Scrubbing dries out the nail and the surrounding skin.
Wash your hands afterward. Remover residue left on the nail prevents new polish from adhering properly, which is a sneaky cause of early chipping.
Soak and Care for Cuticles
Fill a small bowl with warm (not hot) water and a drop of gentle soap or a squeeze of cuticle oil. Soak your fingertips for three to five minutes. This softens the cuticles and the skin around the nails, making the next steps easier and gentler.
Push cuticles back gently with an orangewood stick or a soft cuticle pusher. The key word is push, not cut. Your cuticles protect the nail bed from infection, and cutting them — especially with unsterilized tools — invites trouble. Push them back neatly and leave them intact.
If you have hangnails, trim only the loose flap of skin with clean nippers — never pull them. Then massage a drop of cuticle oil into each nail bed. Healthy, moisturized cuticles are half of what makes a manicure look professional.
Shape With Intention
This is where most at-home manicures go wrong. File in one direction only — sawing back and forth frays the nail edge and causes peeling and breakage. Use a fine-grit file (180 grit or higher) and file from the outer edge toward the center on each side.
Choose a shape that suits your hands:
- Oval/almond: elongates short fingers and looks elegant on most hands. The most forgiving shape.
- Square: modern and clean, best on longer nail beds. Sharp corners chip fastest, so file them just slightly soft.
- Squoval (square with rounded corners): the best of both — the clean look of square with the durability of oval.
Keep all ten nails the same length and shape. Mismatched nails are the fastest tell of a DIY job. And file before polish, never after — filing a polished nail breaks the seal at the tip and guarantees chips.
Lightly buff the nail surface with the fine side of a buffer block — three or four gentle passes per nail, no more. This removes ridges so polish goes on smooth. Over-buffing thins the nail, so be gentle.
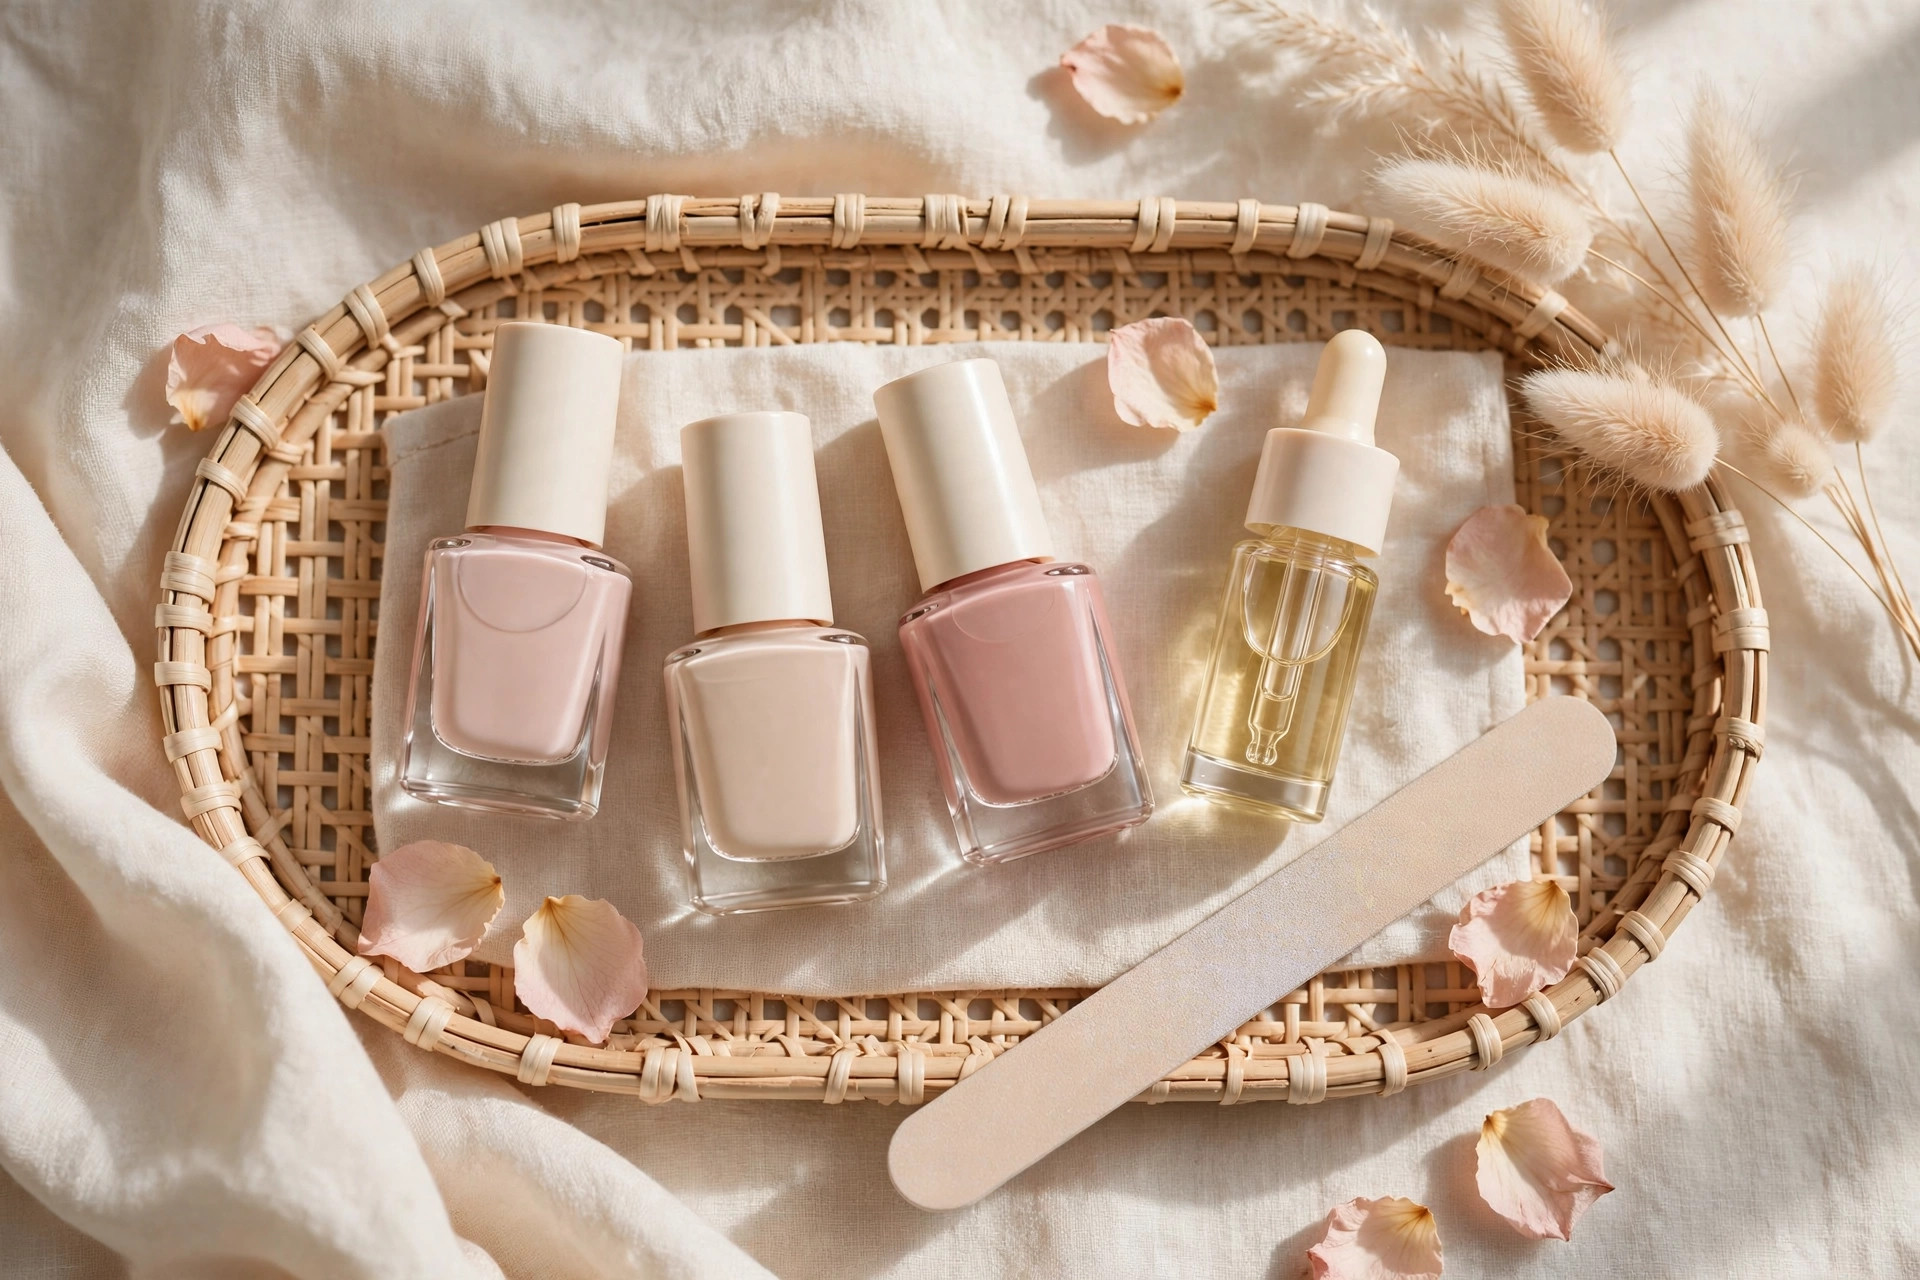
The Polish Application (Where Patience Pays)
Wipe each nail with a bit of remover or rubbing alcohol on a cotton pad right before polishing. This removes the cuticle oil and any moisture — polish adheres best to a clean, dry nail. Yes, you just oiled them; now you’re removing the surface oil. The oil did its work on the skin.
Base coat is non-negotiable. It prevents staining (especially with dark colors), gives the color something to grip, and extends wear by days. One thin layer, and let it dry for two minutes.
Now the color. The salon secret is thin coats — three thin coats beat two thick ones every time. Thick polish looks lumpy, takes forever to dry, and chips in sheets.
1. Load the brush and wipe one side on the bottle rim. You want enough polish to cover the nail, not a dripping blob.
2. Start with a center stripe: place the brush near (not touching) the cuticle and push gently toward the cuticle, leaving a hairline gap — then pull down to the tip in one smooth stroke.
3. Do the left side, then the right side, with the same technique. Three strokes per nail is the goal.
4. Cap the tip: run the brush horizontally across the very edge of the nail tip. This seals the polish and is the single best anti-chip trick.
5. Wait two to three minutes between coats. Two thin color coats are enough for most polishes; sheer shades may need three.
Clean up mistakes with a small angled brush or cotton swab dipped in remover, tracing around the cuticle. Doing this while the polish is still slightly wet gives the cleanest lines.
Top coat goes on after the final color coat is dry to the touch — about five minutes. Apply it the same way, including capping the tip. A good top coat adds shine, protection, and days of wear. Reapply a fresh layer of top coat every two to three days to extend your manicure well past a week.
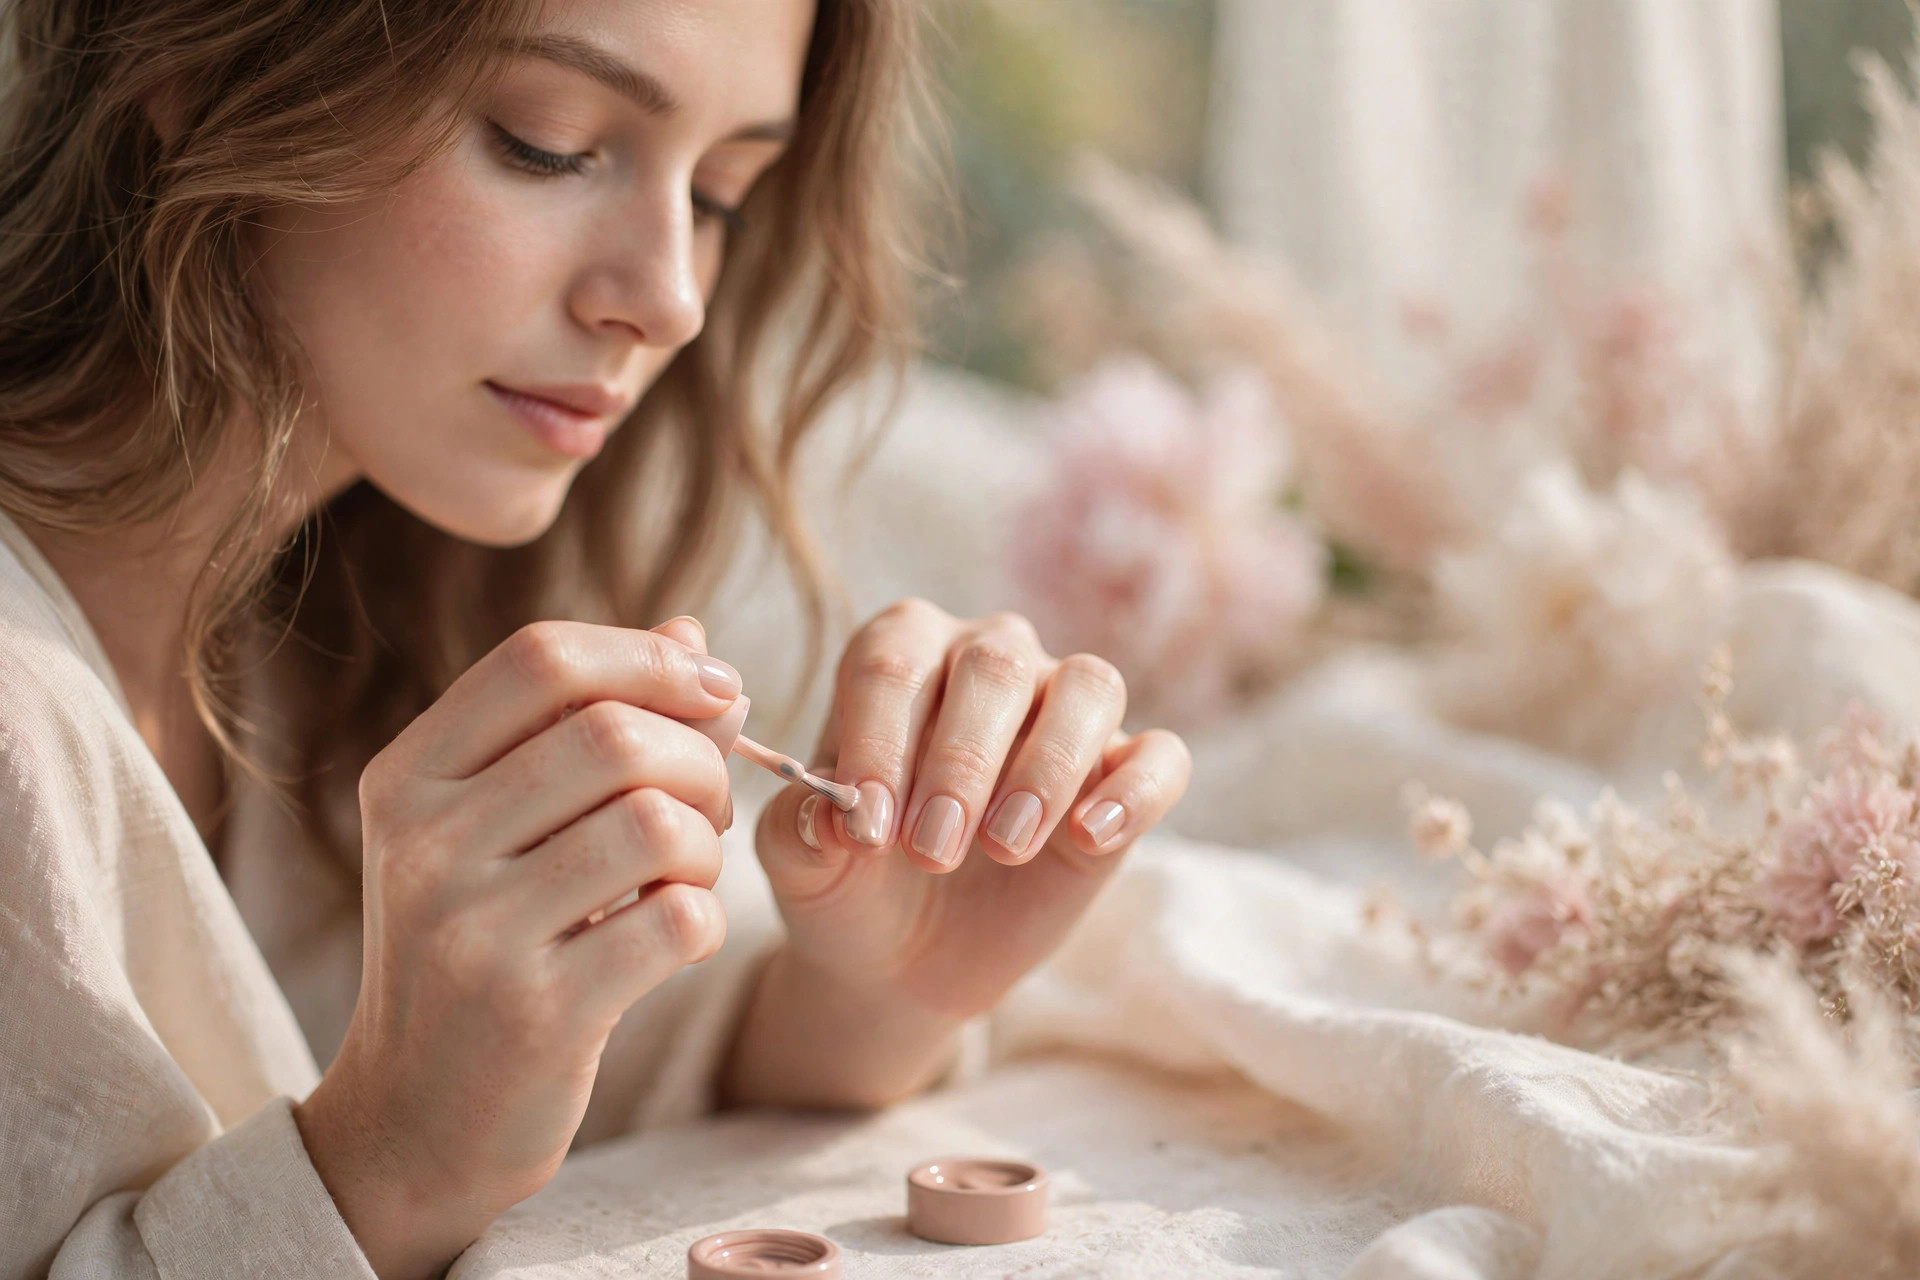
Drying Without Disaster
Polish feels dry long before it actually is. The surface sets in about ten minutes, but full curing takes up to two hours. The danger zone is the first thirty minutes — that’s when sheet marks and smudges happen.
Quick-dry drops or spray help the surface set faster. Cold water (running your hands under cold water for a minute) also speeds surface drying. But the real rule is simple: don’t do anything with your hands for at least twenty minutes. No phone scrolling, no digging in your bag. Put on a show and sit still — consider it enforced rest.
Making It Last
- Wear gloves for dishes and cleaning. Hot water and detergents are polish’s worst enemies.
- Reapply top coat every two to three days — this alone can double your manicure’s life.
- Keep cuticle oil by your sink and use it daily. Hydrated cuticles don’t peel or lift the polish at the edges.
- Don’t use your nails as tools. Opening cans and scraping stickers will chip even the best manicure.
- When a chip happens, don’t peel the polish — dab a little color on the chip, let it dry, and seal with top coat. A spot repair beats a full redo.
The Weekly Rhythm
A full manicure takes about forty-five minutes once you’re practiced — perfect for a Sunday evening ritual. Between full manicures, a midweek top-coat refresh and daily cuticle oil keep everything looking fresh.
The investment is small: a good file, cuticle oil, base coat, your favorite colors, and a top coat you trust. After two or three practice runs, your at-home manicures will genuinely rival the salon’s — and you’ll wonder why you ever paid for them.
Beautiful hands deserve a polished routine to match. Keep your skin glowing with this morning skincare routine, and give your nails’ supporting cast — your skin — the same care with these drugstore skincare favorites.
Slow down, do every step, and enjoy nails that look like a professional did them. Because the technique is professional — it’s just yours now.
Leave a Reply