I learned this the hard way when my mascara flaked by noon and left me with panda eyes in a client meeting — except it wasn’t even noon, it was 10 a.m., and the “client” was a mirror in a restaurant bathroom. Clumpy, spidery lashes are not a mascara problem. They’re a technique problem, and technique is fixable.
Every clump has a cause: too much product on the brush, coats applied too fast, an old dried-out tube, or a brush that fights your lash shape. Fix the causes and the clumps disappear.
Start With the Right Mascara and Brush
Not all wands are equal. The brush shape determines how the formula lands on your lashes:
- Skinny, separated bristles: best for definition and separating lashes. If clumps are your main complaint, this is your brush.
- Fat, fluffy bristles: build volume but deposit more product — clump territory if you’re heavy-handed.
- Curved wands: lift and curl as you apply; good for straight lashes that point downward.
- Rubber/plastic bristles: grip and separate each lash. Silicone brushes are the clump-fighter’s best friend.
Also check the formula’s age. Mascara has a short life — about three months once opened. An old tube dries out, and dry formula clumps no matter how perfect your technique is. If it’s gloopy, smells off, or you can’t remember when you bought it, replace it. Your eyes will thank you too; old mascara is a bacteria playground.
Prep Your Lashes First
Thirty seconds of prep changes everything. Curl your lashes with an eyelash curler before mascara — curling after mascara can stick and snap lashes. Position the curler at the base of your upper lashes, squeeze gently for five to ten seconds, then release. For extra lift, “walk” the curler: curl at the base, then move it halfway up the lash and squeeze again lightly.
If your lashes are very straight, warming the curler with a hairdryer for a few seconds (test it on your wrist first — warm, never hot) helps the curl hold. And skip waterproof mascara for daily wear unless you truly need it; it’s harder to remove and the tugging during removal weakens lashes over time.
The Wiggle Method, Step by Step
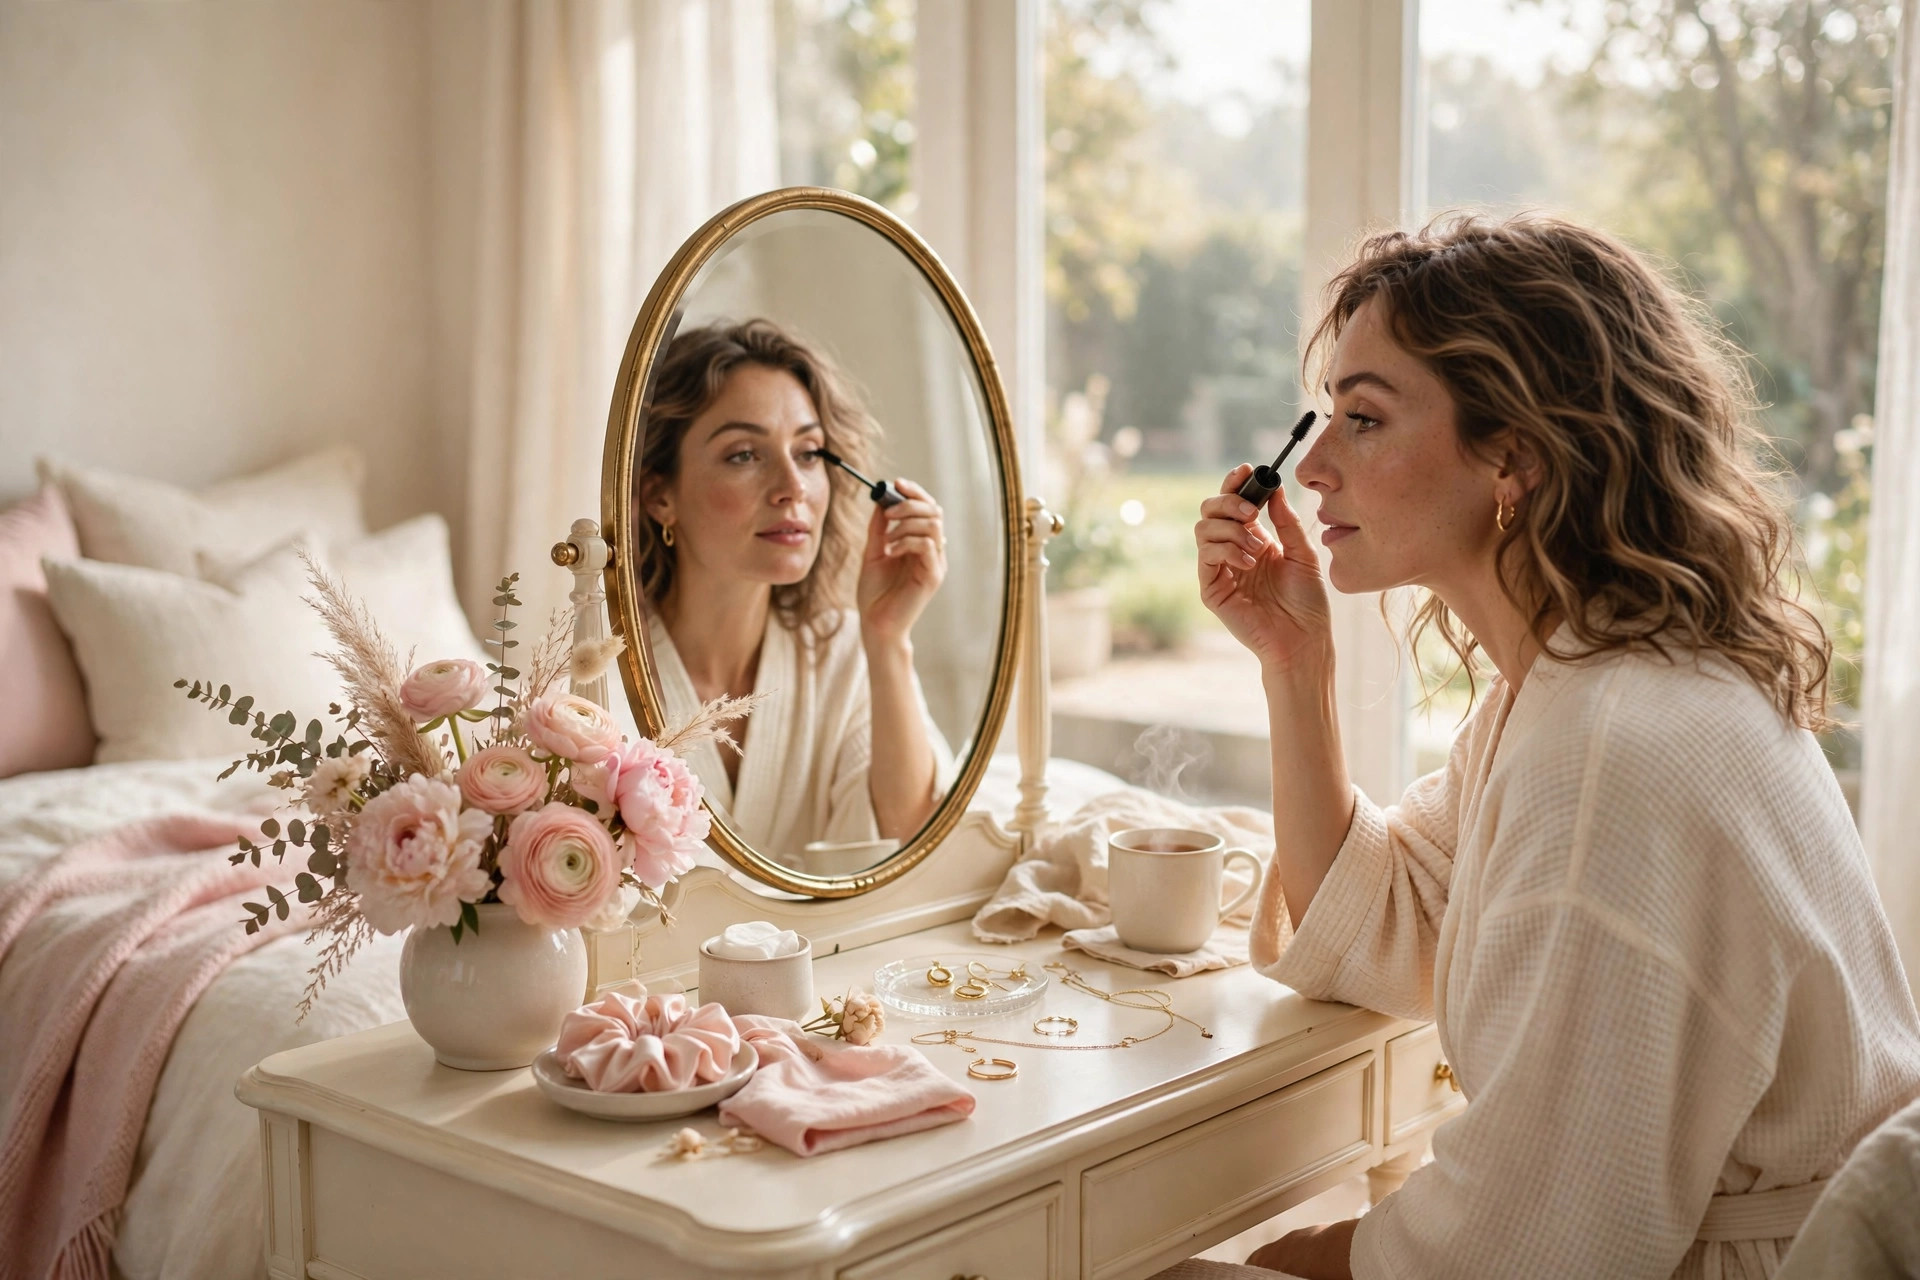
This is the core technique. Done right, it deposits product at the roots — where you want darkness and fullness — while keeping the tips light and separated.
1. Pull the wand out of the tube once. Do not pump it — pumping pushes air in, which dries the formula faster and loads the brush with excess.
2. Wipe the very tip of the wand lightly on the tube’s rim to remove the blob of product that always collects there. That blob is responsible for half of all clumps.
3. Look down into a mirror (tilting your head slightly and looking down stretches the lashes out and keeps you from blinking onto the wand).
4. Place the brush at the base of your upper lashes and wiggle it side to side as you pull upward. The wiggle deposits color at the roots; the upward pull draws it through to the tips. One smooth motion.
5. For the outer corners, angle the wand outward to fan lashes toward your temples — this creates that lifted, eye-opening effect.
6. Wait about thirty seconds, then apply a second coat the same way if you want more drama. Two thin coats always beat one thick one. The pause between coats is what keeps them from glomming together.
The Lower Lashes
Lower lashes clump fastest because they’re short and close together. Use only the very tip of the wand, with barely any product on it — wipe most of it off first. Hold the wand vertically and touch it lightly to the lashes with tiny downward strokes. Less is genuinely more here; heavy lower lashes drag the whole eye down.
If you smudge under your eyes, resist the urge to wipe it immediately. Let it dry for a minute, then flick it away with a clean cotton swab or a dry spoolie. Wet smudges spread; dry ones lift off cleanly.
Fixing Clumps in Real Time
If a clump happens anyway, don’t panic and don’t add more mascara over it. Keep a clean, dry spoolie (a plain lash brush — they cost almost nothing) in your makeup bag. While the mascara is still slightly tacky, comb through the lashes with the spoolie. It separates them and picks up excess product.
For a clump that’s already set, a metal lash comb works even better — the fine teeth separate lashes that a brush can’t. Run it through gently, root to tip. It feels oddly satisfying, like detangling hair.
Habits That Prevent Clumps
- Never share mascara. Beyond the hygiene issue, someone else’s pumping and handling changes how the formula performs.
- Don’t pump the wand. Every pump shortens the tube’s life. Twist it in and out instead.
- Apply mascara last in your eye routine, after eyeshadow — fallout from shadow landing on wet mascara creates a gritty, clumpy mess.
- Replace every three months. Mark the date on the tube with a piece of tape if you need the reminder.
- Store it upright at room temperature. Heat (like a car dashboard) breaks down the formula.
When to Break the Rules
There is exactly one situation where clumpy mascara is the goal: the intentional “spider lash” editorial look. Fashion runways do it on purpose with tiny lower-lash groupings. For everyday life, though, separated and defined wins — it makes lashes look longer and eyes look brighter, which is what most of us actually want from mascara.
Pair your perfect lashes with makeup that stays put all day — these long-wear makeup tips keep your base as fresh as your lashes. And if you’re building a full look, this soft glam tutorial for beginners puts it all together.
Smooth, separated lashes are a skill, not a gift. Practice the wiggle for a week and you’ll wonder why it ever seemed hard.
Leave a Reply