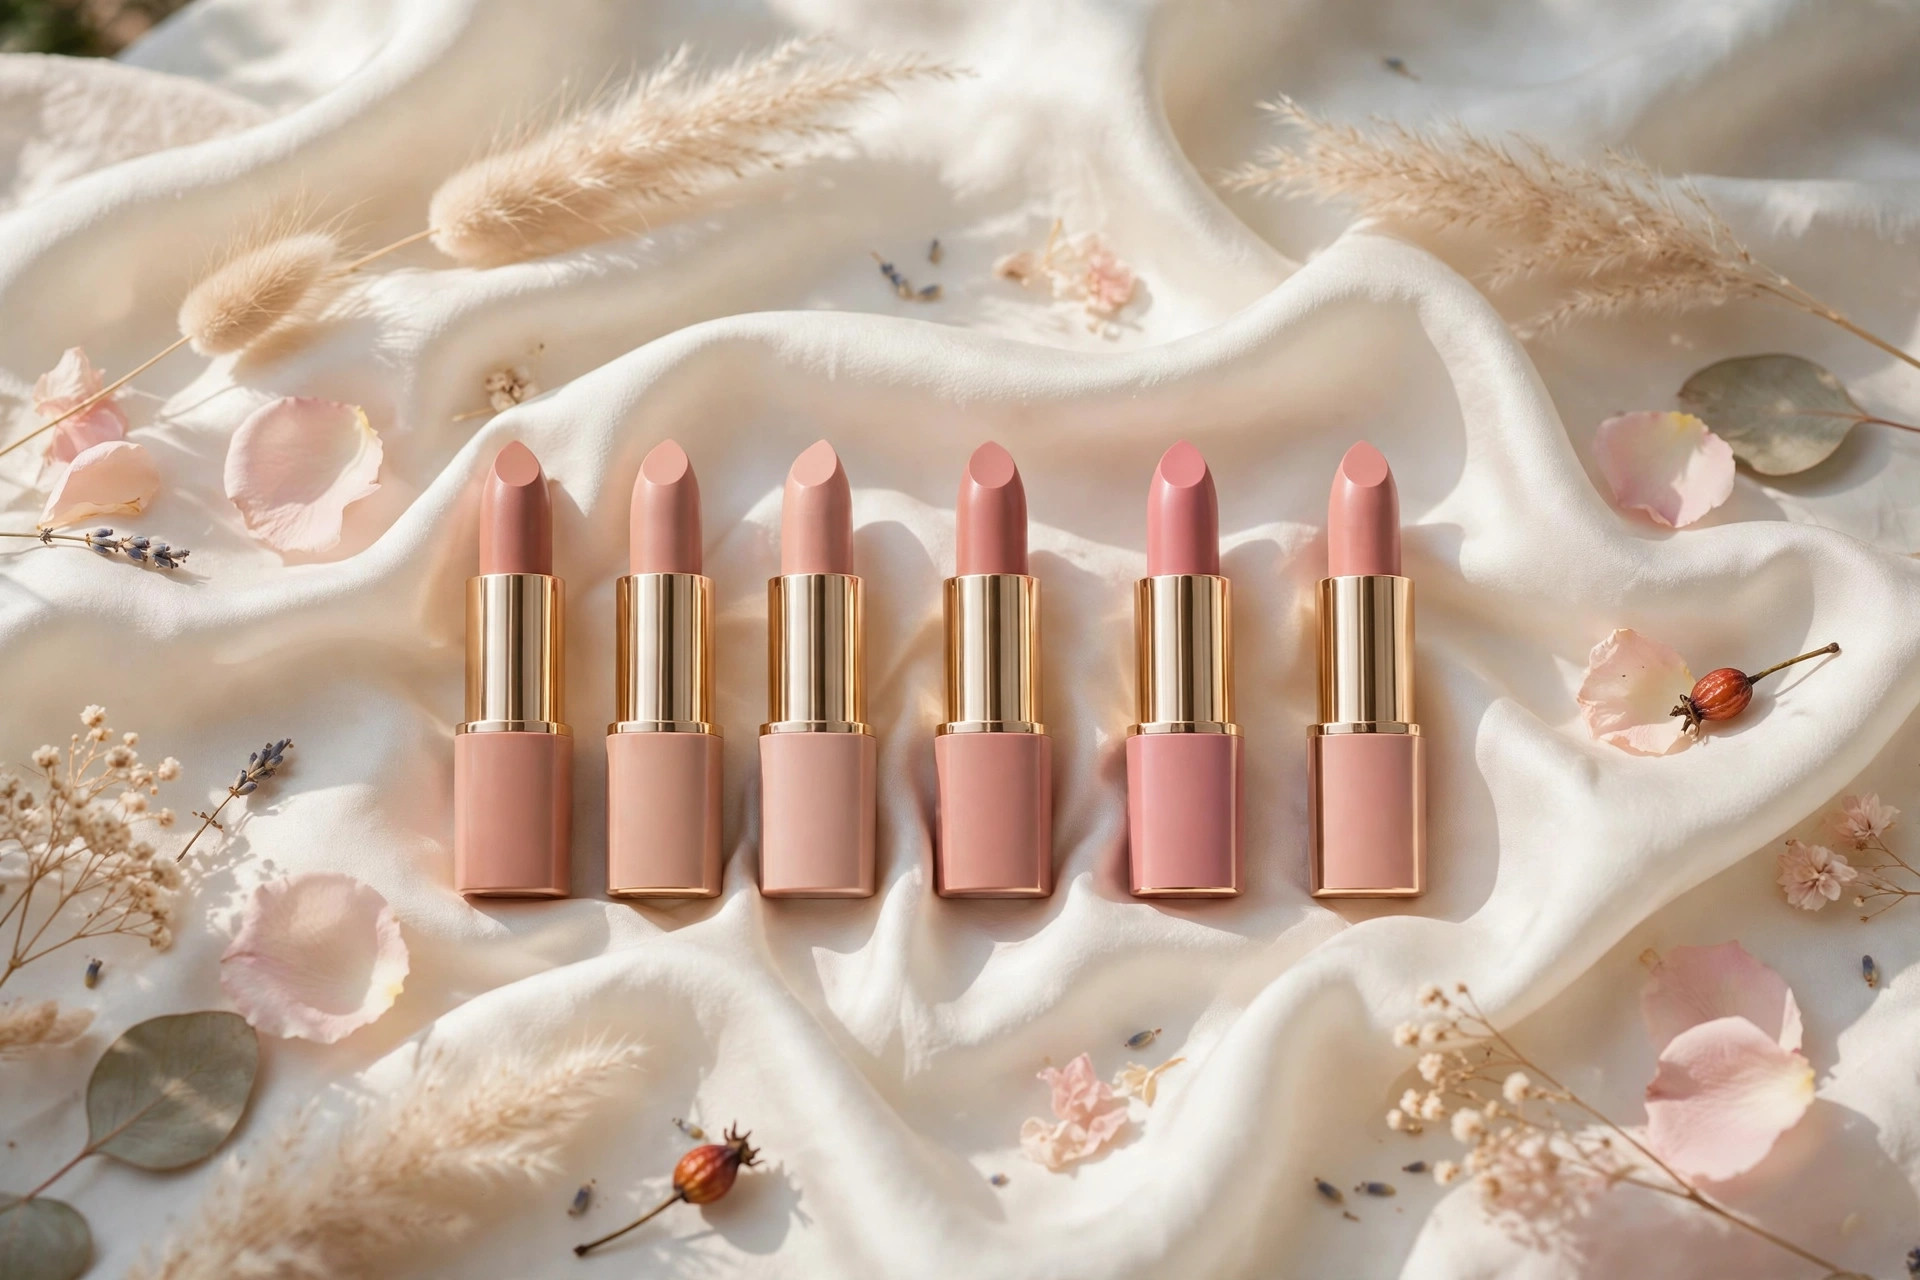
I have bought nude lipsticks that made me look tired, nude lipsticks that made me look washed out, and one memorable nude that made my lips disappear entirely, as if my face had simply given up on the concept of a mouth. Here’s what I eventually learned: “nude” is not a color. It’s a relationship between the lipstick and you.
The perfect nude is your lips, slightly enhanced — a shade that flatters your skin without drawing attention to itself. Finding it takes a little detective work, but once you know your formula, you’ll never waste money on the wrong one again.
Step One: Know Your Undertone
Your undertone is the subtle hue beneath your skin’s surface — cool, warm, or neutral — and it’s the biggest factor in whether a nude flatters you.
The quickest test is your wrist veins in natural daylight. Veins that look blue or purple suggest a cool undertone; veins that look green suggest warm; a mix of both, or difficulty telling, suggests neutral. The jewelry test is another good one: silver tends to flatter cool undertones, gold flatters warm ones, and if both look fine, you’re probably neutral.
Why does this matter? A warm-toned nude on cool skin can look orange and jarring; a cool pink-beige on warm skin can look ashy. Match the lipstick’s undertone to yours and it will look like it belongs on your face.
Step Two: Look at Your Actual Lips
Here’s the trick most guides skip: your perfect nude should be one to two shades deeper than your natural lip color, not your skin color. Look at your bare lips in a mirror. Are they pale pink, rosy, mauve, brownish? Your ideal nude lives right next to that color on the spectrum.
This is why one person’s perfect nude looks terrible on someone else, even with similar skin. A deep plum-brown nude is perfect on full, deeply pigmented lips and would look muddy on pale pink lips. Start from your lips, not from a celebrity’s Instagram.
A good rule of thumb: hold the lipstick next to your fingertip. The pads of your fingers are surprisingly close to most people’s natural lip color, and it’s a fast way to check depth without opening the tube in the store.
Choosing by Skin Depth
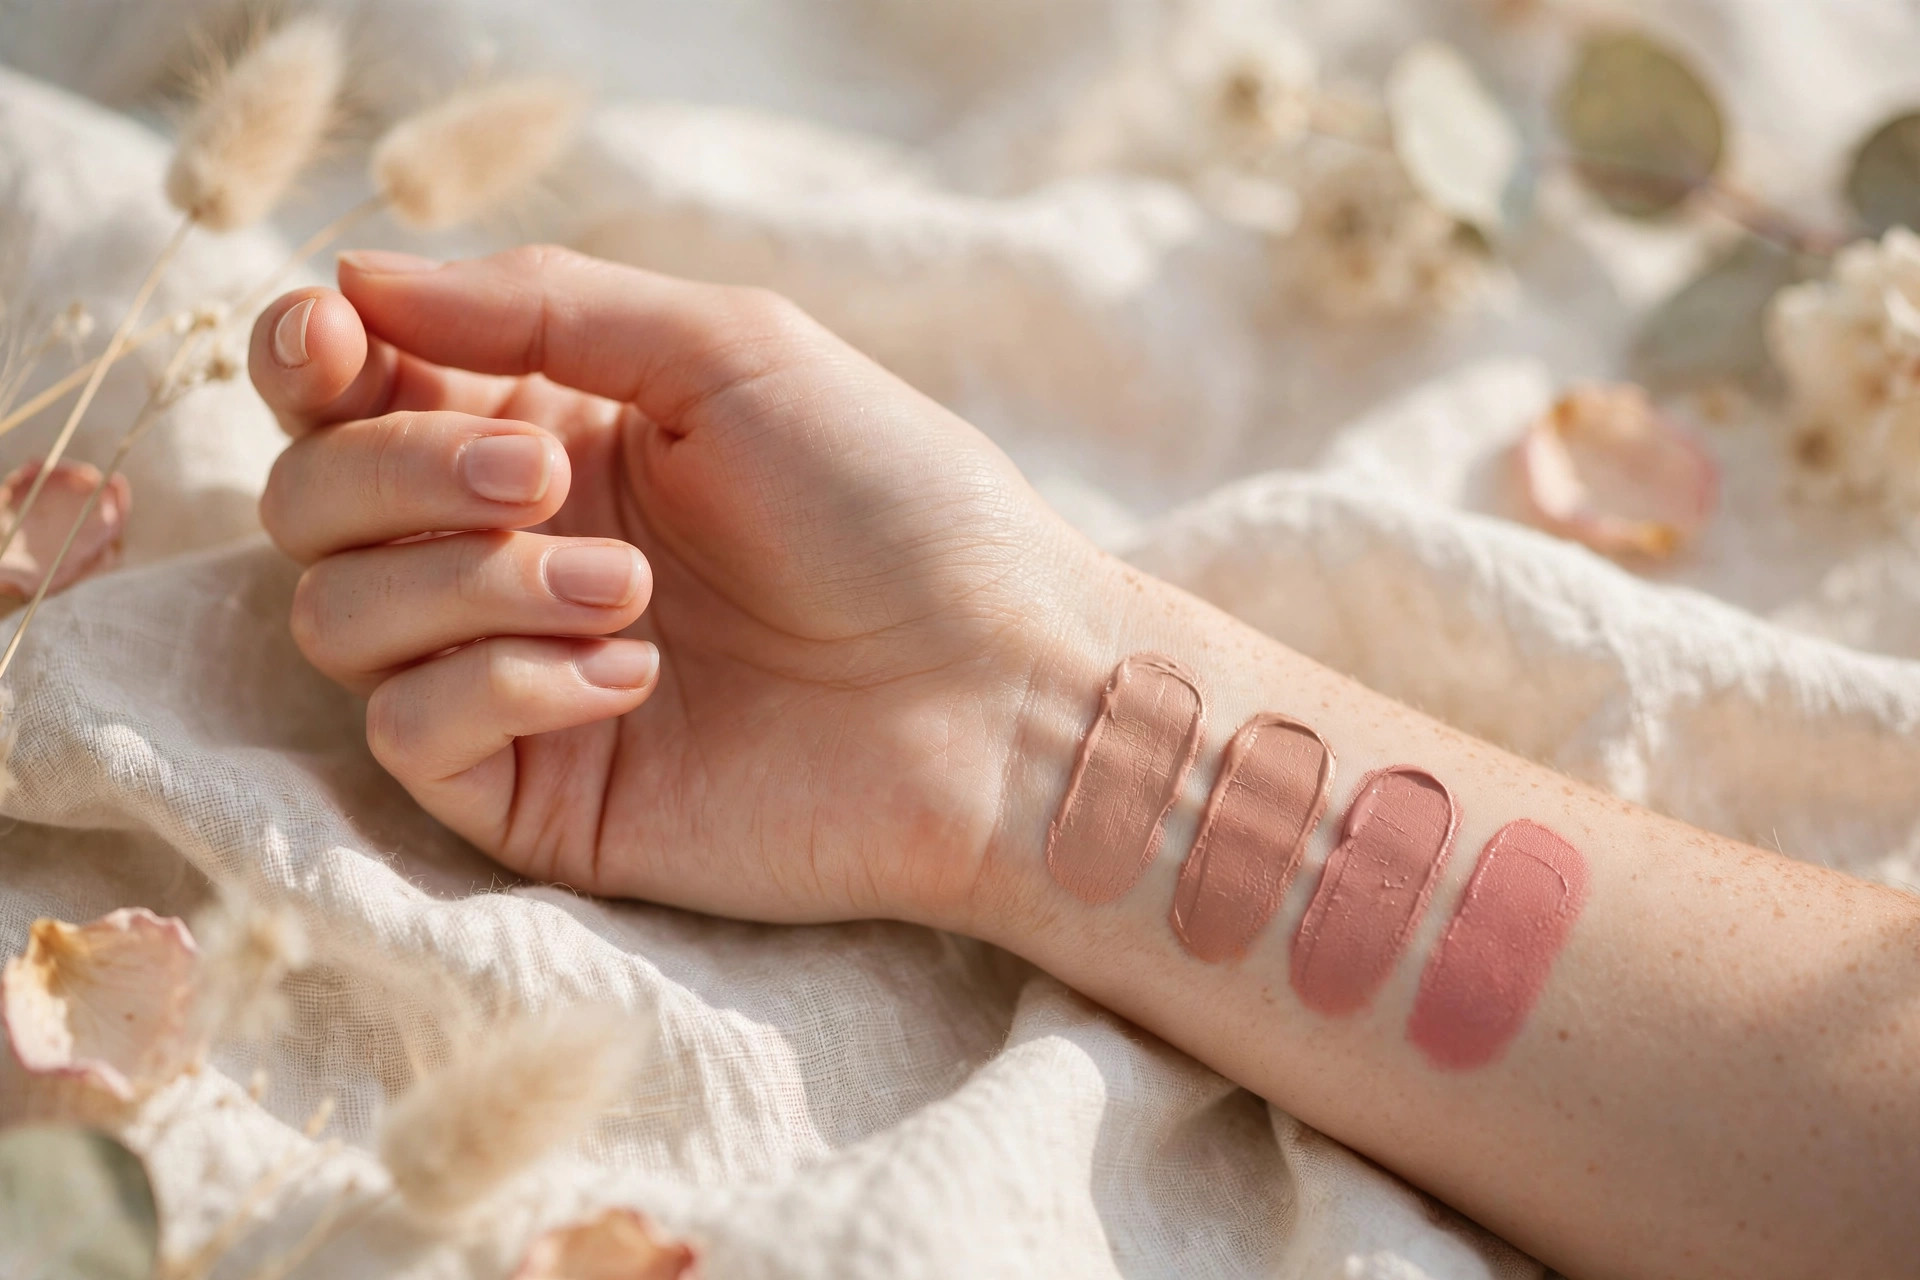
While your lips set the direction, your skin depth sets the range:
- Fair skin: lean toward pinky-beiges and soft roses. Shades that go too brown can read as dirty rather than nude; shades too close to your skin tone erase your lips entirely.
- Medium skin: peachy-nudes, warm caramels, and terracotta-tinged browns are your sweet spot. This skin depth has the widest range, so undertone-matching matters most here.
- Deep skin: rich chocolate, coffee, and berry-browns. Many “universal nudes” are far too pale for deep skin and create that dreaded ashy, concealer-lip effect — go deeper than you think you should.
Finish Matters More Than You Think
The same color can look completely different as a matte versus a gloss. Finish changes both the look and the wear:
- Matte: modern and long-wearing, but unforgiving on dry lips. Exfoliate and moisturize first, or every line will show.
- Satin/cream: the safest bet for most people. Comfortable, flattering, and the finish that looks most like “your lips but better.”
- Gloss: plumping and youthful, especially on thinner lips, but it won’t last through a meal. Keep it in your bag for touch-ups.
If you’re unsure, start with a satin or cream formula. It’s the most forgiving finish while you’re still finding your shade.
How to Test Before You Buy
In the store, swatch on your fingertip or the back of your hand — but here’s the key: check it in natural light. Department store lighting is warm and flattering by design; step toward a window or the entrance before deciding. A shade that looks perfect under yellow spotlights can look completely different in daylight.
Shopping online? Read the shade description carefully — brands usually note “warm,” “cool,” “pink,” “peach,” or “brown” in the name or description. Look at swatches on people with similar skin to yours rather than the model’s arm swatch, and check reviews from people who mention their undertone. And keep the receipt; many stores accept returns on gently tested lipstick.
Making a Near-Miss Work
Almost found it but not quite? A few tricks can save a lipstick that’s close:
- Too pale: layer a slightly deeper lip liner underneath and blend. The liner adds depth while the lipstick softens it.
- Too dark: blot it down with a tissue and add a dab of clear balm on top. Sheering it out often fixes a shade that felt too heavy.
- Wrong undertone: a thin layer of a gloss in the right undertone over the top can pull the whole thing in the right direction.
- No definition: line your lips with a liner that matches your natural lip color before applying. Definition is often what “doesn’t look right” really means.
Keeping It On
Nude lipstick fades faster than bold color simply because there’s less pigment to see. For longer wear: exfoliate lips gently (a damp washcloth works), apply a thin layer of balm and let it absorb for five minutes, blot, apply lipstick, blot again with a tissue, then apply a second light layer. The sandwich method — balm, color, blot, color — genuinely doubles wear time.
For the rest of your face, a nude lip pairs beautifully with a polished base. This natural everyday foundation routine keeps skin looking fresh without competing with your lips, and if you want to dress the look up, this soft glam tutorial shows how nude lips balance a smokier eye.
Your perfect nude is out there. It’s probably one shade deeper than your lips, matched to your undertone, in a satin finish — and now you know exactly how to find it.
One last tip: bring your current everyday lip products when you shop. Comparing a new nude against what you already wear — and love — gives you an instant reference point for depth and undertone, and it keeps you from buying your fifth version of the same almost-right shade.
Leave a Reply