Last updated: October 2026
Quick answer: Good brows come from mapping, not guessing: measure where each brow should start, arch and end, trim long hairs before you touch the tweezers, and remove only obvious strays one at a time in daylight. Step back from the mirror often — and stop before you think you are done.
Eyebrows are the frame around your face. When they are right, everything else — your eyes, your makeup, your whole expression — looks more polished. When they are wrong, nothing else looks quite right either. The good news: shaping them at home is entirely doable. The bad news: one overzealous tweezing session can take months to grow out.
I know, because I once “cleaned up” my brows the night before a wedding and spent the next six weeks drawing them on every morning. Learn from my impatience. The method below is slow, careful, and forgiving — which is exactly what you want near your eyes.
What Tools Do You Need for At-Home Brows?
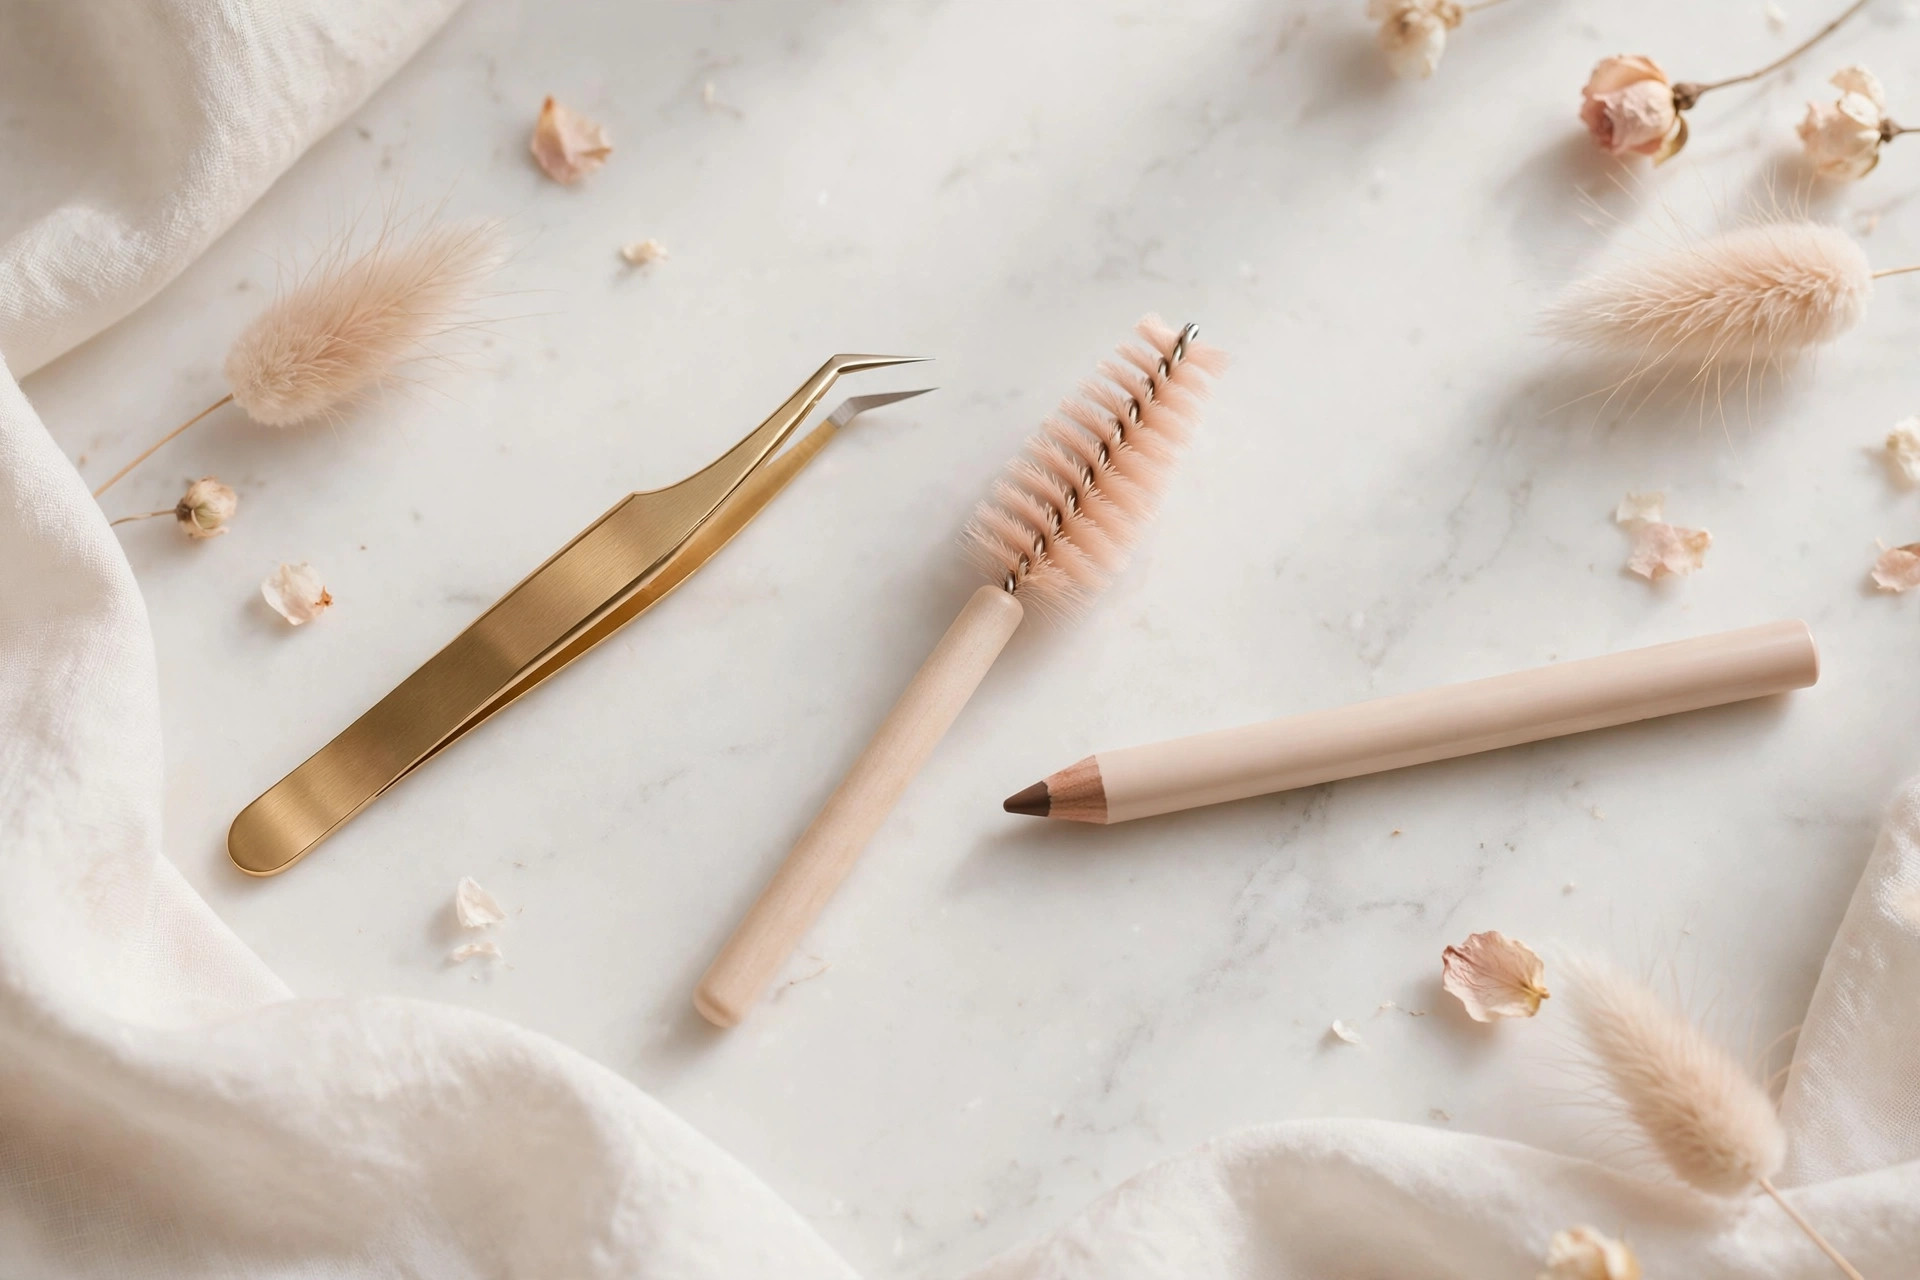
Quick answer: You do not need a professional kit: a spoolie, slant-tip tweezers with good grip, small brow scissors, a brow pencil or powder one shade lighter than your brow hair, plus good lighting and a regular mirror. Skip the magnifying mirror — it makes every hair look like a problem.
You don’t need a professional kit. Gather these:
- A spoolie brush — the mascara-wand-looking tool, usually sold in packs. It brushes hairs into place and blends everything at the end.
- Slant-tip tweezers with good grip — cheap tweezers slip, miss hairs and cause more pain. This is the one tool worth buying properly.
- Small brow scissors — for trimming long hairs before you tweeze a single one.
- A brow pencil or powder one shade lighter than your brow hair — lighter is safer; you can always build up.
- Good lighting and a regular mirror — natural daylight if you can get it. Skip the magnifying mirror, which makes every hair look like a problem.
How Do You Map Your Brows Before Tweezing?
Quick answer: Never tweeze without a map. Hold a pencil vertically at the side of your nose to find the start, angle it over the outer edge of your iris for the arch, and past the outer corner of your eye for the end. Mark all three points with a brow pencil.
Never start tweezing without a map. Your face tells you exactly where each brow should begin, arch, and end — you just have to measure it.
- The start: Hold a pencil vertically against the side of your nose, running up past the inner corner of your eye. Where the pencil crosses your brow is where the brow should begin. Mark it lightly with your brow pencil.
- The arch: Keeping the pencil’s bottom end against the side of your nose, angle it so it passes over the outer edge of your iris (look straight ahead). Where it crosses your brow is your natural arch point — the highest point of the brow. Mark it.
- The end: Angle the pencil further so it runs from the side of your nose past the outer corner of your eye. Where it crosses is where your brow should end. Mark it.
Now brush your brow hairs straight up with the spoolie. You will see the shape hiding in there — most people’s natural growth already follows this map. Your job is to tidy around it, not redesign it.
Should You Trim Before You Tweeze?
Quick answer: Yes — trimming first fixes “messy brows” for many people without a single plucked hair. Brush hairs upward and snip only the tips extending above your brow line, then brush downward and trim what hangs below. Trim less than you think; you cannot put hair back.

Long brow hairs make brows look unruly even when the shape is fine. Brush all hairs upward with the spoolie, then snip only the very tips that extend above your brow line — a millimetre or two at most. Then brush hairs downward and snip any that hang below the line.
Go slowly and trim less than you think. You can always take more off; you cannot put it back. This step alone fixes “messy brows” for a lot of people without a single plucked hair.
What’s the Safest Way to Tweeze?
Quick answer: Only remove hairs clearly outside your mapped shape — if you are unsure about a hair, leave it. Work in natural daylight, pull each hair in the direction it grows with skin held taut, and step back from the mirror every few hairs to keep both brows even.
The golden rule: only remove hairs that are clearly outside your mapped shape. If you are unsure about a hair, leave it.
- Pick the right moment. Tweeze after a warm shower if possible — dermatologists routinely advise this, because the warmth and steam loosen the hairs and make removal less painful (American Academy of Dermatology). A warm, damp washcloth pressed to the brows for a minute works too.
- Use bright, honest light. Work in natural daylight, or the brightest white light you have. Warm yellow bathroom lighting hides strays and exaggerates others.
- Pull with the growth. Hold the skin taut with one hand and pull each hair in the direction it grows, close to the root. Pulling against the grain causes breakage and ingrown hairs.
- One hair, then step back. Remove one hair at a time, then step back from the mirror. This is the most important habit: close-up work makes you lose perspective. Check both brows after every few hairs to keep them even.
- Stop before you think you are done. Brows always look thinner in the mirror than they do from a normal distance. When in doubt, wait a day and look again with fresh eyes.
Focus on the obvious strays: between the brows (but don’t widen the gap beyond your start mark), above the brow line, and the few wild ones below. The area directly under the arch shapes the brow most dramatically, so be extra conservative there. And if a hair looks ingrown or the skin around it is red and sore, leave it alone — picking at it risks infection, and dermatologists advise seeing one promptly if an ingrown hair becomes painful or infected (American Academy of Dermatology).
How Do You Fill In Brows So They Look Natural?
Quick answer: The goal is brows that look like brows, not makeup. Use short, hair-like pencil strokes in the direction of growth, concentrate on sparse areas and the tail, then brush through with a spoolie to soften everything — that blending step is what separates natural from drawn-on.
Even well-shaped brows usually have sparse spots. The goal of filling is to make brows look like brows, not like makeup.
| Product | The look | Best for |
|---|---|---|
| Brow pencil | Precise, hair-like definition | Sparse spots and tails — use short strokes in the direction of growth, never one long line |
| Brow powder | Softer, more diffused fullness | Beginners — it is forgiving and hard to overdo |
| Tinted brow gel | Tinted colour that holds hairs in place | Quick days — adds colour and hold in one step, perfect when you want brows but not a whole routine |
Whichever you choose, brush through with the spoolie afterwards to soften everything and blend the strokes into your real hairs. The spoolie step is what separates natural-looking brows from drawn-on ones.
What Eyebrow Mistakes Should You Avoid?
Quick answer: The four classic errors: chasing perfect symmetry (brows are sisters, not twins), tweezing the top edge that defines thickness, shaping in a bad mood or at midnight, and following trends instead of your bone structure. Any one of them is how overplucking happens.
- Chasing symmetry. Your brows are sisters, not twins. Trying to make them identical is how overplucking happens. Get them close and stop.
- Tweezing the tops. The top edge of your brow defines its thickness. Removing hairs from above thins the whole brow and changes its character. Tidy strays, but respect the top line.
- Shaping when emotional. Brows tweezed in a bad mood, in a rush, or at midnight always end up thinner than intended. Make it a calm, daylight activity.
- Following trends over your face. The brow shape that suits your bone structure beats any trend. Thin brows on a face built for bold ones (or vice versa) always looks off.
How Do You Keep the Shape Between Sessions?
Quick answer: Maintenance is easy: a quick tidy every one to two weeks, removing only obvious regrowth. Brow hairs typically grow back over four to six weeks, so a shape you regret is not permanent — but the wait is long, which is why conservative always wins.
Once you have established your shape, maintenance is easy: a quick tidy every one to two weeks, removing only the obvious regrowth. Hairs grow back in four to six weeks, so a shape you regret isn’t permanent — but it is a long wait, which is why conservative wins.
If you have overplucked in the past and want fuller brows, stop tweezing entirely for at least two months and fill in the meantime. Some hairs that seem gone are just dormant; patience brings more of them back than you would expect. In our experience, this is the step people resist most — and the one that pays off most.
Beautiful brows don’t require a salon — just a map, good tweezers, and the discipline to step away from the mirror. For the rest of your routine, this natural everyday makeup look pairs perfectly with polished brows, and if you want a full face to match, try this soft glam tutorial.
Frame your face well, and everything else falls into place.
Leave a Reply