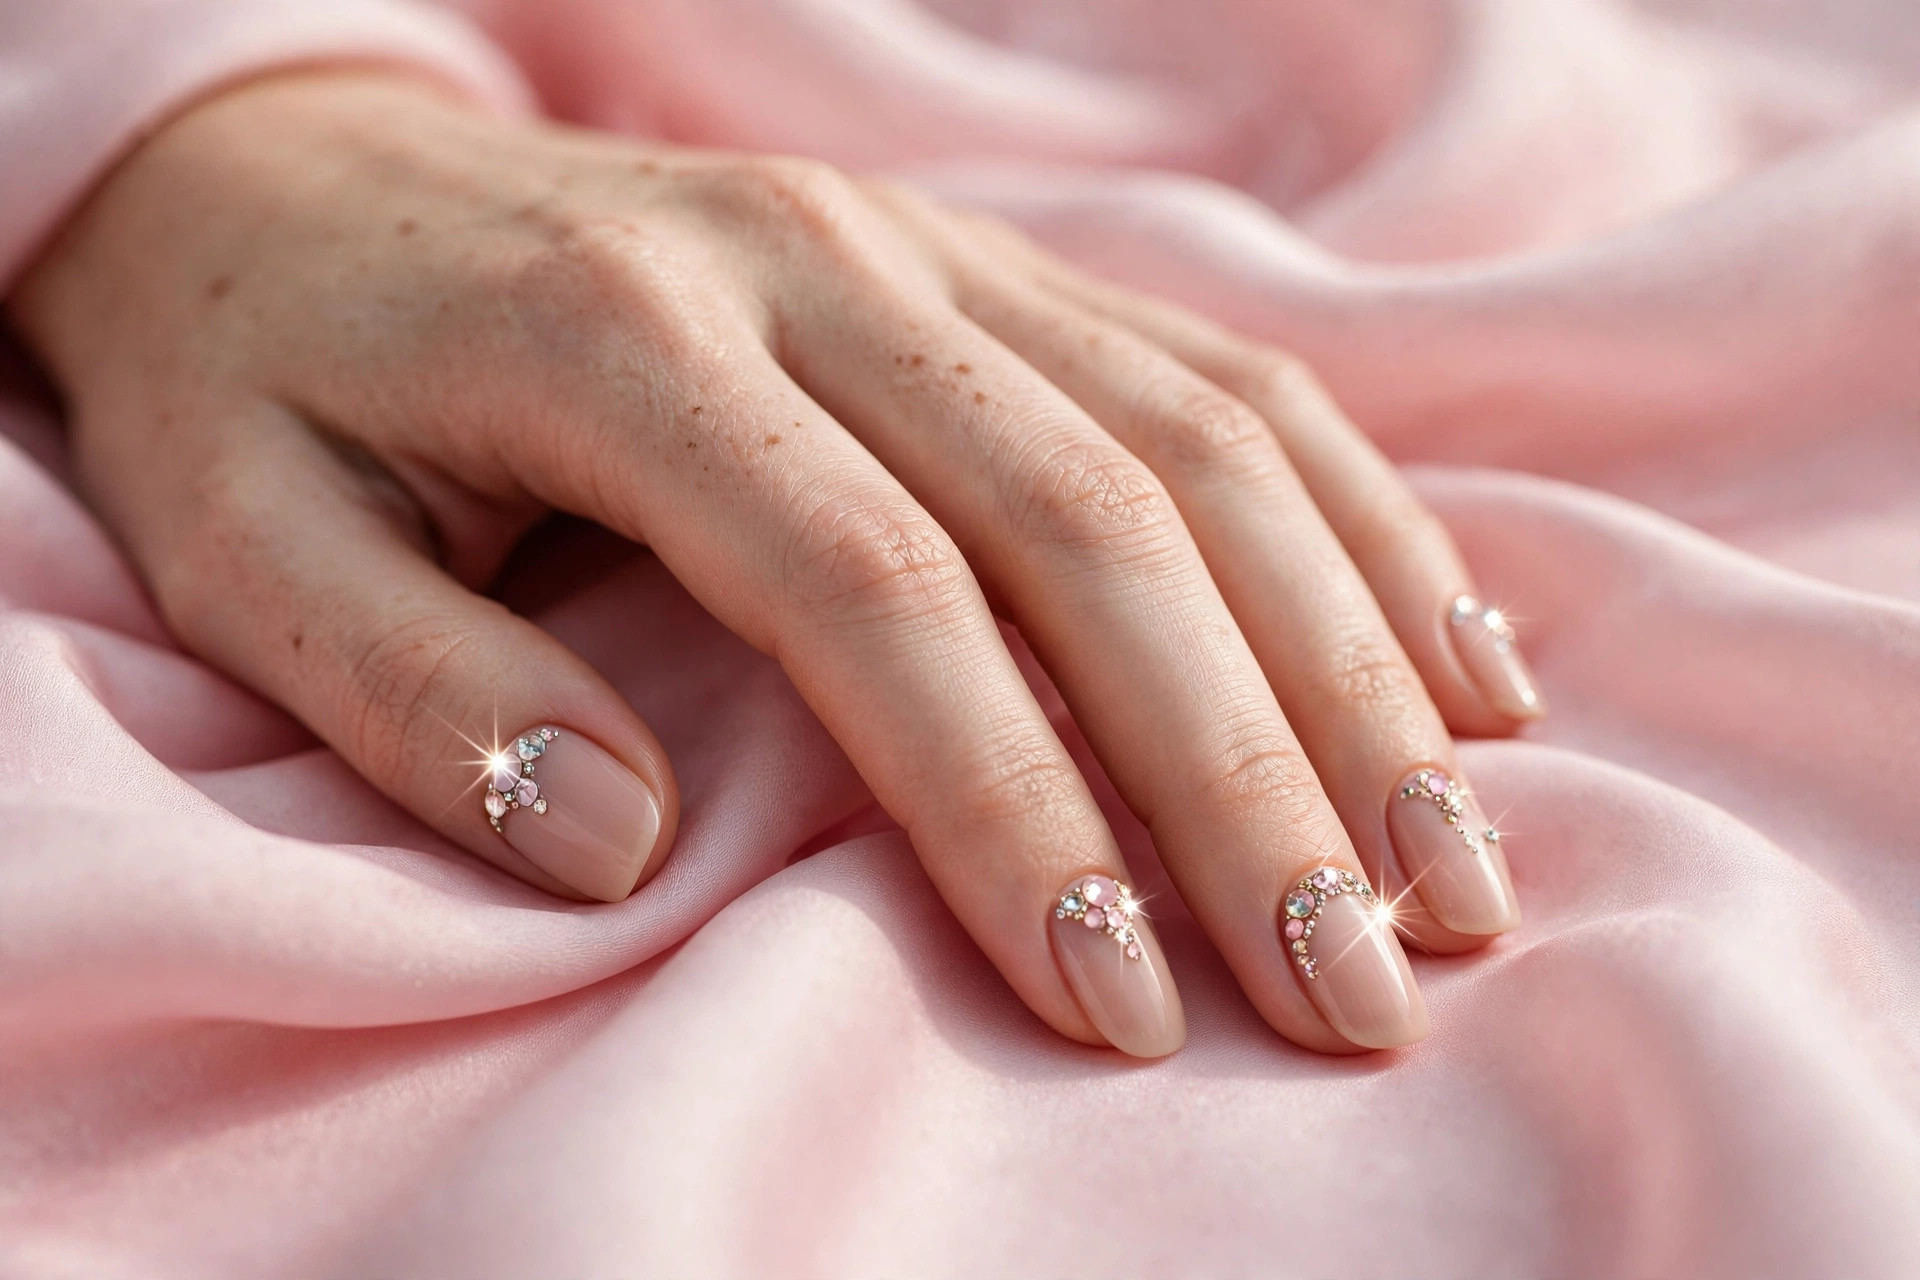
Tiny rhinestones. Little pearls. Micro crystals that catch the light every time you move your hand. Bedazzled nails are one of Pinterest’s Editors’ Picks right now, with searches up 100% — and the best part is you do not need a salon appointment to get the look. With about $15 of supplies and one free evening, you can do genuinely beautiful gem nail art at your own kitchen table.
This is a complete beginner’s guide. It covers exactly what to buy (and what to skip), how to prep your nails so the gems actually stay on, five easy designs that look impressive but are secretly simple, and how to remove everything without wrecking your natural nails. No experience needed.
What You Need (and What You Can Skip)
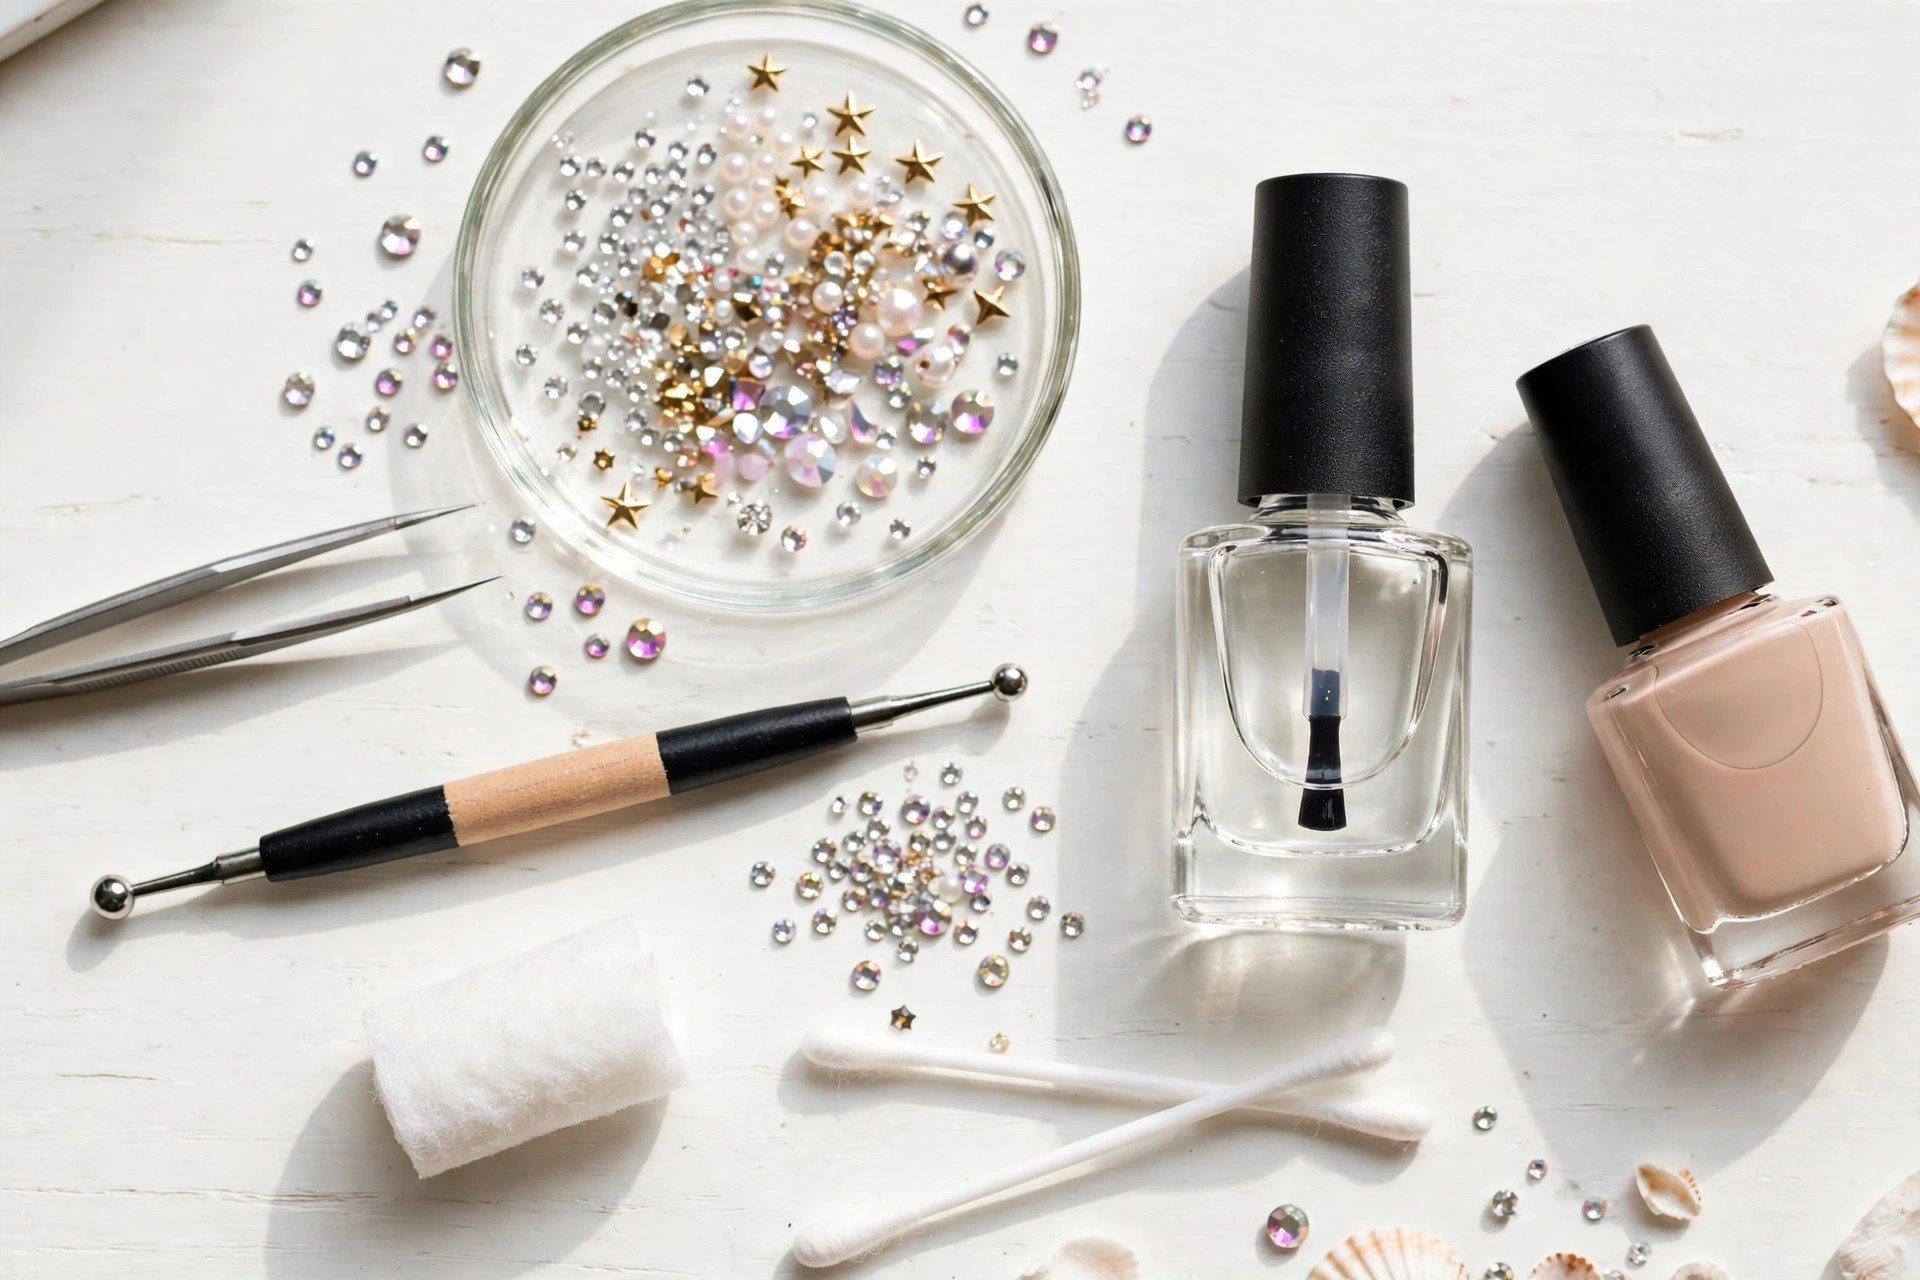
The supply list is short. Do not let craft-store overwhelm convince you to buy a 500-piece kit — start small.
- Nail gems or rhinestones. Look for flat-back rhinestones in mixed sizes (1.5mm–3mm is the sweet spot for beginners). A small wheel or box with assorted sizes in clear/AB crystal costs a few dollars and lasts for dozens of manicures. Tiny is classier than huge — one oversized gem looks costume-y; five tiny ones look expensive.
- A dotting tool or wax pencil. This is the secret weapon. A wax-tipped pickup pencil grabs tiny gems effortlessly, where tweezers will have you chasing them across the table. If you buy one tool, make it this one.
- Fine tweezers. Still useful for placing larger gems and for cleanup. If you already own a good pair for your brows, they will do — and if your tweezer technique needs work, our guide on shaping your eyebrows at home will sharpen your precision skills for nails too.
- Nail glue or gem glue. Regular nail glue works, but a dedicated rhinestone gel glue (cured with a mini UV lamp) holds noticeably longer. For your first try, brush-on nail glue is simpler and needs no lamp.
- A good top coat. This is what seals everything in. A thick, glossy top coat painted over and around each gem is the difference between gems that last a week and gems that pop off by dinner.
- Base color polish. Nude, sheer pink, milky white, or deep shades all work — the gems pop against any of them.
Skip for now: electric drills, builder gels, and professional curing lamps. None of that is needed for gem art on natural nails.
Prep Your Nails First (Do Not Skip This)
Gems stick to smooth, clean, dry nails — and slide right off oily or bumpy ones. Ten minutes of prep decides whether your art lasts days or hours:
- Shape and buff. File your nails into a clean shape and gently buff the surface smooth. Gems sit flatter and glue bonds better on a smooth nail.
- Push back cuticles. Gently, with an orangewood stick after a warm soak. Do not cut them — just nudge them back for a neat edge.
- Clean the nail plate. Wipe each nail with rubbing alcohol or nail polish remover on a cotton pad. This removes natural oils and is the single most important step for adhesion.
- Apply your base color. Two thin coats, letting each dry fully. Thick coats stay soft underneath and gems will sink or slide.
Think of it like painting a wall: the prep is boring, but it is the entire reason the finish looks good. The same principle applies to a full at-home manicure that looks salon-done — prep is always the difference.
5 Easy Bedazzled Designs for Beginners
Start with design #1. Master it, then move down the list as your confidence grows.
- The single accent gem. One small crystal at the base of each ring finger nail, everything else plain. It takes five minutes, it looks incredibly chic, and it is nearly impossible to mess up. This is the design to try first, always.
- The cuticle curve. Five to seven tiny gems following the curve of your cuticle on one or two accent nails. Use your wax pencil, place the middle gem first, then work outward. It looks like a delicate piece of jewelry.
- Ombré gems. Larger gems near the tip fading to tiny ones toward the base (or the reverse). The gradient effect looks advanced but is just careful sizing — no artistic talent required.
- Gems on a French tip. Do a classic French manicure (or a nude base with a white tip), then place a single row of tiny gems right where the tip meets the base. The line of sparkle hides any wobble in your tip — very forgiving for beginners.
- The statement nail. One nail fully covered in mixed-size gems over a nude base, the other nine nails plain. Save this for a party or wedding — it is dramatic, but the plain nails around it keep it tasteful.
Step-by-Step: Your First Gem Nail
Here is the exact process, start to finish:
- Finish your base color and let it dry completely — at least 20 minutes, or use a quick-dry top coat first.
- Decide your design and lay the gems out on the table in order, so you are not hunting mid-glue.
- Put a tiny dot of nail glue exactly where the first gem will sit. Less is more — a big blob will squeeze out around the gem and look messy.
- Pick up the gem with your wax pencil and press it gently into the glue dot. Hold for five seconds.
- Repeat for the remaining gems, working one nail at a time.
- Wait 10 minutes for the glue to set fully. Do not touch.
- Seal: paint top coat over the entire nail, carefully going around (not over the very top of) each gem, then a thin layer over the gems themselves. This “caps” them in place.
- Let everything dry for at least 30 minutes before doing anything with your hands.
How to Make the Gems Actually Stay On
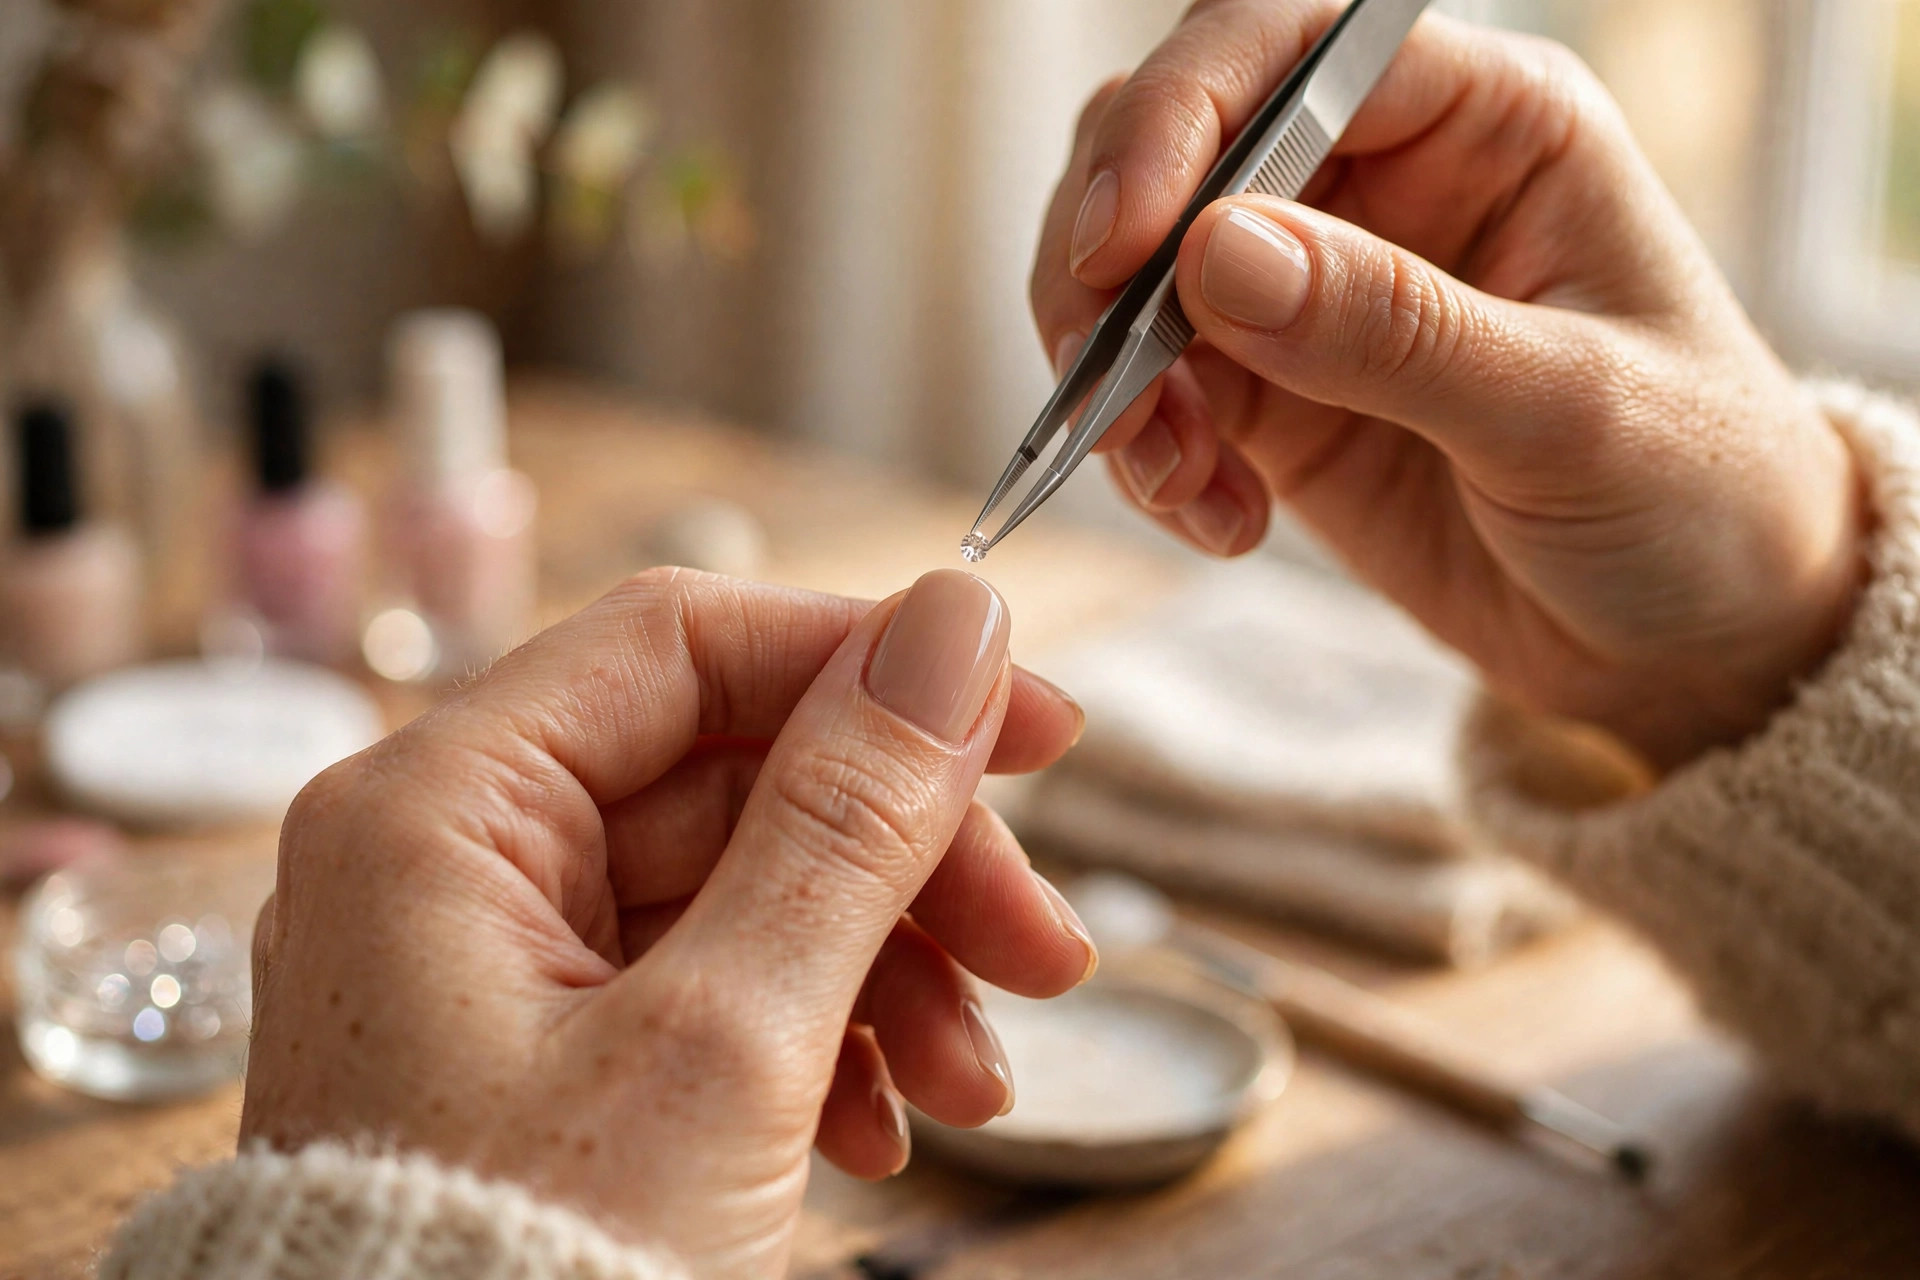
Nothing is more annoying than a gem popping off on day one. These are the pro tricks:
- Placement matters. Gems near the cuticle or center of the nail survive much longer than gems near the tip or edges, which catch on everything.
- Seal the edges. Run your top coat brush around the base of each gem, not just over the top. The seal at the edges is what holds.
- Two thin top coats beat one thick one. Let the first dry fully before the second.
- Be gentle for 24 hours. No dishes without gloves, no picking at things with your nails. Glue reaches full strength overnight.
- Keep nails shorter. Long nails flex, and flexing pops gems off. Shorter nails hold gem art noticeably longer.
With good prep and sealing, expect 5–7 days of wear — plenty for a week of compliments or a special event.
Taking Them Off Without Damage
When you are ready for a change, do not peel or pry the gems off — you will take layers of your natural nail with them. Instead, soak a cotton ball in acetone-based remover, place it on the nail, wrap with a small piece of foil, and wait 10–15 minutes. The glue softens and the gems slide off with gentle pressure from an orangewood stick. Follow with cuticle oil, because acetone is drying.
Mistakes Beginners Make (So You Can Skip Them)
- Too much glue. A dot, not a puddle. Excess glue turns cloudy and ruins the clean look.
- Gems too big. Start under 3mm. Large gems catch on everything and look less elegant.
- Skipping the alcohol wipe. Oily nail beds are the #1 reason gems fall off early.
- Doing all ten nails elaborately on the first try. Start with two accent nails. You will enjoy the process more and the result will look better.
- Using your nails as tools afterward. Gems are jewelry, not hardware. Treat them that way for the week.
Taking Bedazzled Nails to Special Occasions
Once you have the basics down, gem nails are a secret weapon for events. A few occasion-specific ideas:
- Weddings (as a guest). Keep it soft: sheer pink base, tiny pearls instead of crystals, one accent nail per hand. You will look polished in photos without outshining anyone.
- Holiday parties. This is the moment for deeper bases — oxblood, forest green, or navy — with gold crystals. Festive, rich, and very December.
- Date night. A single crystal at the base of each nail over a glossy nude. Subtle enough for dinner, sparkly enough to notice when you reach for your glass.
- Job interviews or the office. Stick to the single-accent-gem design in a neutral shade. It reads as polished and detail-oriented, not flashy.
The beauty of DIY is that you can match your nails to the event the night before, for the cost of a coffee. Try timing a fresh set for the weekend — you will be amazed how much more “done” you feel.
The Bottom Line
Bedazzled nails look like a salon luxury, but they are one of the most beginner-friendly nail trends there is — no steady hand for painting required, just patience and tiny sparkly things. Start with a single accent gem, keep your tools clean (a quick wipe keeps everything working well, just like cleaning your makeup brushes keeps them performing), and seal everything properly. Once you see how easy it is, do not be surprised if your plain manicures start feeling a little boring.
Leave a Reply