Last updated: October 2026
Quick answer: Fall window painting means decorating glass with washable tempera paint in autumn designs like pumpkins, leaves, and vines. Choose a simple border or corner cluster, paint in layers from background to detail, and wash it off with warm soapy water when the season ends.
There is something utterly delightful about a hand-painted window. On an ordinary street, a window dressed with painted pumpkins, golden leaves, and curling vines stops people in their tracks — children point, neighbours smile, and your home instantly feels like the cosiest house on the road. In our experience, fall window painting is one of autumn’s most charming creative trends, and the best part is that anyone can do it.
You do not need to be an artist. With washable paints, a few simple brushes, and a design that suits your confidence level, you can create a pretty autumn display on any window in your home. This guide covers the right materials, design ideas from simple to ambitious, a beginner-friendly step-by-step method, and how to remove it all cleanly when the season ends.
Why are painted windows autumn’s cutest trend?
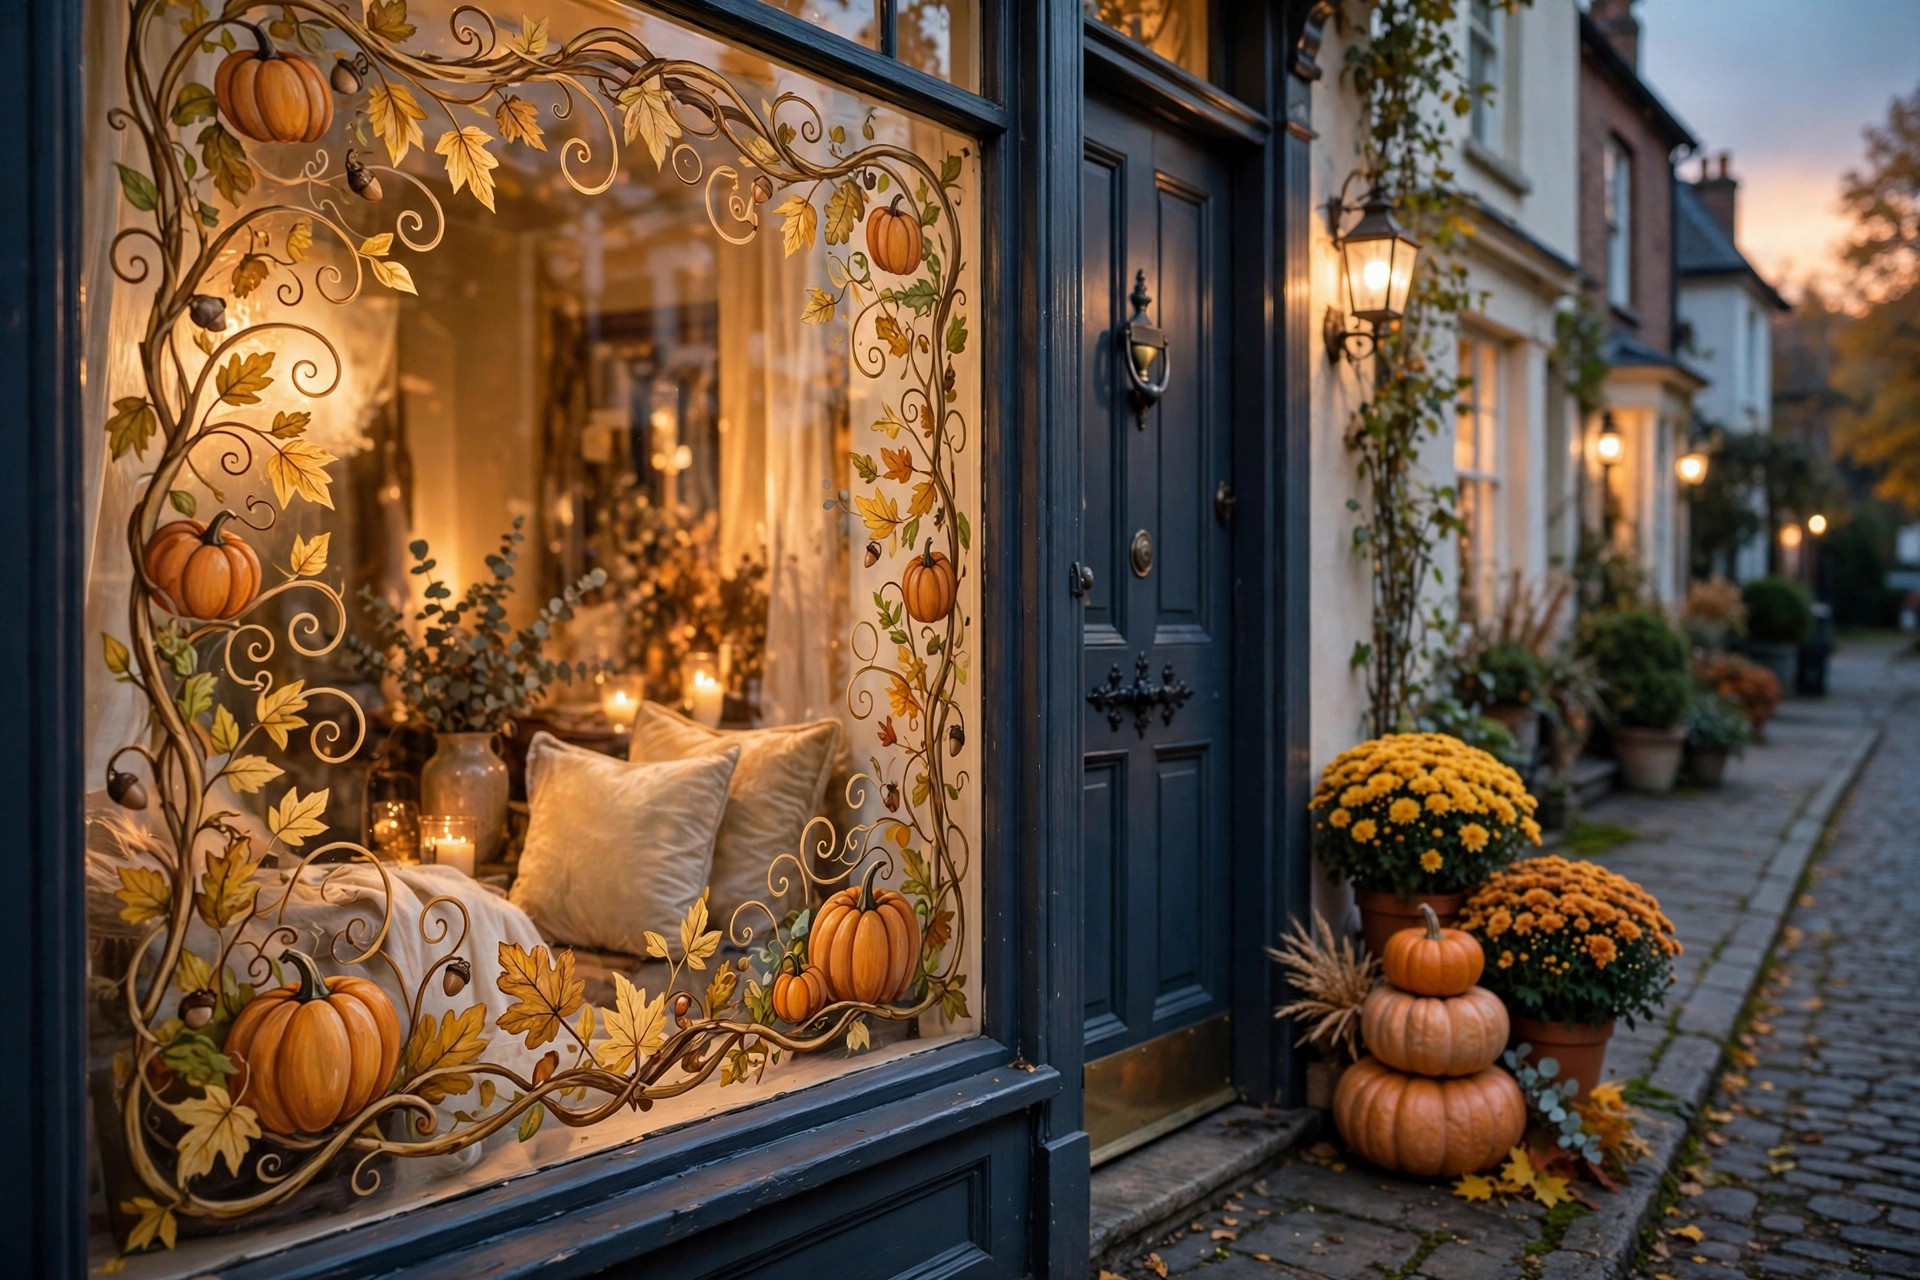
Painted windows are a beloved seasonal tradition because they delight people on both sides of the glass. Daylight shining through the design creates a stained-glass effect inside, while passers-by enjoy a storybook display outside, all with almost no cost or commitment.
Window painting has been a beloved tradition for shopkeepers for generations — think of the beautiful painted windows of bakeries and bookshops at Christmas. In recent years, homeowners have claimed the tradition for autumn too, and it is easy to see why. A painted window is visible from both sides: it delights everyone who passes your home, and from inside, the daylight shining through your painted design creates a gorgeous stained-glass effect. The comparison has real history behind it: Britannica describes stained glass as glass coloured by adding metallic oxides, a craft used in windows for centuries.
Unlike most autumn decorating, window painting costs almost nothing. A few bottles of washable paint and some brushes are all you need, and the result looks like something from a storybook. It is also wonderfully temporary — this is decorating without commitment. If you do not love your first attempt, it washes straight off and you begin again.
It is a brilliant family activity too. Children adore painting on windows — it feels gloriously rebellious in the best way — and a fall window is a project the whole family can contribute to. Even very young children can paint simple leaf shapes or dot pumpkins while older ones tackle the detailed work.
And for anyone who loves seasonal decorating but rents their home, window painting is a gift: no nails, no damage, no landlord negotiations. When the season ends, warm soapy water restores the glass completely. It is one of the few decorating projects that is genuinely risk-free.
What paint and tools should you use?
Use washable, non-toxic tempera paint, also called poster paint, for the easiest removal. Add flat brushes in several sizes, foam dabbers, painter’s tape, and plenty of white paint for soft pastels, highlights, and frost details.
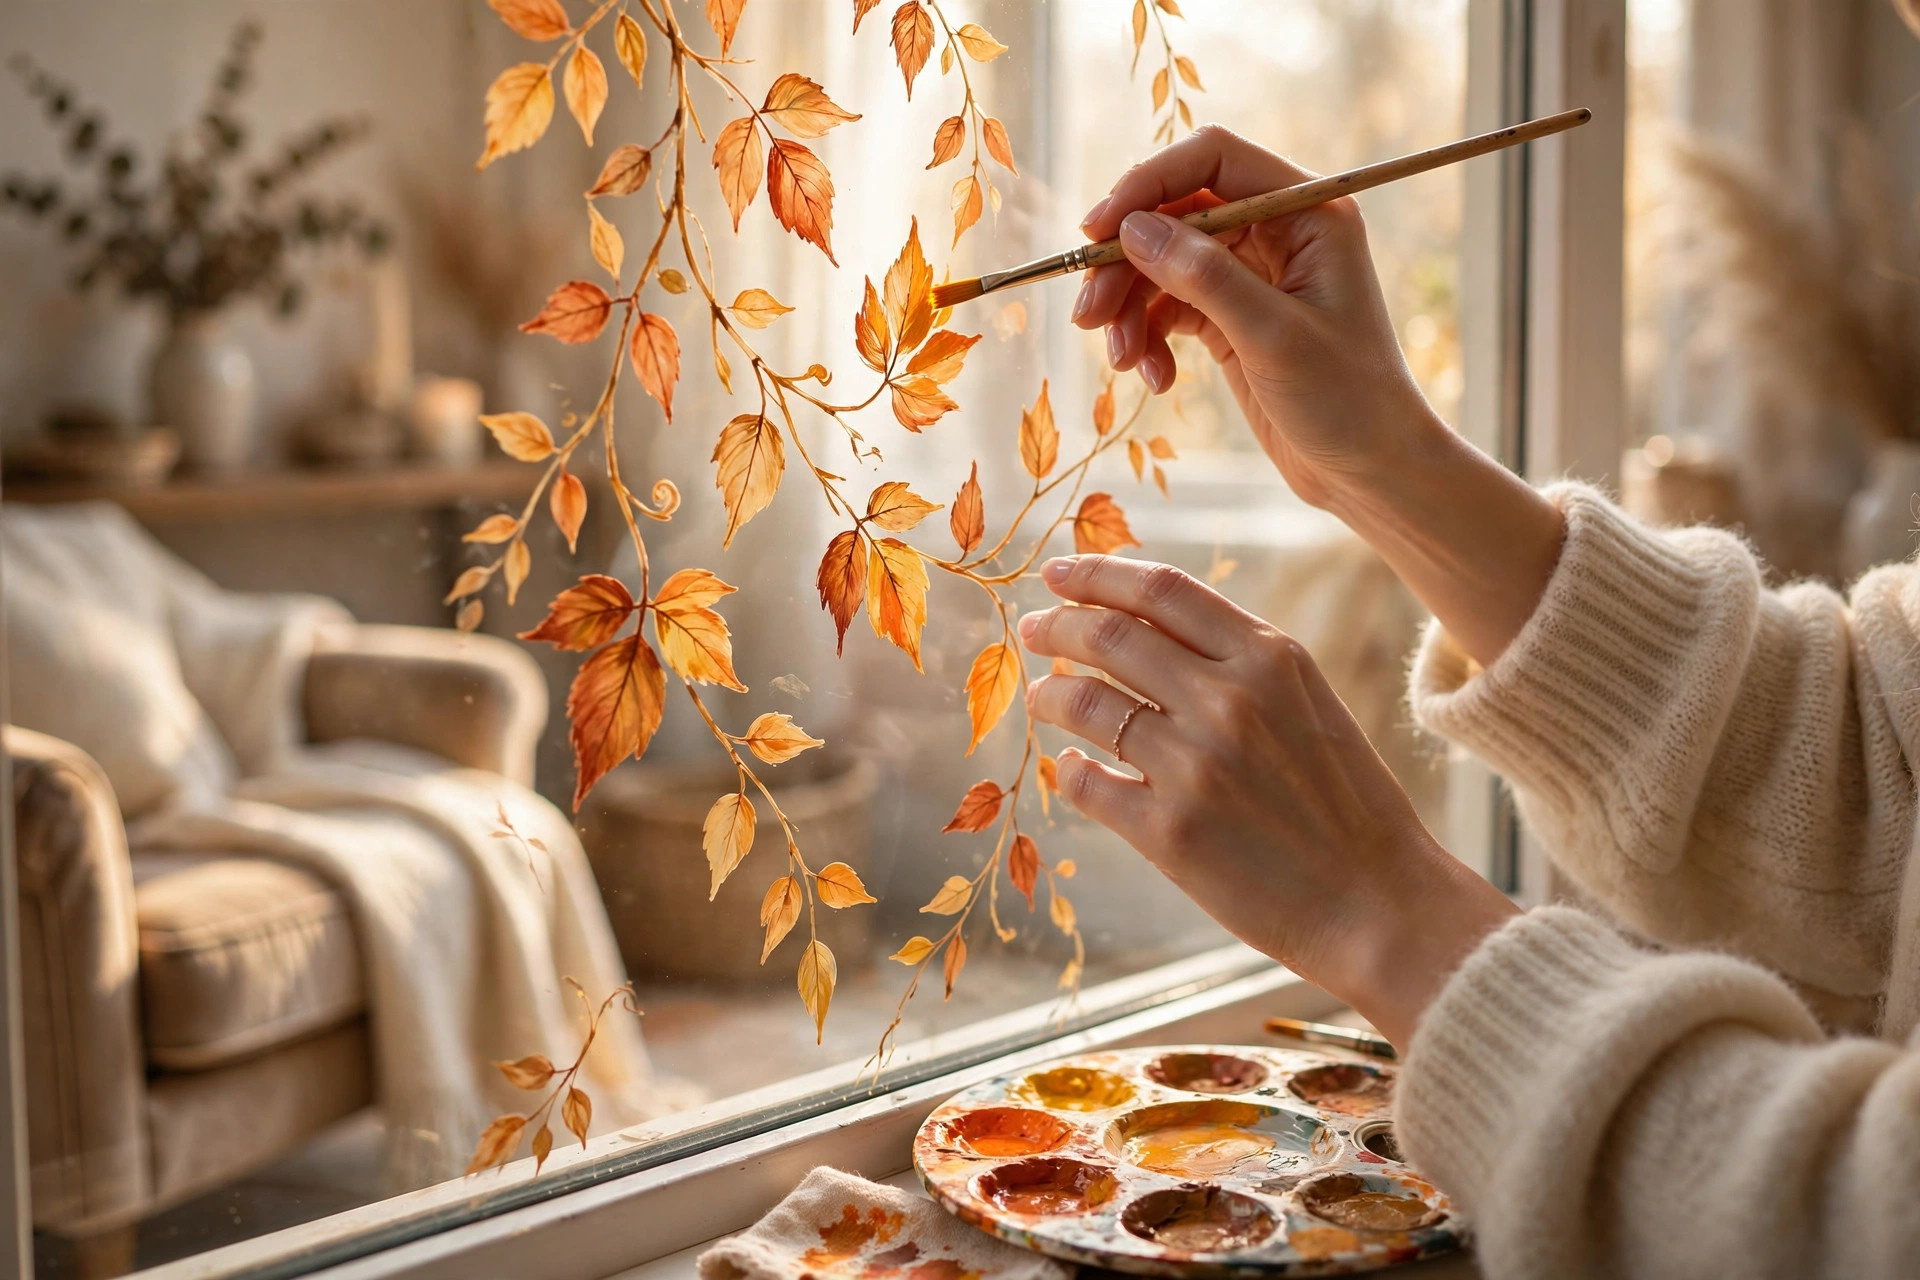
Choosing the right paint is the most important decision you will make, because the wrong paint can be a nightmare to remove. For window painting, washable tempera paint — sometimes sold as poster paint — is the gold standard. It goes on smoothly, the colours are vivid, and it washes off glass completely with warm water. Look for paints specifically labelled washable and non-toxic, especially if children are helping.
Acrylic craft paint also works and gives slightly richer, more opaque colour, but it is harder to remove — you will need a scraper and some patience. If you choose acrylic, add a squirt of washing-up liquid to each colour before painting; this old sign-painter’s trick makes the paint release from glass much more easily later. Avoid anything labelled permanent, enamel, or oil-based, and never use spray paint on windows.
| Paint type | Colour | Removal | Best for |
|---|---|---|---|
| Washable tempera | Vivid, easily softened with white | Warm soapy water | Beginners and family projects |
| Acrylic craft paint | Richer and more opaque | Soaking plus careful scraping | Confident painters wanting bolder colour |
| Permanent, enamel, or oil-based | Not suitable | Very difficult | Avoid on windows entirely |
For tools, gather:
- A large flat brush for filling big areas, a medium brush for general work, and a small round brush for details.
- Foam dabbers for stippling leaves and pumpkin textures.
- A cup of water, paper towels, painter’s tape for straight edges, and newspaper to protect the sill.
- A big bottle of white paint — you will use more of it than you expect.
One more essential: white paint. Mixing a little white into your colours creates the soft opaque pastels that look so pretty on glass, and pure white is perfect for highlights, spider webs, frost details, and snowy touches.
What design ideas suit every skill level?
Beginners should start with a border garland or a corner cluster of pumpkins and leaves, which look impressive yet forgive wobbly lines. Confident painters can try a full pumpkin-patch scene, while a single-colour branch design suits a modern, minimalist home.
The beauty of window painting is that the design can be as simple or as elaborate as you like. Here are ideas by confidence level:
- Absolute beginners — border design: paint a garland of leaves, vines, and small pumpkins framing the edges of the window, leaving the centre clear. Borders look impressive, frame your view beautifully, and are very forgiving — wobbly vines just look more natural.
- Easy win — corner cluster: paint a generous arrangement of pumpkins, leaves, and wheat spilling from one bottom corner, as if a cornucopia tipped over. This asymmetric design looks artistic and intentional, and it leaves most of the glass clear for light. Add a few falling leaves drifting across the empty space for movement and charm.
- More confident — full scene: try a pumpkin patch with rolling hills along the bottom of the window, a big harvest moon, geese flying across in a V formation, or a cosy cottage with smoke curling from the chimney. Scenes work best on large picture windows. Sketch your idea on paper first — even a rough doodle helps you plan where everything goes.
- Modern and minimalist — single colour: white painted branches with falling leaves, or a simple gold vine trailing across the glass, look incredibly chic against autumn light. Monochrome designs are also the easiest to execute well, because you are focusing on shape rather than colour mixing.
Sometimes the simplest window is the most striking one on the street. The golden, russet, and amber shades we reach for in autumn echo real foliage: according to the USDA Forest Service, autumn colour appears as chlorophyll breaks down and reveals yellow and orange pigments already present in the leaves.
Related: cozy fall wallpaper ideas
How do you paint your first fall window, step by step?
Start with a clean, dry window and paint on an overcast day or in morning light. Sketch the layout lightly, paint background layers first, add main subjects next, and finish with details, stepping back often to check the view from outside.
- Start with a clean window. Wash the glass inside and out with glass cleaner and let it dry completely — paint adheres poorly to dusty glass and your colours will look dull. Choose an overcast day or work in the morning before direct sun hits the glass; hot sun dries paint too fast and makes blending difficult.
- Plan your design lightly on the glass. Sketch with a white watercolour pencil or a dry-erase marker — both wipe away easily. Mark the key positions: where the biggest pumpkin sits, where the vine travels, where the moon goes. This five-minute planning step prevents the most common beginner problem, which is running out of space on one side.
- Paint back to front, in layers. Start with background elements — distant hills, the sky wash, the moon — and let each layer dry before adding the next. Then paint your main subjects: pumpkins, large leaves, branches. Details come last: leaf veins, pumpkin ridges, highlights, and outlines. Working in layers gives your painting depth and keeps colours from muddying together.
- Step back frequently. Check your work from a distance — and from outside. Remember your painting will be viewed from the street as well as from your sofa, and paint looks different with light behind it. Hold a piece of white paper behind sections as you work to preview how they will look backlit. Fix mistakes while the paint is wet with a damp cloth; dried tempera scrapes off easily with a fingernail for small touch-ups.
What finishing touches make a display shine?
Outline key shapes in a slightly darker shade, add white highlight strokes for shine, and scatter tiny details like berries, grass, and distant birds. Then extend the display with real pumpkins, a garland, or potted mums to connect the painted scene with the real world.
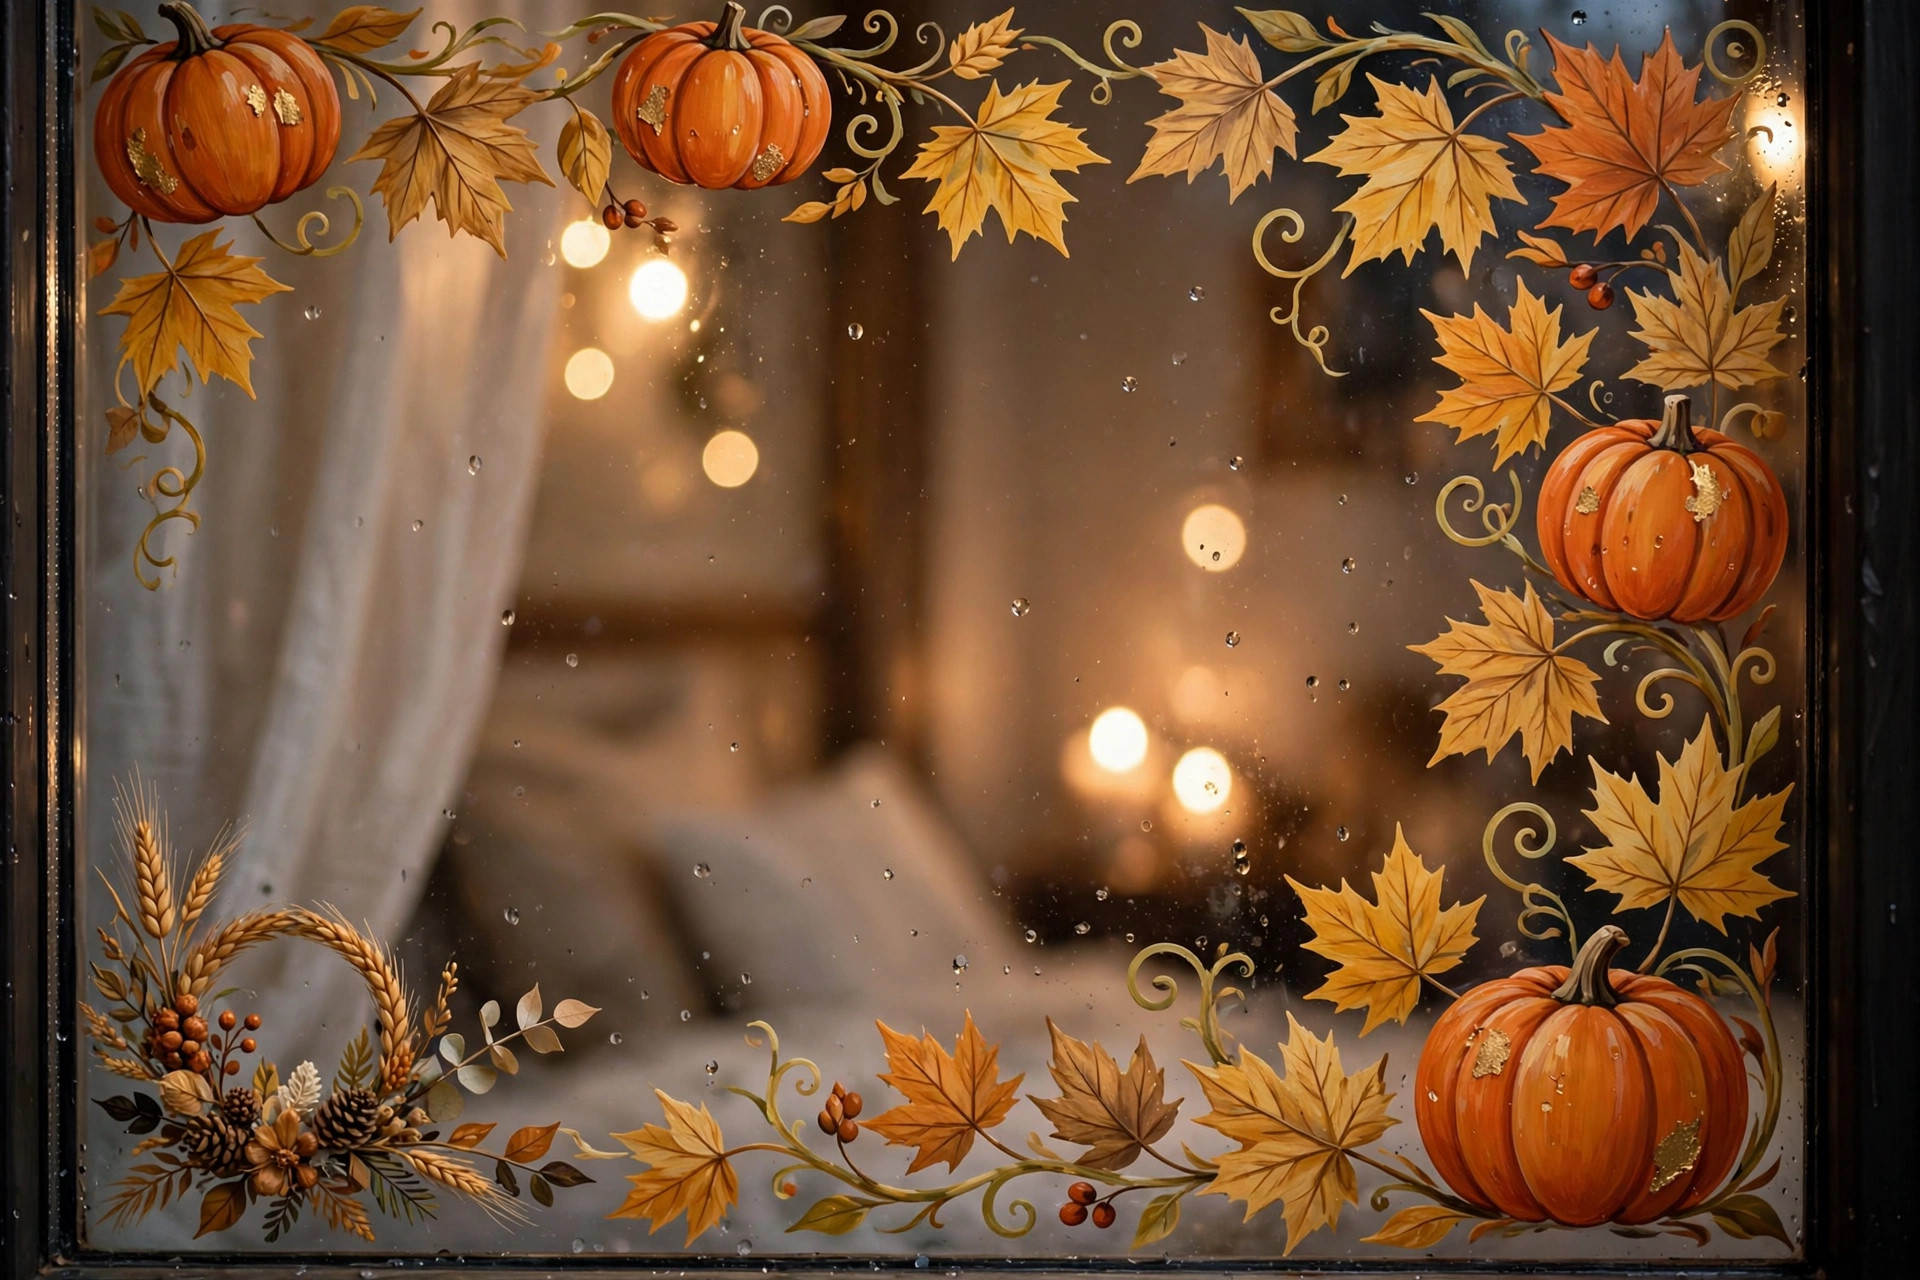
Once your painting is complete and dry, a few finishing touches elevate it from nice to stunning. Outlining key shapes with a slightly darker shade of the same colour adds definition and makes the design pop when backlit. A few white highlight strokes on pumpkins and leaves suggest shine and dimension. Tiny details — dots for berries, thin lines for grass, a few birds in the distance — reward close looking.
Consider the view from inside as well as outside. Your painted design will be reversed when seen from the other side of the glass, which matters if you include any lettering — paint text on the side where it will be read, or skip words entirely and let the imagery speak. Sheer curtains behind a painted window diffuse the light beautifully and make the colours glow.
Extend the display beyond the glass for maximum impact. A few real pumpkins on the sill inside, a garland draped above the window, or potted mums flanking the window outside all connect your painted design to the real world. When the painted and the real mingle, the whole window becomes a little work of art.
Photograph your window at different times of day. Morning light makes the colours glow softly, while late afternoon sun turns the whole painting golden. These photos are lovely keepsakes, and if you share your home decor online, a backlit painted window is pure magic for your feed.
Related: fall shelf decor styling ideas
How do you remove window paint cleanly when the season ends?
For tempera paint, lay towels along the sill and wash the glass with warm water and a little washing-up liquid, softening stubborn spots with a warm damp cloth. Acrylic needs soaking and careful scraping at a low angle while the glass stays wet.
When autumn gives way to winter, removing your window painting is simple — which is exactly why tempera paint was the right choice. Start by laying towels along the sill to catch drips. Then wash the glass with warm water and a little washing-up liquid using a soft sponge. Most of the paint will dissolve and wipe away with almost no effort.
For any stubborn spots, let a warm damp cloth sit on them for a minute to soften the paint, then wipe again. A plastic scraper or an old credit card lifts anything remaining without scratching the glass. Finish with your usual glass cleaner for a streak-free shine, and the window will look as though it was never painted.
If you used acrylic paint, removal takes a little more patience. Soak the design with warm soapy water, then carefully use a razor scraper held at a low angle, keeping the glass wet as you work. Take your time and the paint will come away in satisfying strips. This is the one case where the washing-up liquid mixed into the paint earlier pays off — it makes a remarkable difference.
Before you wash it all away, take a moment to appreciate what you made. Then start dreaming about the winter design — snowflakes, perhaps, or a cosy Christmas scene. Once you have painted one window, you will find it hard to let the glass stay bare ever again. That is the lovely thing about this craft: it turns an ordinary window into a canvas, and an ordinary autumn into something worth stopping to admire.
So gather your paints, choose your window, and let autumn in — one brushstroke at a time. Your street is about to get a little more beautiful, and your home a little more joyful. Happy painting.
Leave a Reply